 |
VOOZH | about |
|
VOOZH | about |
Managing forms in React is, for some, a tedious process. For example, the first step would be to assign a useState Hook to each field to get their values, and then write a few more lines of code to handle validation and form submissions. Additionally, we would also have to implement a feature to check whether a form submission was successful.
For these reasons, developers often avoid the heavy lifting by using libraries like Formik or React Hook Form. But consider this: what if we want our app to be as lean as possible without relying on external dependencies?
Luckily, the React team has provided two Hooks for native form control: useFormState and useFormStatus. In this article, you will learn how to use both of these Hooks to handle and validate form components. You can find the source code for the example project in this post in this GitHub repo. Let’s get started!
The Replay is a weekly newsletter for dev and engineering leaders.
Delivered once a week, it's your curated guide to the most important conversations around frontend dev, emerging AI tools, and the state of modern software.
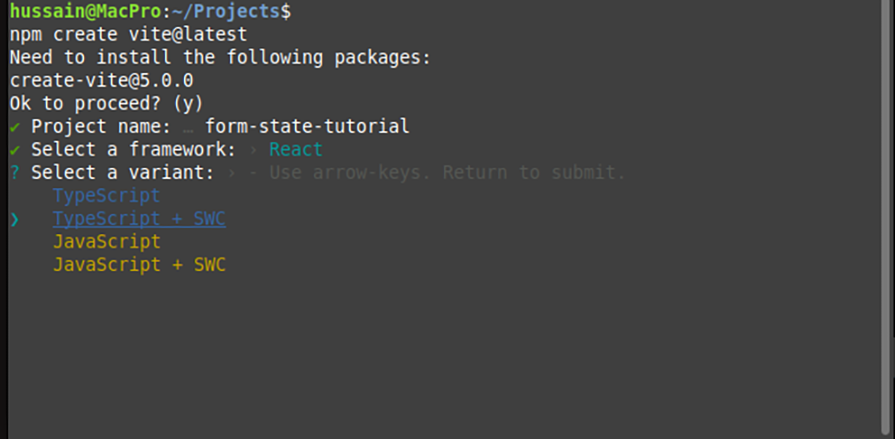
In this section, we will first bootstrap the project and install all required dependencies. As the first step, use Vite to initialize a new project:
npm create vite@latest
When that’s done, Vite will then ask you to select a framework. Here, select React and TypeScript:
👁 Select your desired framework
Now that you’ve initialized the project, install the required dependencies via the run command:
npm install #install all required dependencies required to run the project
At the time of writing of this article, React currently provides these Hooks in the Canary channel. To switch to the Canary channel, write these lines in the terminal:
npm install react@canary react-dom@canary
Now that react-canary has been installed, we need to tell TypeScript to use the types present in the Canary channel. To do so, go to vite-env.d.ts and change the contents of that file to the following:
/// <reference types="vite/client" />
/// <reference types="react/canary" />
/// <reference types="react-dom/canary" />
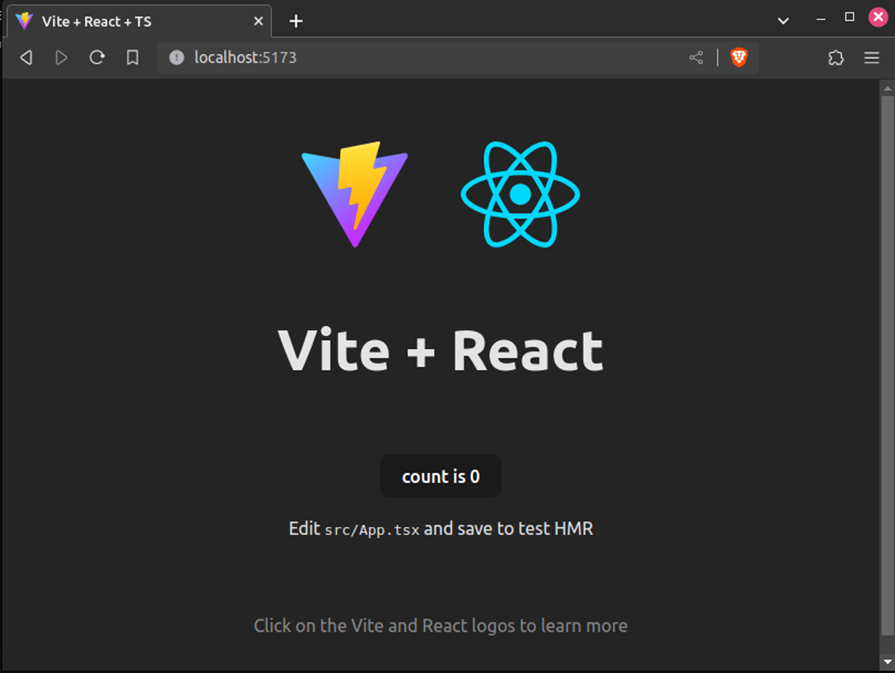
Great! We’ve set up the project. To see if everything works fine, execute npm run dev in your project directory:
npm run dev
This will start the React server. You should see the following screenshot in your browser:
👁 The Vite/React start screen in the browser
useFormState HookIn this segment of the article, you will get your feet wet with React’s useFormState Hook.
First things first, we need to create a simple form component. To do so, create a file called ContactForm.tsx. Here, write the following code:
//file name: ContactForm.tsx
export const SimpleContactForm: React.FC = () => {
 return (
 <div>
 {/*Create our form: */}
 <form>
 {/*The input with the name 'userName' will be recorded by the useFormState Hook*/}
 <input name="userName" />
 <input type="submit" />
 </form>
 </div>
 );
};
//Note: Please remember to render this component in App.js
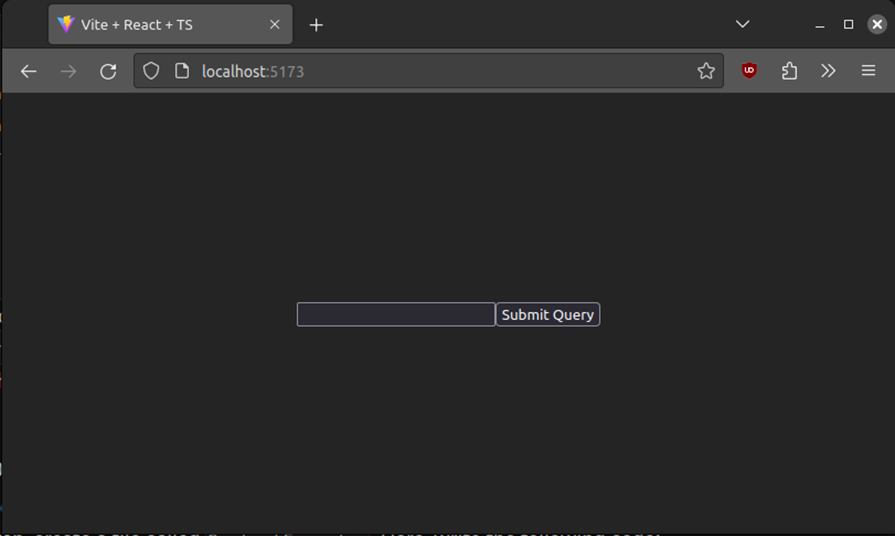
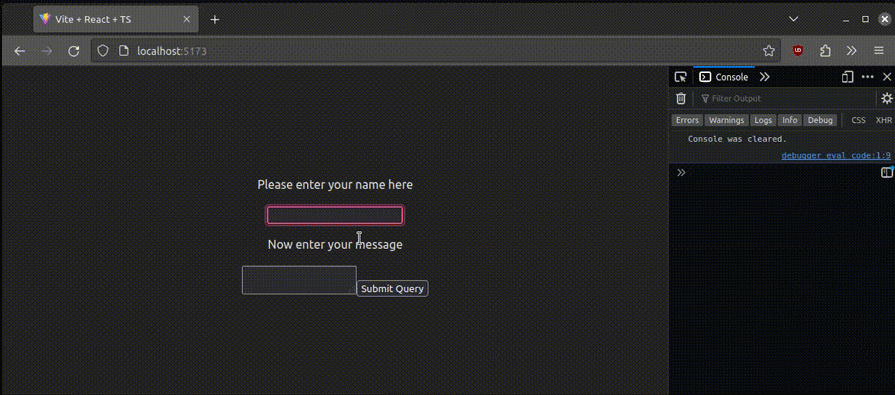
Here’s our form component:
👁 Our form component
As the second step, we have to write a function to handle the form submission. Here, create a file called actions.ts. In this file, write this snippet of code:
//file name: actions.js
export const getUserName = async (
 previousState: string | undefined | null,
 formData: FormData,
) => {
 //the previousState variable contains the last recorded value of the user's input
 console.log("previous recorded state ", previousState);
 //use the formData variable to get values:
 const userName = formData.get("userName");

 return userName?.toString();
};
Let’s break down this code piece by piece:
get function to retrieve the value of the userName text field. The returned result is stored in the userName variableuseFormStateWe’re almost done! Let’s now integrate our getUserName function into the project:
//file name: ContactForm.tsx
import { getUserName } from "./actions";
import { useFormState } from "react-dom"; //import the userFormState Hook

//unnecessary code removed for brevity..
//pass in our handler function, getUserName as the first parameter.

const [username, formAction] = useFormState(getUserName, null);

return (
 <div>
 <form action={formAction}>{/*Further code..*/}</form>
 <p>Recorded input: {username}</p>
 </div>
);
///..further code..
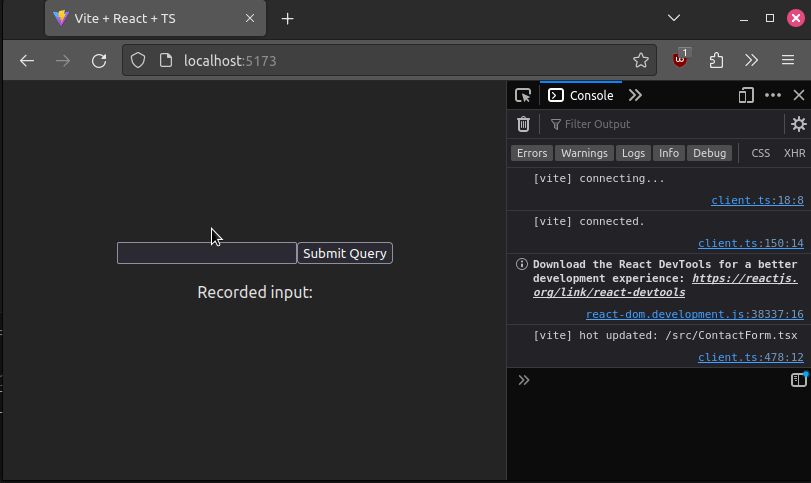
Here’s an explanation of the code block above:
getUserName function into the useFormState function. The second parameter of this Hook is the initial value of the stateuseFormState will now return two variables: userName, the user’s input values, and formAction, which is the function that will execute when the user submits the formreturn section, pass in the formAction handler method to the form’s action propThis will be the result of the code:
👁 Using our handler function in the form with useFormState
That’s it! As you can see, React is using the useStateForm Hook to log out the user’s input.
In the previous section, we used React’s useStateForm to return string values. We’ll now learn how to output JSON objects.
Let’s first build a simple form component to demonstrate this use case:
//file name: ContactForm.tsx
export const ContactForm: React.FC = () => {
 return (
 <div>
 <form>
 <p> Please enter your name here</p>
 <input name="userName" />
 <br />
 <p>Now enter your message</p>
 <textarea name="message" />
 <input type="submit" />
 </form>
 </div>
 );
};
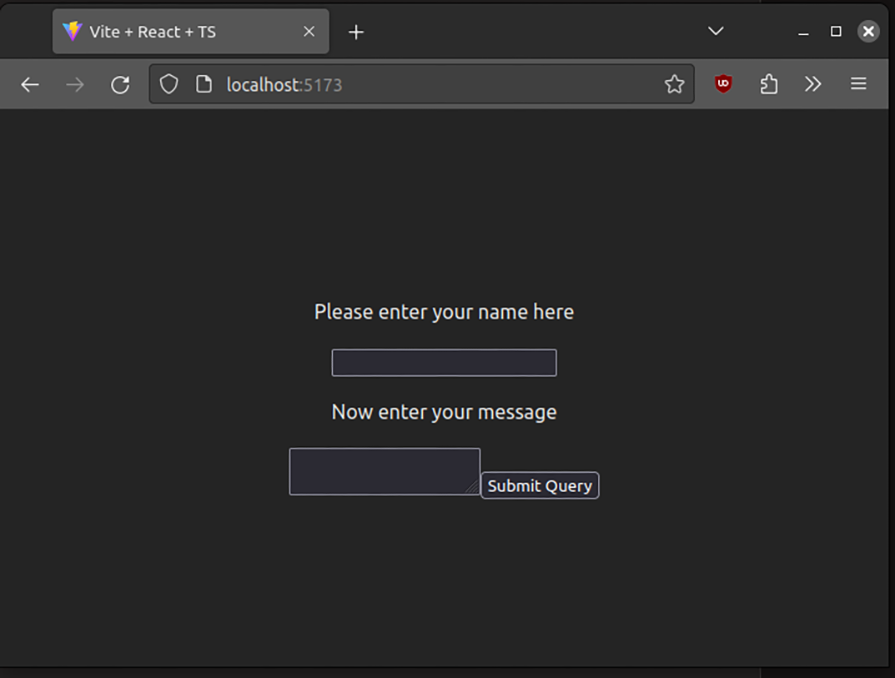
In the code above, we created two input fields and assigned them userName and message:
👁 Our username and message input fields
Next, we have to code our handler function for this form:
//file name:actions.ts
type stateType = {
 userName: string | undefined;
 message: string | undefined;
};

export const recordInput = async (
 previousState: stateType,
 formData: FormData
) => {
 console.log("previous recorded value ", previousState);
 //get the value of the input with label 'username'
 const userName = formData.get("userName");
 //next, get the value of the textarea with name 'message'
 const message = formData.get("message");
 //return all the input values in an object
 return { userName: userName?.toString(), message: message?.toString() };
};
In the code above, we are retrieving the values of the userName and message input fields, and then outputting those values in JSON.
Just like before, all we now have to do is tell React to use our handler function in our form:
//file name: ContactForm.tsx
import { useEffect } from "react";
import { recordInput } from "./actions";
import { useFormState } from "react-dom";

const [data, formAction] = useFormState(recordInput, {
 userName: null,
 message: null,
});

useEffect(() => {
 //output the current values entered in the form
 console.log(data);
}, [data]);

return (
 <div>
 {/*finally, use the returned formAction function to handle submissions*/}
 <form action={formAction}>
//further code...
And here’s the output:
👁 Sending objects as data through the form
Using the power of JSON and useFormState, we can even show errors to the user. A major use case for this can be validation — for example, when the user creates a password, we want to make sure that it complies with certain criteria.
Let’s first start by creating a handler function:
// in actions.js
import differenceInYears from "date-fns/differenceInYears";

type validateAndUseInputType = {
 success: boolean;
 message: string;
};

export const validateAndUseInput = async (
 previousState: validateAndUseInputType,
 formData: FormData
) => {
 //get the value of the date input field:
 const birthdate = formData.get("birthdate")?.toString();
 //check if the field is null:
 if (!birthdate) {
 return { success: false, message: "Please enter a birthdate!" };
 }
 //use the date-fns library to check if the user is below 18
 const ageDifference = differenceInYears(new Date(), new Date(birthdate));
 if (ageDifference < 18) {
 return {
 success: false,
 message: "You are not an adult! Please try again later",
 };
 }
 //if this is false, then show a success message
 return { success: true, message: "You may proceed" };
};
get method to retrieve the value of the birthdate fieldtrue, then return an error. Otherwise, the form submission is successfulNow that we’ve written our handler function, all that’s left for us is to use it:
//file name: ContactForm.tsx
import { validateAndUseInput } from "./actions";
const [data, formAction] = useFormState(validateAndUseInput, {
success: false,
message: "Please enter a birthdate",
});
useEffect(() => {
console.log(data);
}, [data]);
return (
<div>
{/*Pass in our form handler into this form.*/}
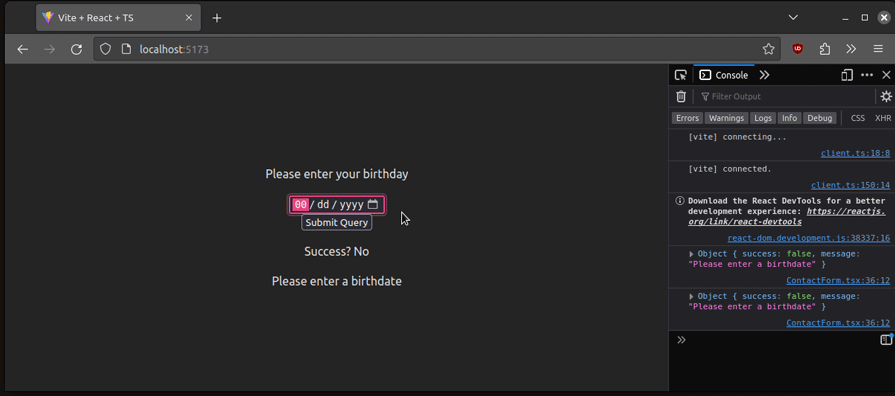
<form action={formAction}>
<p> Please enter your birthday</p>
{/*Create a date input with the 'birthdate' name*/}
<input name="birthdate" type="date" />
<br />
<input type="submit" />
</form>
<p>Success? {data.success ? <span>Yes</span> : <span> No</span>}</p>
<p>{data.message}</p>
</div>
);
And here’s the output:
useFormStatusFor form management, the React team has also developed a second Hook, useFormStatus. As the name suggests, this is suitable for situations where you want to track the progress of the form, i.e., when we want to inform the user that their submission was complete.
Here’s a simple handler function for our use case:
//file name: actions.ts
export const readUsername = async (_: any, formData: FormData) => {
 //pause execution to show how the useFormStatus Hook works.
 await new Promise((res) => setTimeout(res, 1000));
 const userName = formData.get("userName")?.toString();

 if (userName == "LogRocket") {
 return { success: true, message: "You may proceed" };
 }

 return { success: false, message: "Your username is incorrect!" };
};
setTimeout function to pause execution for one seconduserName input area and save the result in the userName variableuserName was LogRocket. If this condition is true, show a success messageNext, go to the ContactForm.tsx component and add this code snippet:
//file name: ContactForm.tsx
import {useFormStatus} from "react-dom";
import {readUsername} from "./actions.ts";
const ContactFormChild: React.FC = () => {
//the useFormStatus Hook will inform the client about the status of their form submission
const data = useFormStatus();
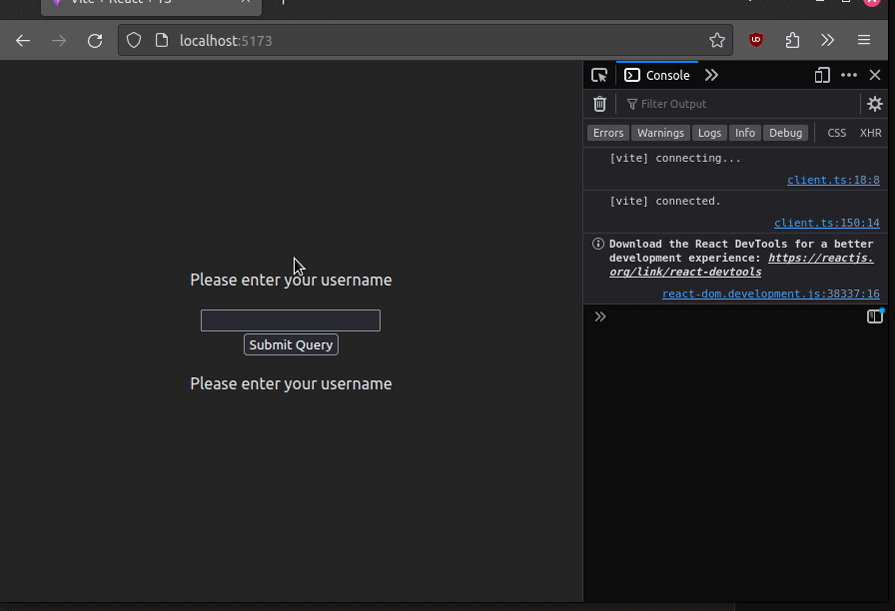
return (
<>
<p> Please enter your username</p>
{/*The input that we want to record: */}
<input name="userName" />
<br />
{/* If the submission hasn't been completed, disable the submit button*/}
<input type="submit" disabled={data.pending} />
</>
);
};
//this component will be rendered to the DOM:
export const ContactFormParent: React.FC = () => {
//use the useFormState Hook to handle submissions
const [data, formAction] = useFormState(readUsername, {
success: false,
message: "Please enter your username",
});
return (
<div>
<form action={formAction}>
{/* Render our form here */}
<ContactFormChild />
</form>
<p>{data.message}</p>
</div>
);
};
ContactFormChild and then call the useFormStatus HookContactFormParent and pass in the readUsername method in the useFormState HookContactFormChild as a child component. This will tell React that we want to track the status of the form present in ContactFormParentThis will be the result of the code:
👁 Tracking our form submissions
As you can see, our app is now informing the user whether the form has been successfully submitted or not via the useFormStatus Hook. And we’re done!
Here is the source code for the project.
In this article, you learned the fundamentals of React’s new useFormState and useFormStatus Hooks. Moreover, you also learned how to log user data, return JSON objects, and send error messages to the user depending on the user’s input. Thanks for reading! Happy coding.
Install LogRocket via npm or script tag. LogRocket.init() must be called client-side, not
server-side
$ npm i --save logrocket

// Code:

import LogRocket from 'logrocket';
LogRocket.init('app/id');
// Add to your HTML:

<script src="https://cdn.lr-ingest.com/LogRocket.min.js"></script>
<script>window.LogRocket && window.LogRocket.init('app/id');</script>
I had four weeks to build a complete app from scratch using AI tools like OpenCode and Claude Opus: here’s how it went.
Learn how to build a reusable Vue 3 table engine that powers tables, cards, and lists with shared sorting and pagination logic.
Compare the best React chart libraries for 2026, including Recharts, Nivo, visx, Apache ECharts, MUI X Charts, and more.
Claude Code vs. OpenCode in a real Next.js refactor: benchmark results, mistakes, prompts, and when to use each CLI agent.
Would you be interested in joining LogRocket's developer community?
Join LogRocket’s Content Advisory Board. You’ll help inform the type of content we create and get access to exclusive meetups, social accreditation, and swag.
Sign up now