
How to Deploy an Application in Mule Standalone Runtime
If you're confused about how to run and deploy a Mule app in Mule Standalone runtime, this tutorial will show you how, complete with a video guide.
Join the DZone community and get the full member experience.
Join For FreeThis article tells about how you can install Mule Standalone runtime and how you can deploy a Mule project/application. We will also see how it runs and gives a result similar to what can be done in Mule Anypoint Studio.
We need to download the Mule Standalone runtime from this location.
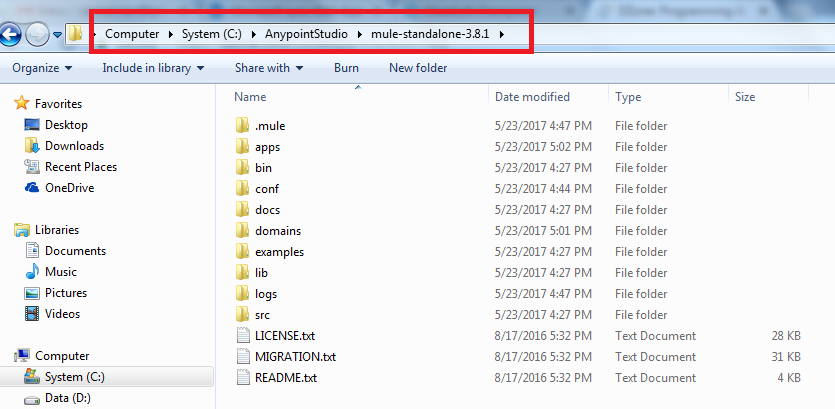
Once you have downloaded the runtime, you need to unzip that file to where you want to place it and run it from in your machine.
The best place to put it is in your Anypoint Studio Installation folder, so that all the things will fall under a single tree.
👁 Image titleWe can find the mule.bat file in the bin folder of the runtime; we need to use this batch file to start the standalone runtime.
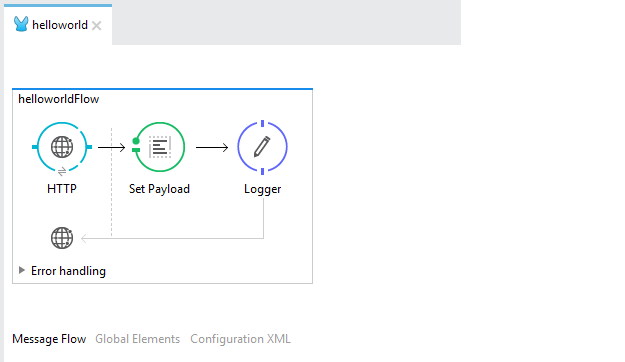
First, we should have a project that is ready for deploying in the runtime. For that, we need to go to Anypoint Studio and create an application.
This is going to be a simple project that uses the helloworld example; it includes an HTTP Component, SetPayload Component, and a logger, as shown in the screenshot.👁 Image title
Once the app is ready, we need to run this application in Anypoint Studio to see if it is working or not. We can check with Postman and make sure it is working.
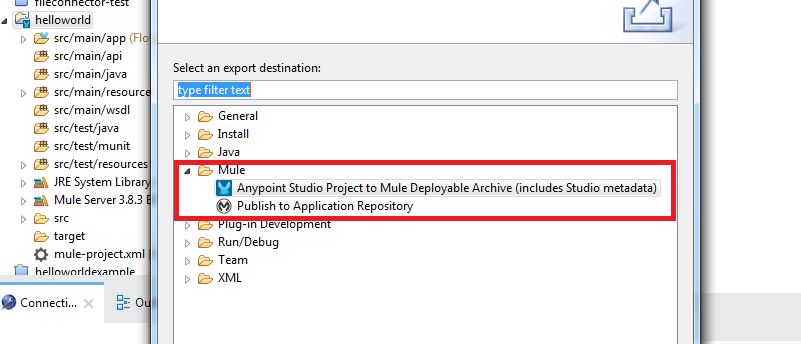
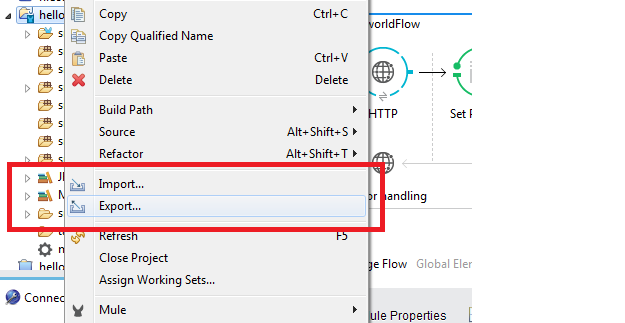
We need to export this project from Anypoint Studio as a Mule application deployable archive, as shown in the below screenshot; this should be done while the application is running in Anypoint Studio.👁 Image title
👁 Image titleOnce we have the archive, make sure we have stopped the project in Anypoint Studio. Then we need to copy this archive file to the {mule-standalone-runtime}/apps folder.
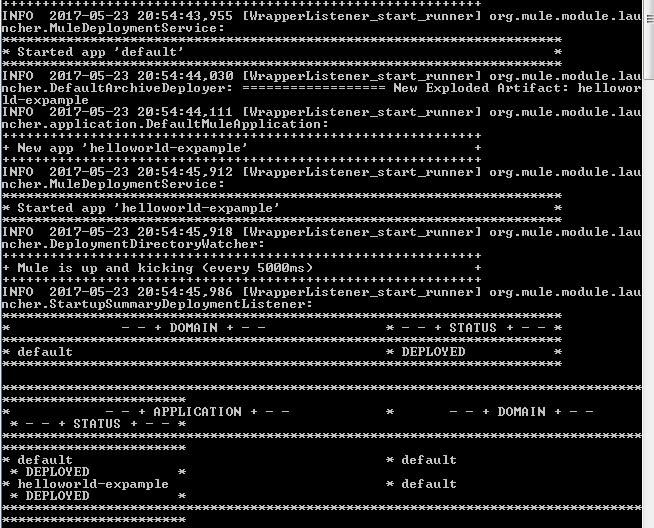
We are all set to start the run-time from the bin folder. Double click mule.bat; it will take a few minutes when you are running it for the first time.👁 Image title
You can see that the application is deployed from the runtime, and you can go to the postman and test it to see if it is working or not.
You can see the response received from the application.
This is how we can deploy and use an application with Mule Standalone runtime.
Thanks for reading and stay tuned for some more topics. I have included my video tutorial:
Opinions expressed by DZone contributors are their own.
Related
-
A Spring Boot App With Half the Startup Time
-
Key Takeaways From Integrating a RAG Application With LangSmith
-
Improving Java Application Reliability with Dynatrace AI Engine
-
Enabling Single-Sign-On in SaaS Application