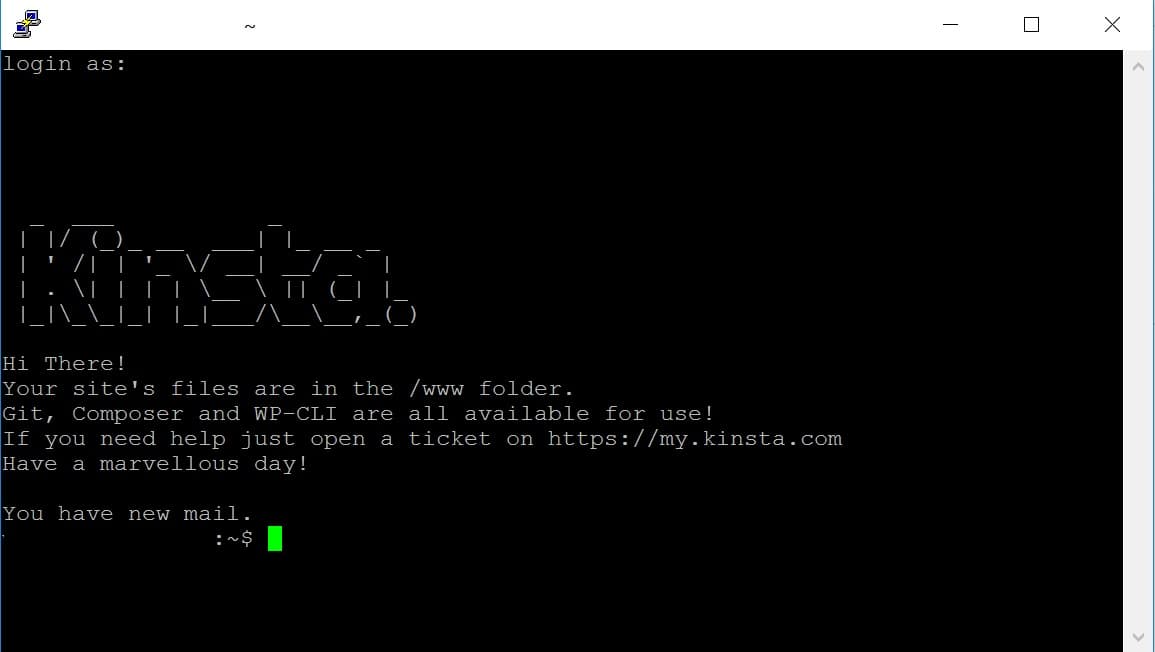
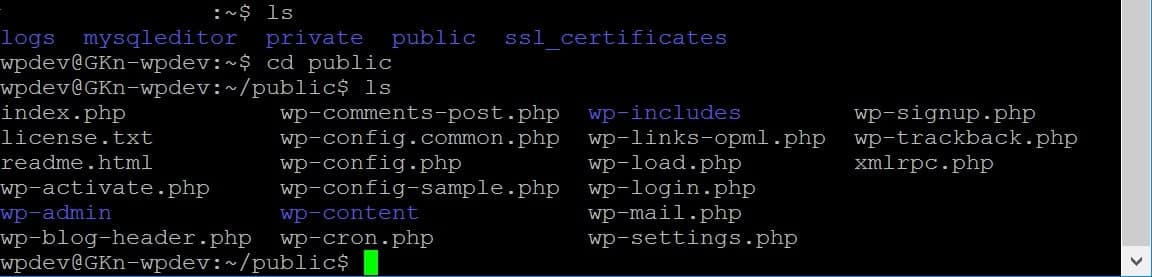
SSH is a secure protocol for remote login and other network services over an unsecured network. At Kinsta, SSH access is included with all Managed WordPress Hosting plans, allowing you to log into the command line, perform administrative tasks, and execute commands as if you were directly on the server. With SSH, you can use essential tools like Git, Composer, and WP-CLI for efficient site management. If you’re on a Single 1.9M or higher plan or a WP 60 or higher plan, you also get access to additional tools like npm.
SSH is recommended for advanced users only, as running incorrect commands can potentially break your site. If you’re unsure or unfamiliar with SSH, we strongly advise consulting a developer or reaching out to our Support team before making any changes.
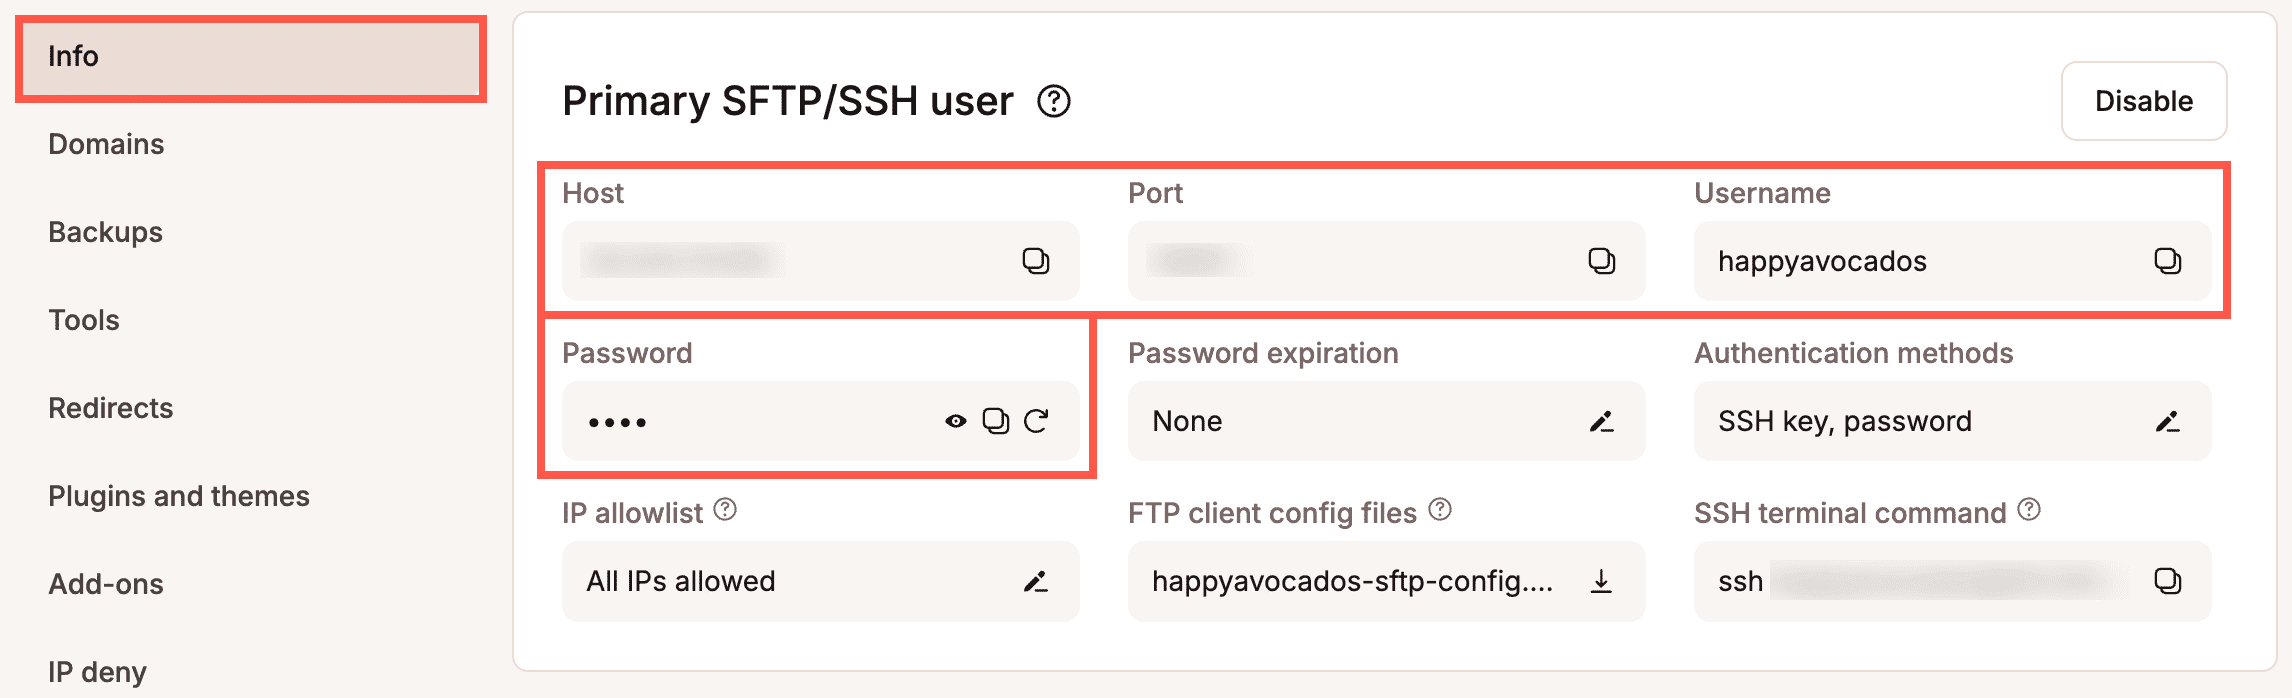
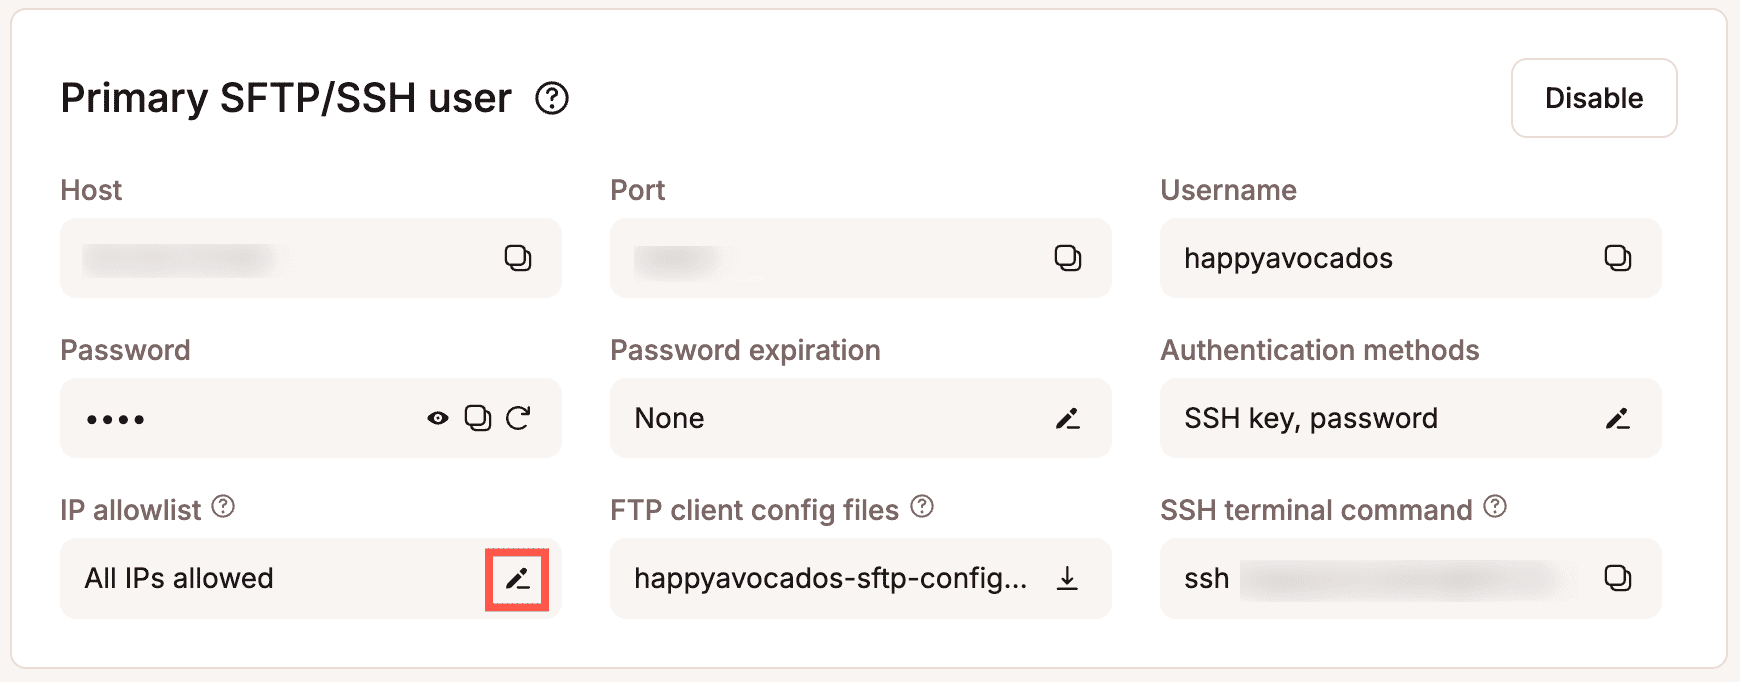
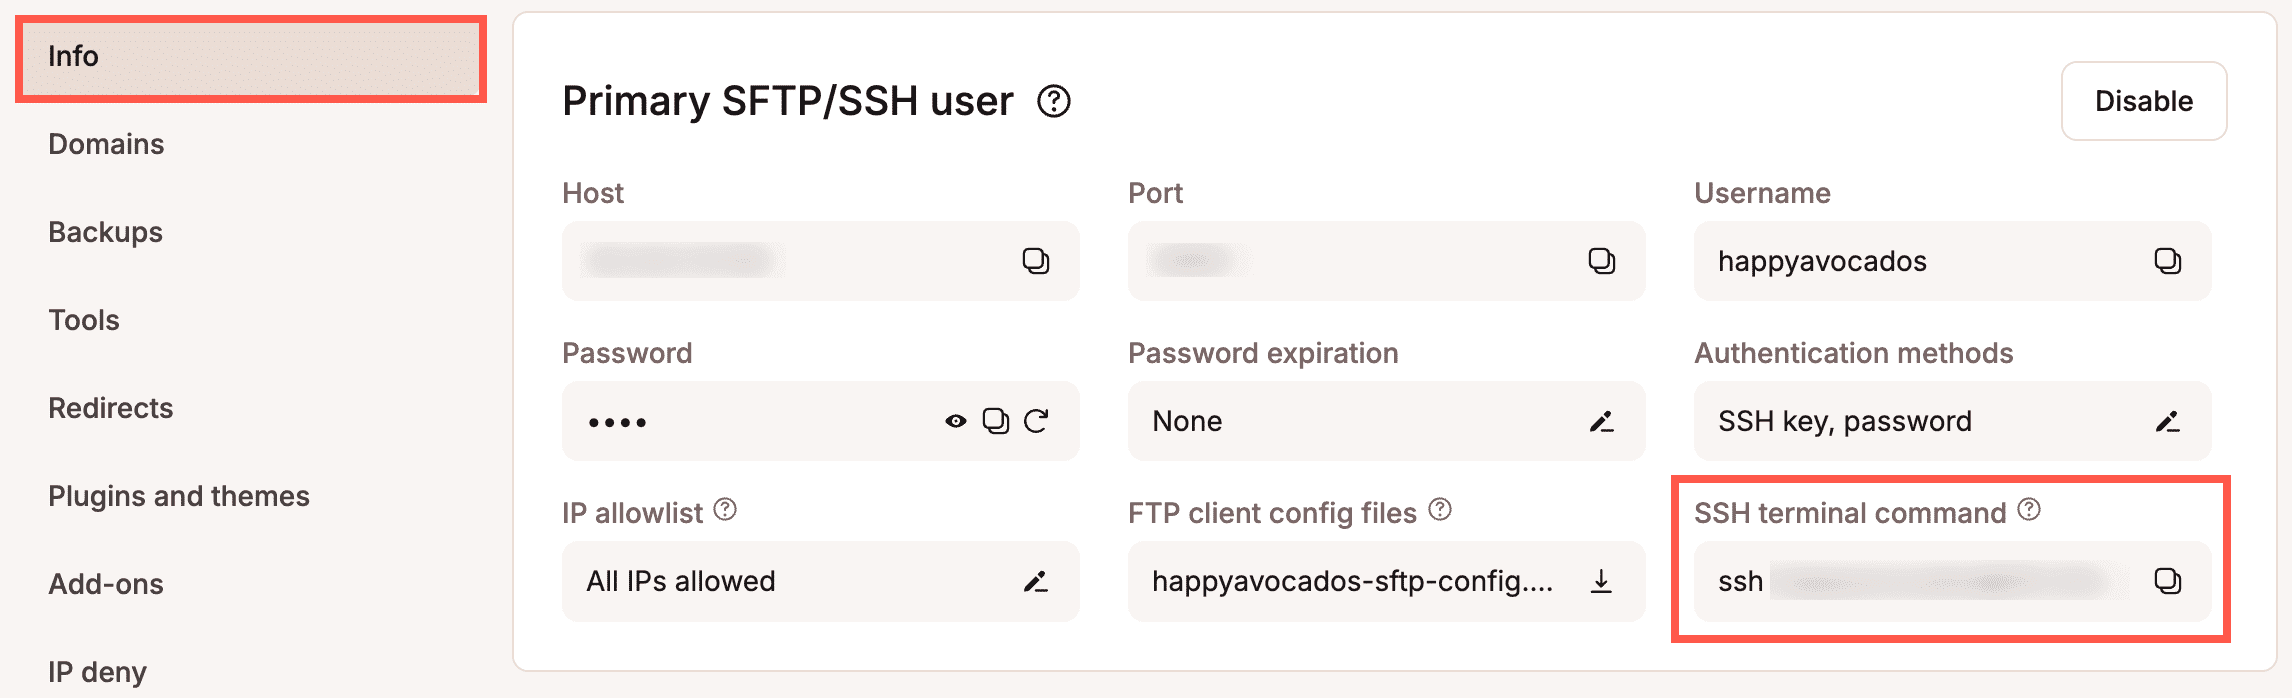
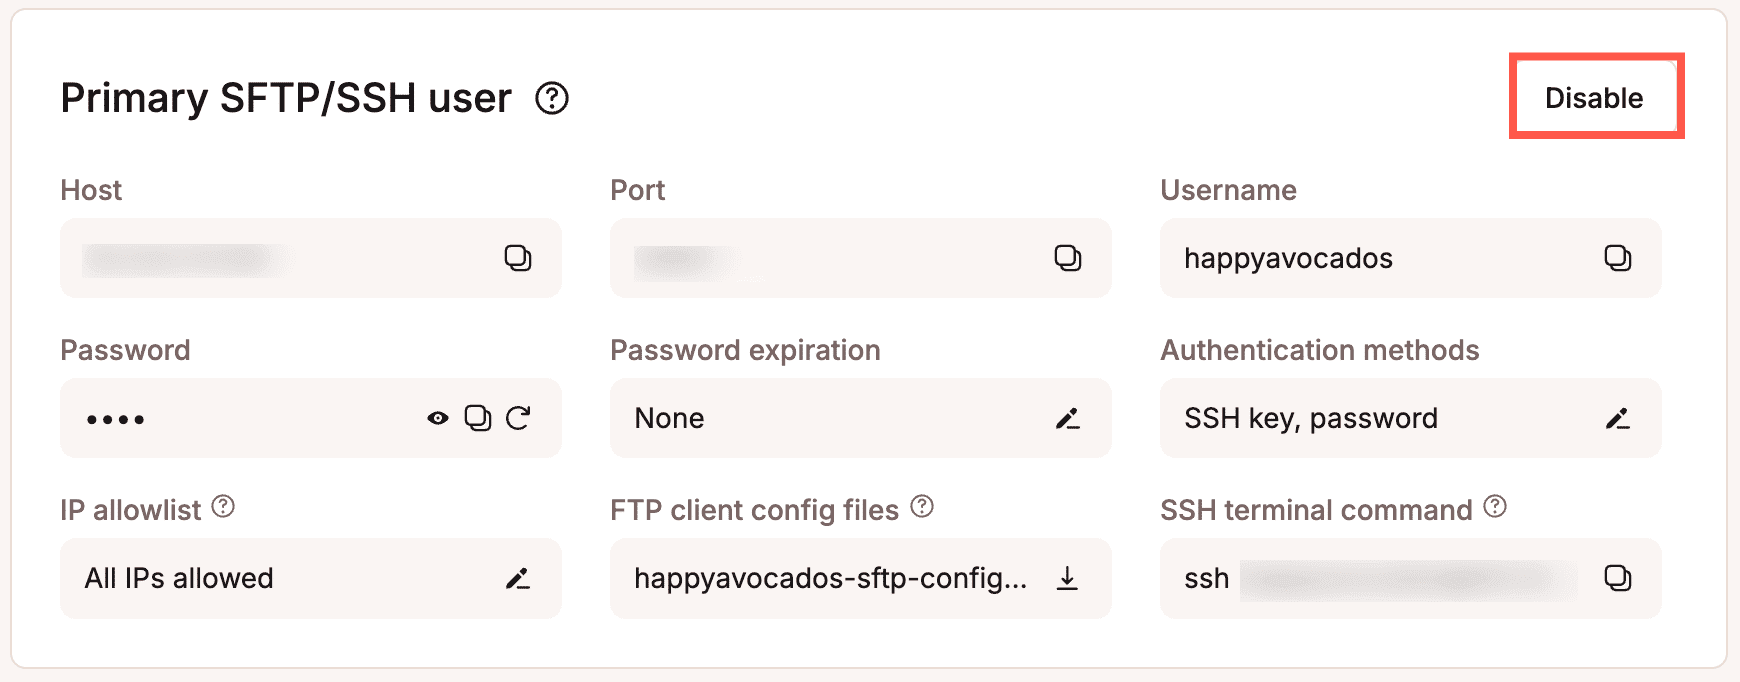
Primary SFTP/SSH user
You can connect to SSH using the following information from the Primary SFTP/SSH user:
host/server address (IP address)
username (SFTP Username, not your email address)
password
port (we take security seriously here at Kinsta, each environment uses a different port)
You can find this information under the Primary SFTP/SSH user of each site’s Info tab within MyKinsta.
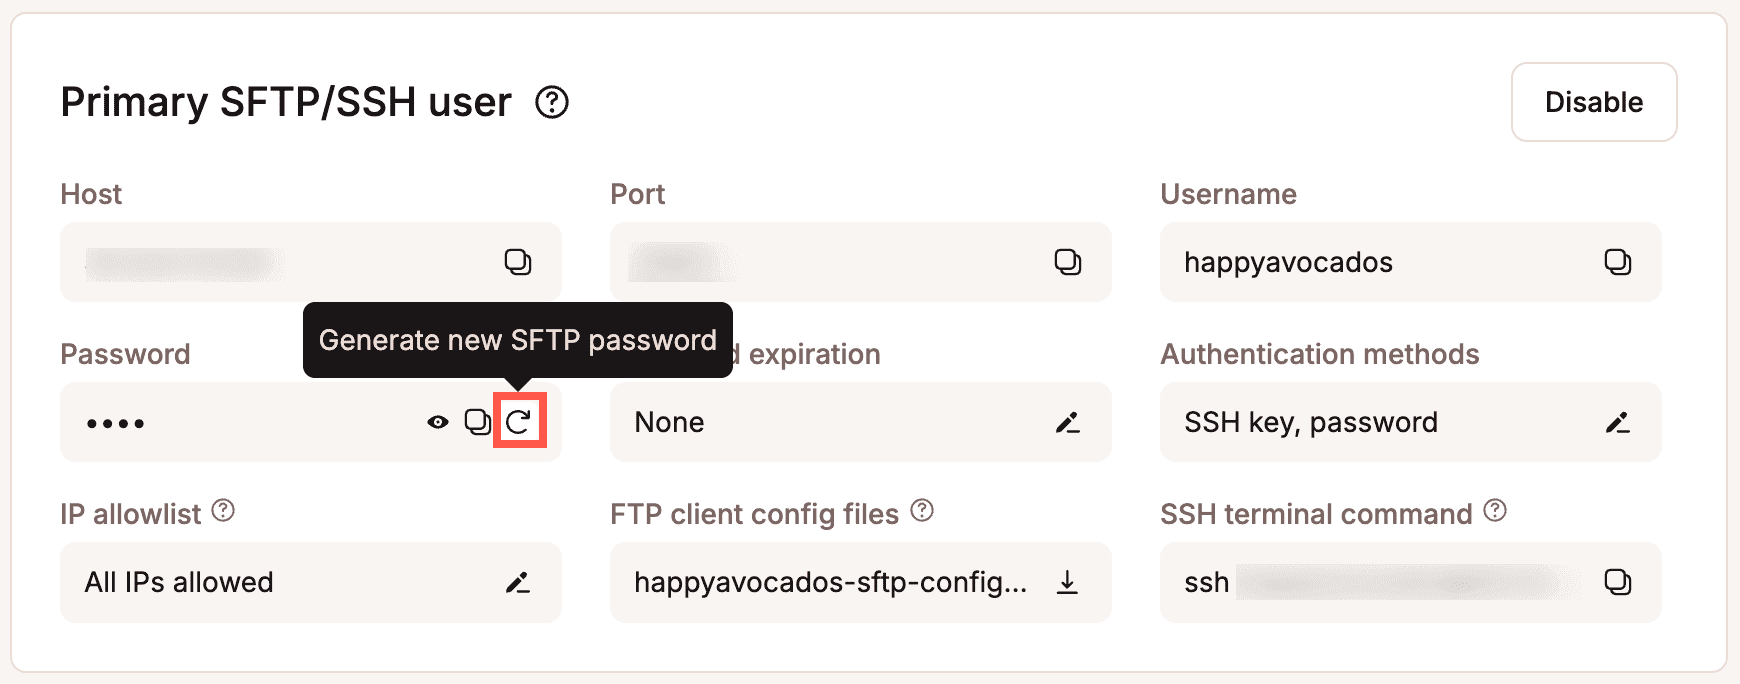
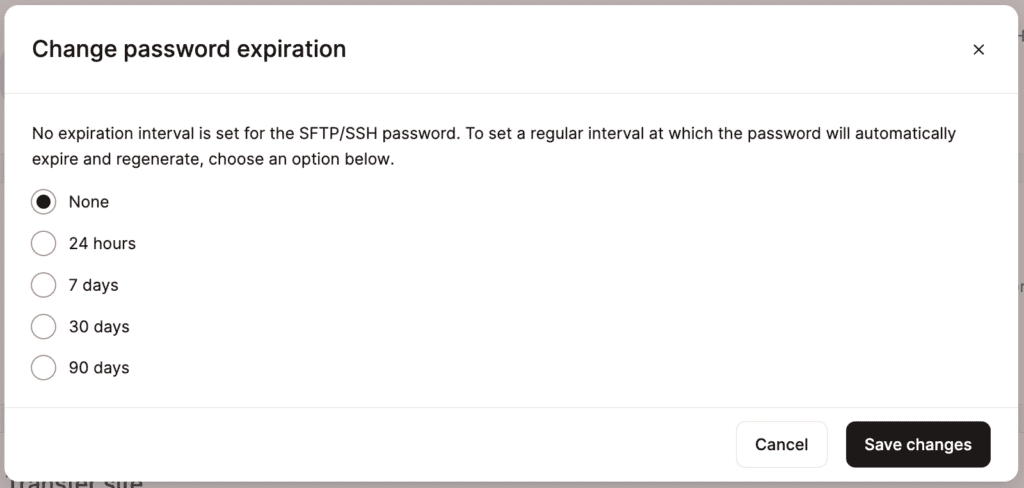
Set a password expiration for the primary SFTP/SSH user
If you want the primary STFP/SSH user password to expire and regenerate at regular intervals automatically for the current environment, click the edit icon under Password expiration.
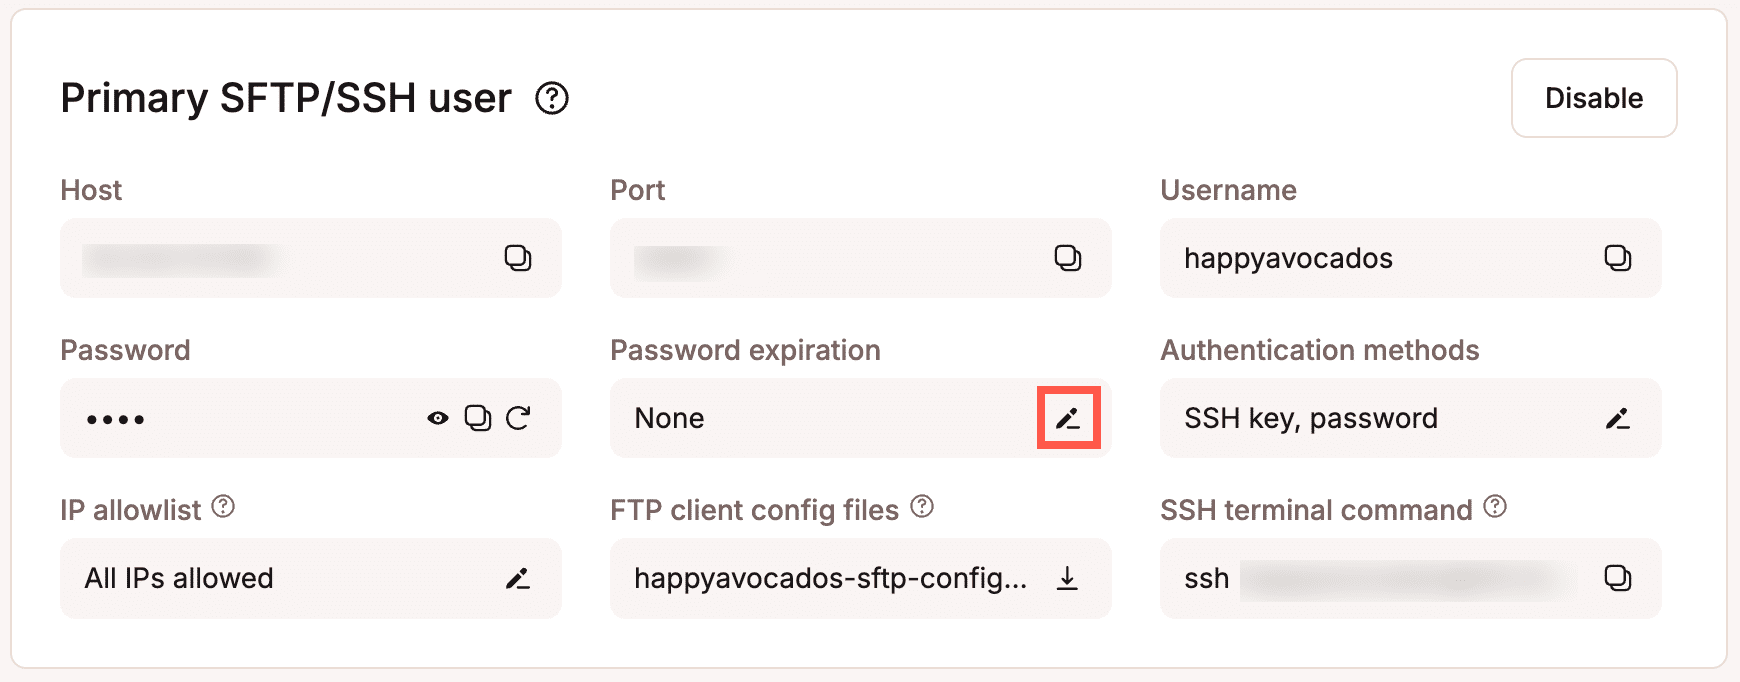
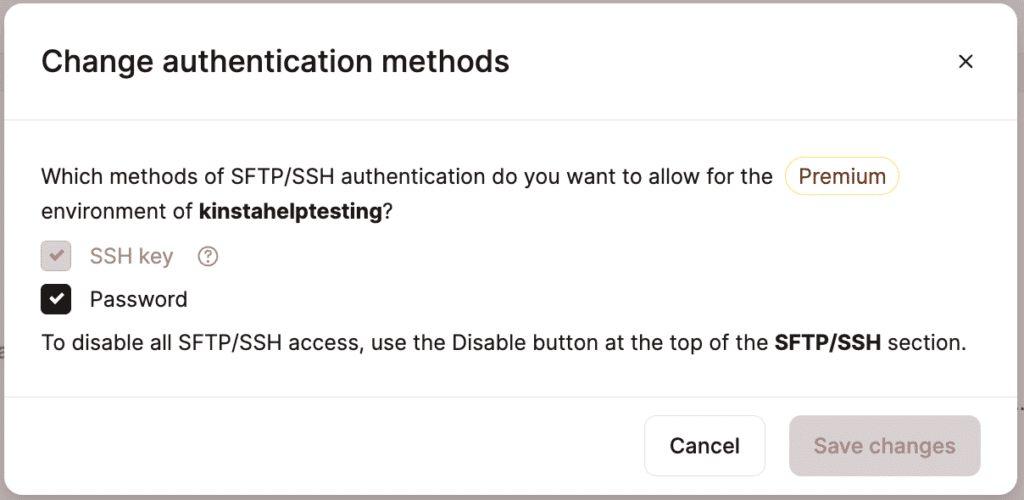
To change the primary SFTP/SSH user authentication methods to enable or disable access with a username and password for the current environment, click the edit icon under Authentication methods.
Select Password to enable or disable SSH access with a username and password, and click Save changes. You cannot disable access using an SSH key; however, you can disable all SFTP/SSH access.
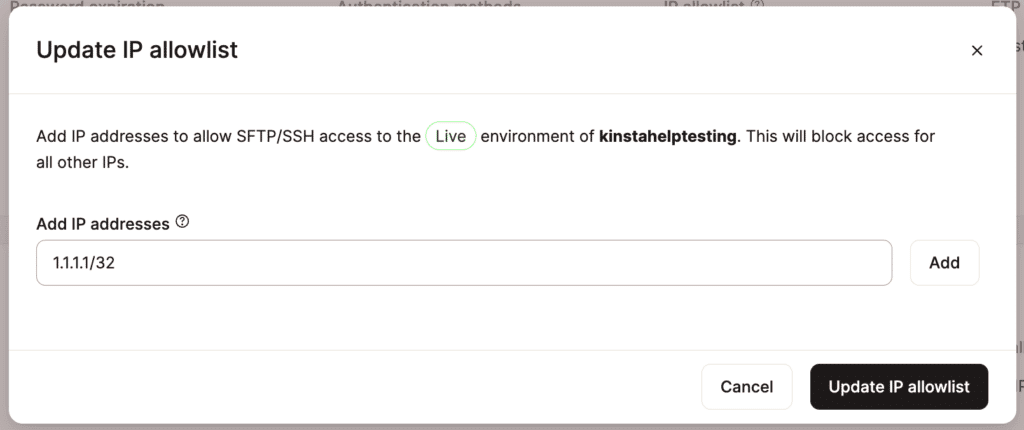
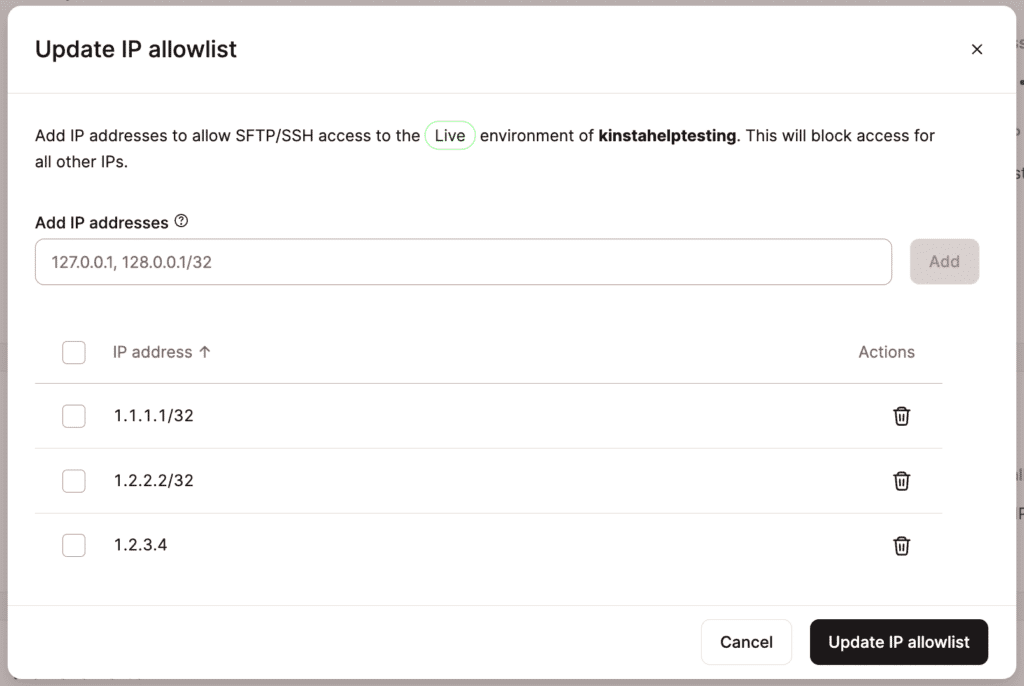
Enter the IP addresses you want to allow access via SFTP/SSH and click Add. You can specify multiple addresses separated by a comma, e.g., 1.1.1.1, 2.2.2.2. You can also specify a range of IP addresses using a slash, e.g., 1.1.1.1/32.
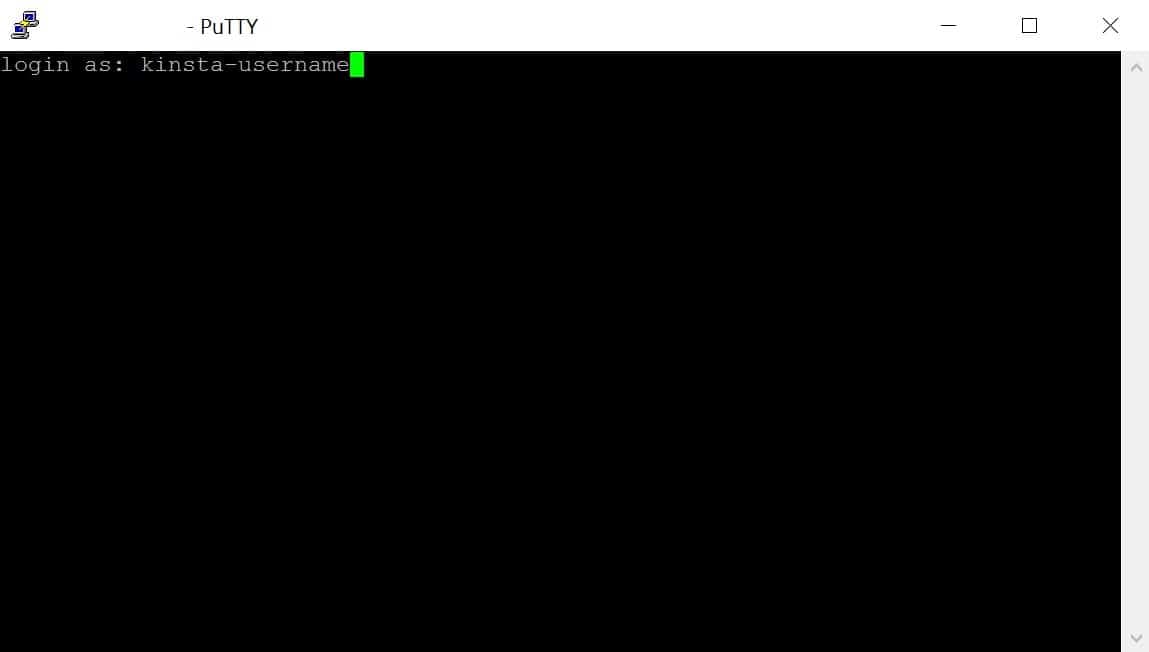
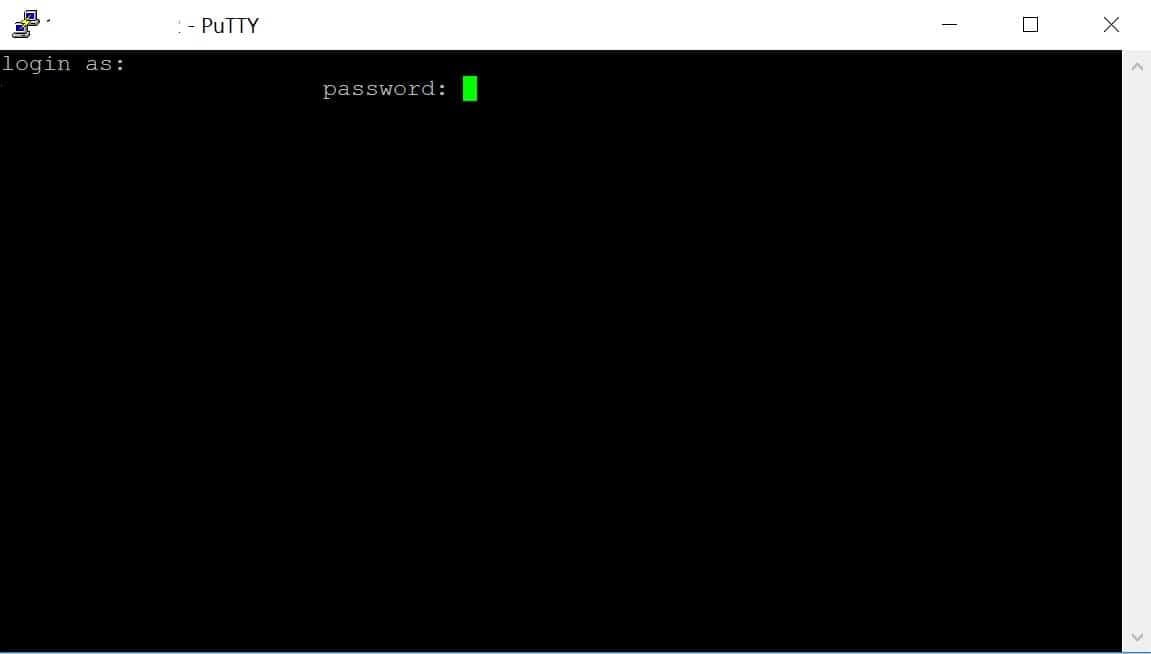
How to connect to SSH with a username and password
The easiest method for connecting via SSH is to use a username and password. To connect with a username and password, you must ensure the password authentication method is enabled. The steps to do that vary depending on your operating system. We’ve outlined the process for each below.
Connect to SSH with a username and password on Windows
Windows users require a terminal client to connect to SSH. We recommend downloading the free PuTTY client using the .msi installer. This also includes PuTTYgen, which you’ll need if you want to use SSH keys.
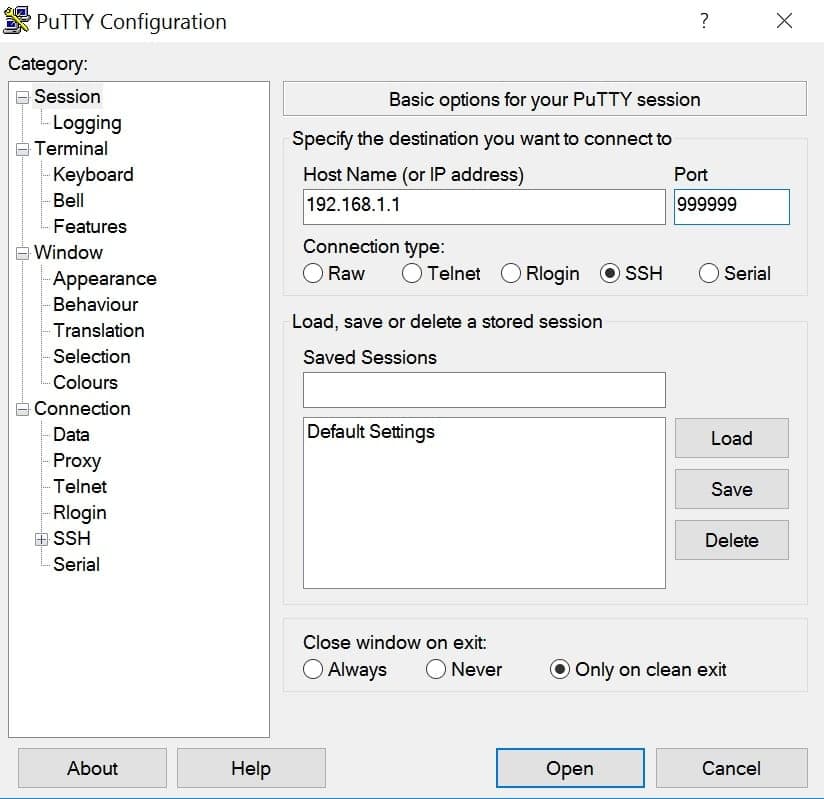
Launch PuTTY and enter your Host IP Address and the unique Port number (both found in MyKinsta > Sites > sitename > Info > Primary SFTP/SSH user > Host). Then click Open.
👁 SSH PuTTY client for Windows. SSH PuTTY client for Windows.
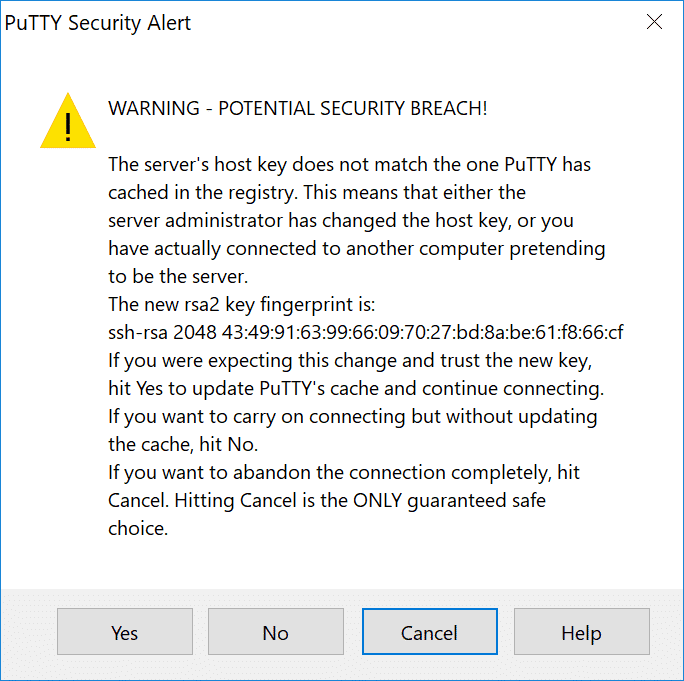
If this is your first time connecting, you will most likely see a rsa2 key prompt. Go ahead and click Yes, which will trust the host in the future.
👁 PuTTY security alert about rsa2 key. PuTTY security alert about rsa2 key.
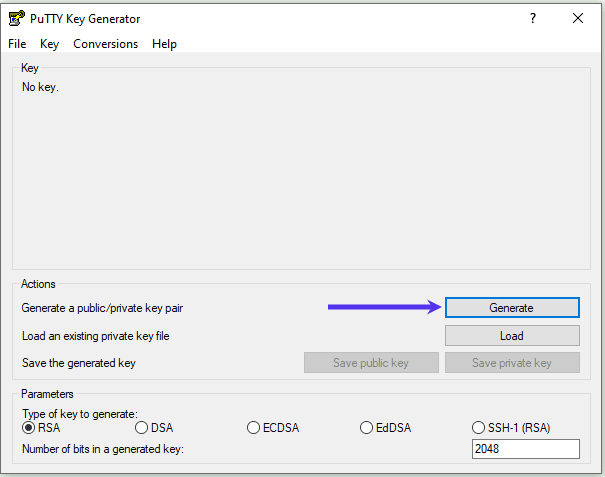
Another option for connecting to SSH is to generate an SSH key pair. SSH keys provide a more secure way of logging into a server and eliminate the need for a password. You can also further protect your login by adding a passphrase, but this isn’t required.
How to generate SSH key pair on Windows
Launch PuTTYgen. If you haven’t downloaded it yet, you can grab it here.
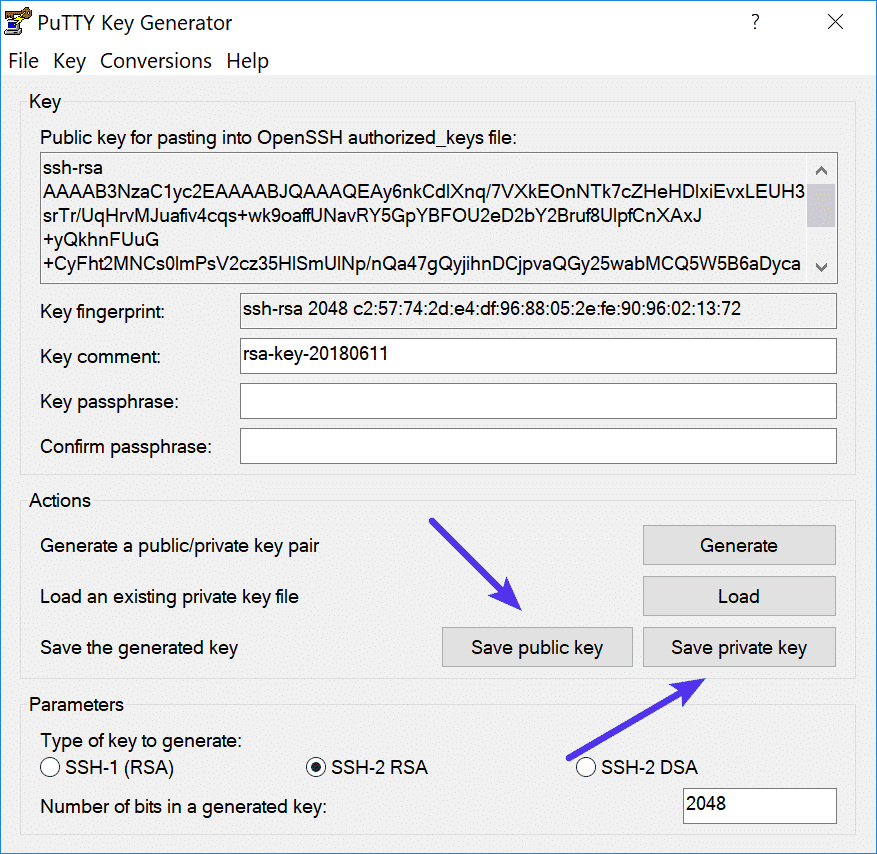
Save both your public (.txt) and private key (.ppk). Important: Keep your private key safe and don’t share it with anyone.
👁 Save public and private keys from PuTTY Key Generator. Save public and private keys from PuTTY Key Generator.
Launch the Terminal from Applications > Utilities > Terminal and use the following command to start the key generation:
ssh-keygen -t rsa
Choose a location to save your private key. If you leave it blank, it will save it here:
/home/youruser/.ssh/id_rsa
The public key (.PUB) will get created in the same location.
/home/youruser/.ssh/id_rsa.pub
You will then be prompted to choose a passphrase. You can leave it empty if you don’t want to use a passphrase.
How to add SSH keys in MyKinsta
Now that you have your SSH keys, you can upload your public key to MyKinsta.
Click into your user profile in the top-right corner, and click on User Settings.
👁 MyKinsta user settings. MyKinsta user settings.
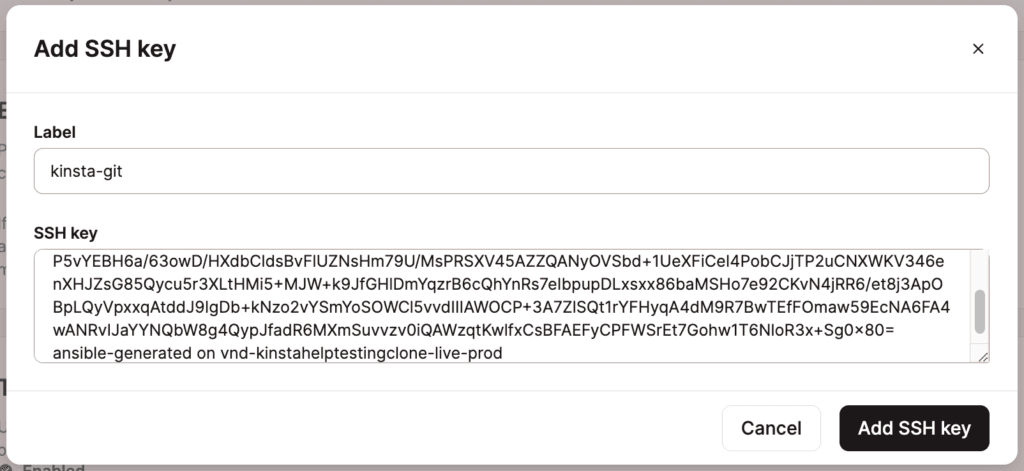
In the My Account tab, click on the Add SSH key button.
👁 Add SSH key in MyKinsta. Add SSH key in MyKinsta.
Choose a label and paste your publickey.
If you’re running Windows, copy and paste the public key directly from PuTTYgen.
If you’re running Mac/Linux, you can copy your public key to your clipboard by using the following command in Terminal:
pbcopy < ~/.ssh/id_rsa.pub
After you paste your public key, click the Add SSH key button.
👁 A valid rsa key in MyKinsta. A valid rsa key in MyKinsta.
How to connect to SSH on Windows with SSH keys
Launch PuTTY and enter your Host IP Address and the unique Port number (both found in MyKinsta > Sites > sitename > Info > PrimarySFTP/SSH user > Host).
👁 Host Name and Port number in PuTTY client. Host IP and Port number in PuTTY client.
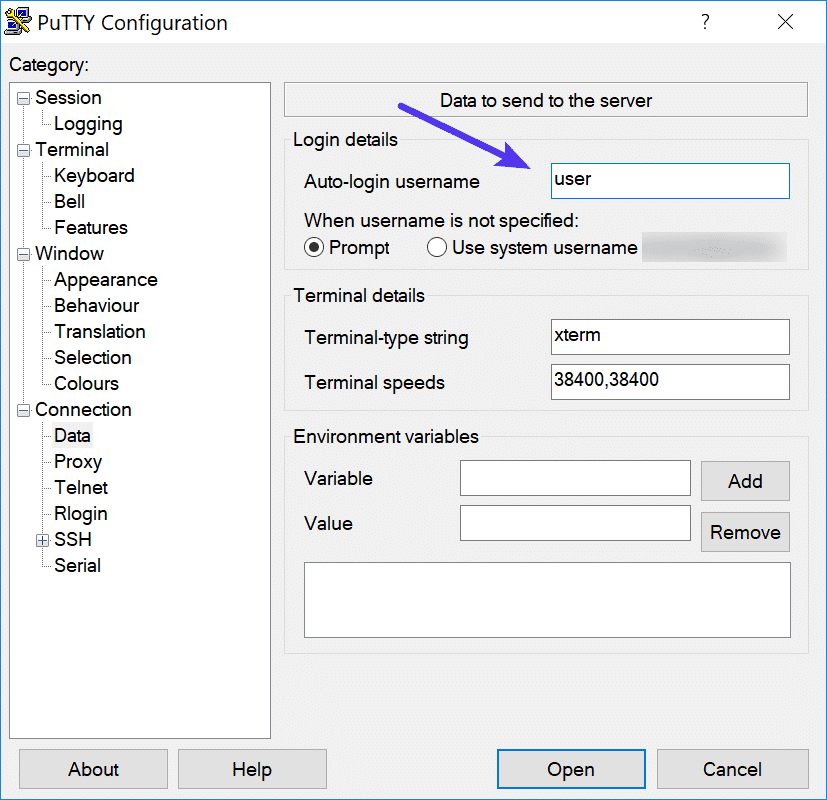
Under Connection > Data enter your Kinsta username in the Auto-login username field.
👁 SSH Auto-login username in PuTTY. SSH Auto-login username in PuTTY.
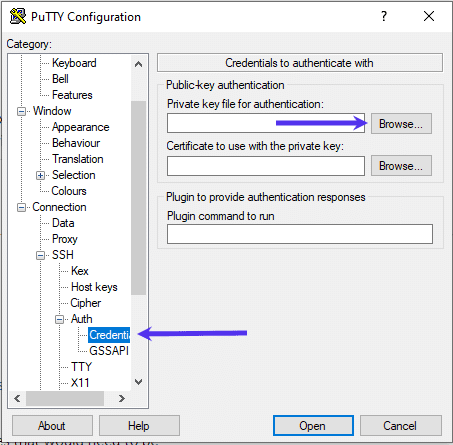
Under Connection > SSH > Auth > Credentials, click the Browse button and select your private key file for authentication.
👁 Add your SSH private key file in PuTTY. Add your SSH private key file in PuTTY.
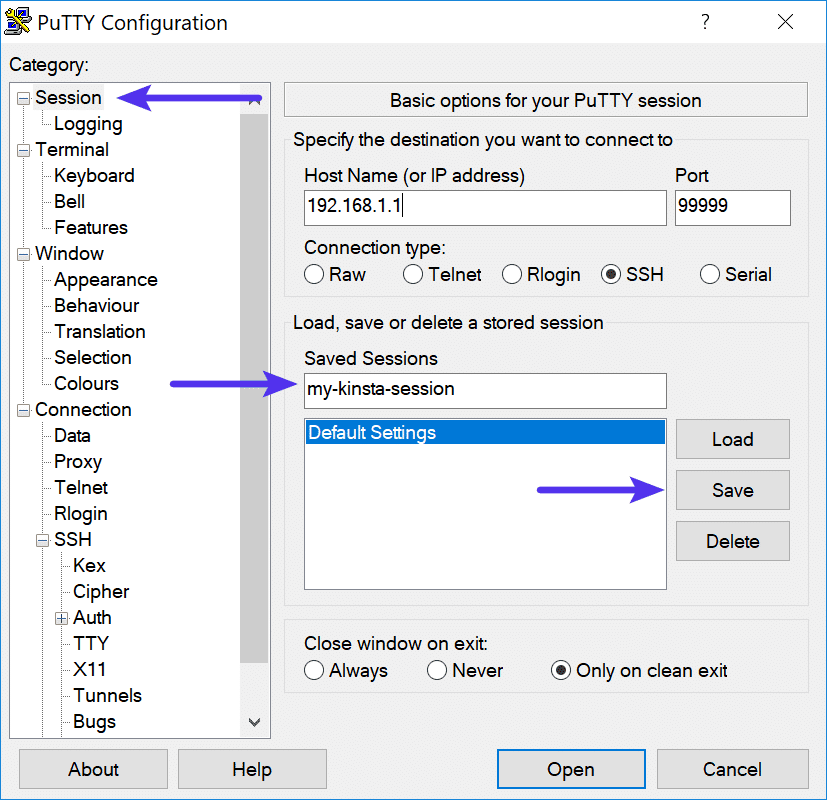
Under Session, enter a new Saved Sessions name and click on Save. Click the Open button to start a new session.
👁 Name and save your SSH session in PuTTY. Name and save your SSH session in PuTTY.
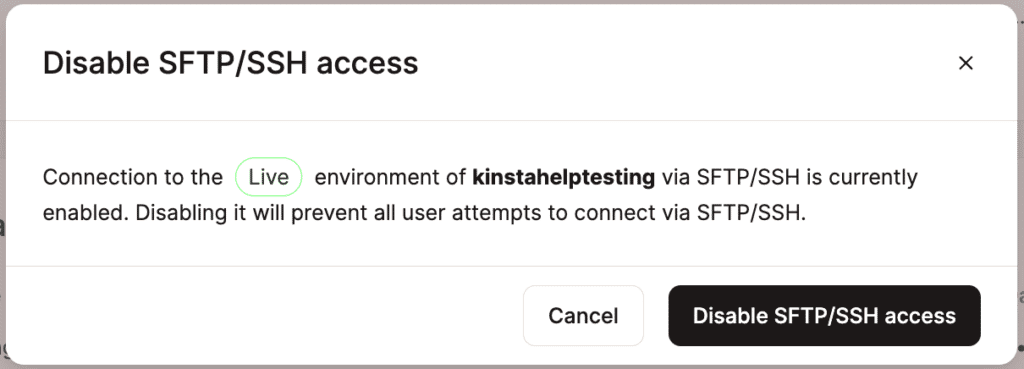
If you want to disable access so users with the primary SFTP/SSH credentials can’t connect via SFTP/SSH, on your site’s Info tab and within Primary SFTP/SSH user, click Disable.
