
1. Overview
Lombok is a library that facilitates many tedious tasks and reduces Java source code verbosity.
Of course, we usually want to be able to use the library in an IDE, which requires additional setup.
In this tutorial, we’ll talk about configuring Lombok in two of the most popular Java IDEs — IntelliJ IDEA and Eclipse.
Further reading:
Using Lombok's @Builder Annotation
Introduction to Project Lombok
2. Lombok in IntelliJ IDEA
As of IntelliJ version 2020.3, we don’t need to configure the IDE to use Lombok anymore. The IDE comes bundled with the plugin. Also, the annotation processing will be enabled automatically.
In earlier versions of IntelliJ, we need to perform the below steps to use Lombok. Also, if we use the latest version and the IDE doesn’t recognize the Lombok annotation, we need to verify that the below configuration was not disabled manually.
2.1. Enabling Annotation Processing
Lombok uses annotation processing through APT. So, when the compiler calls it, the library generates new source files based on annotations in the originals.
Annotation processing isn’t enabled by default, though.
Therefore, the first thing to do is to enable annotation processing in our project.
We need to go to the Preferences | Build, Execution, Deployment | Compiler | Annotation Processors and make sure of the following:
- Enable annotation processing box is checked
- Obtain processors from project classpath option is selected
2.2. Installing the IDE Plugin
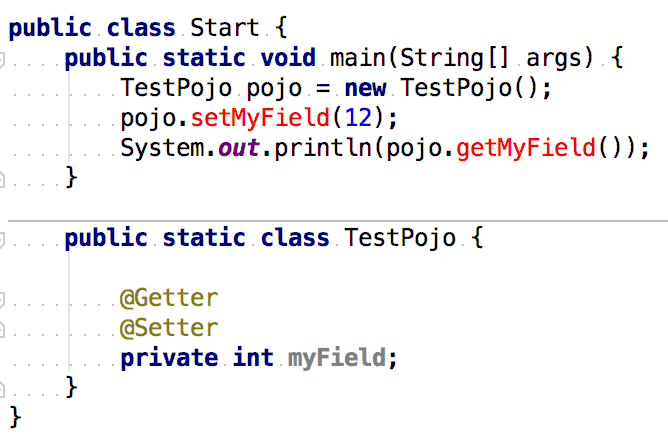
While Lombok generates code only during compilation, the IDE highlights errors in raw source code:
👁 lobom2
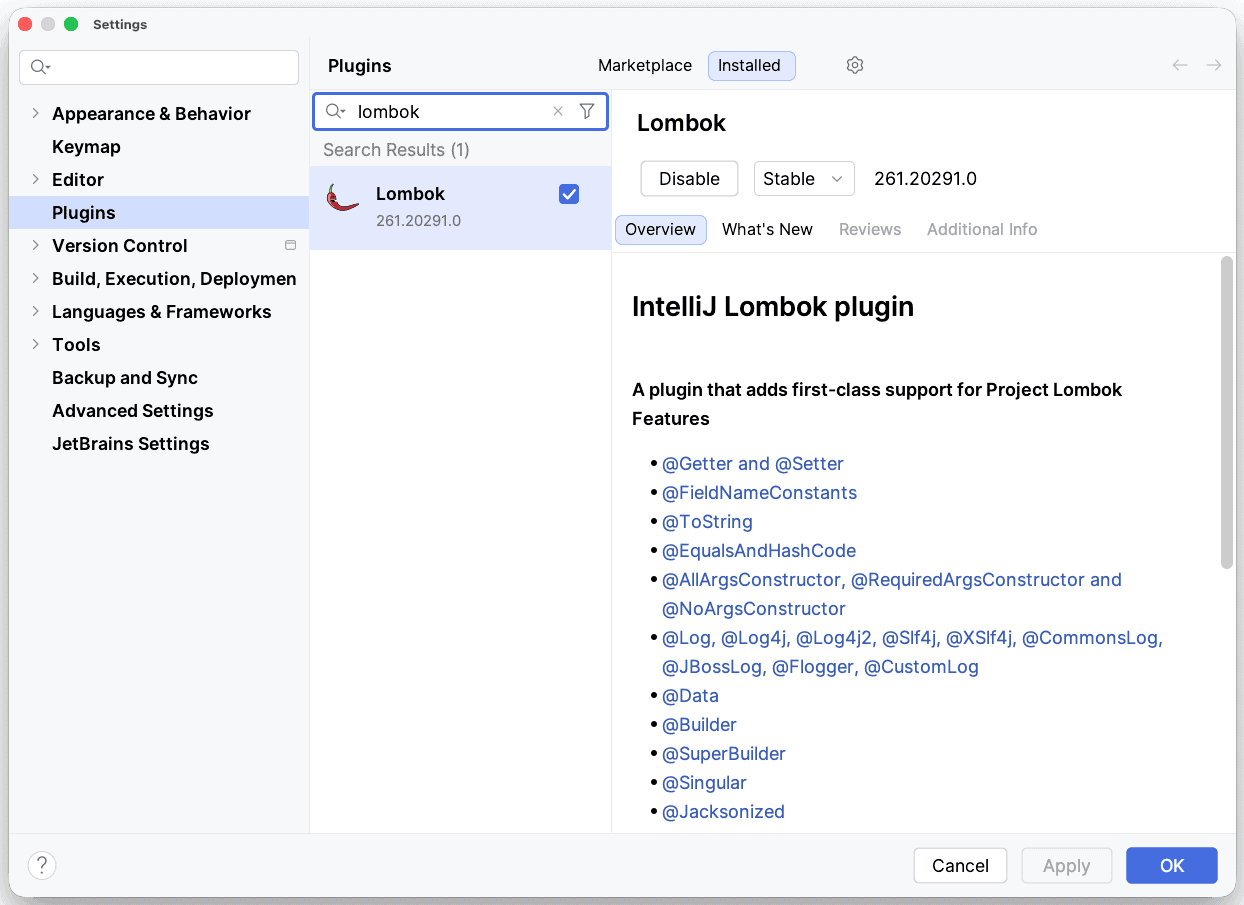
From IntelliJ IDEA 2020.3 onwards, the Lombok plugin is bundled by default:
👁 lombok plugin
If the Lombok plugin is installed and enabled, make sure the Annotation processing is enabled.
3. Lombok in Eclipse
If we’re using Eclipse IDE, we need to get the Lombok jar first. The latest version is located on Maven Central.
For our example, we’re using lombok-1.18.4.jar.
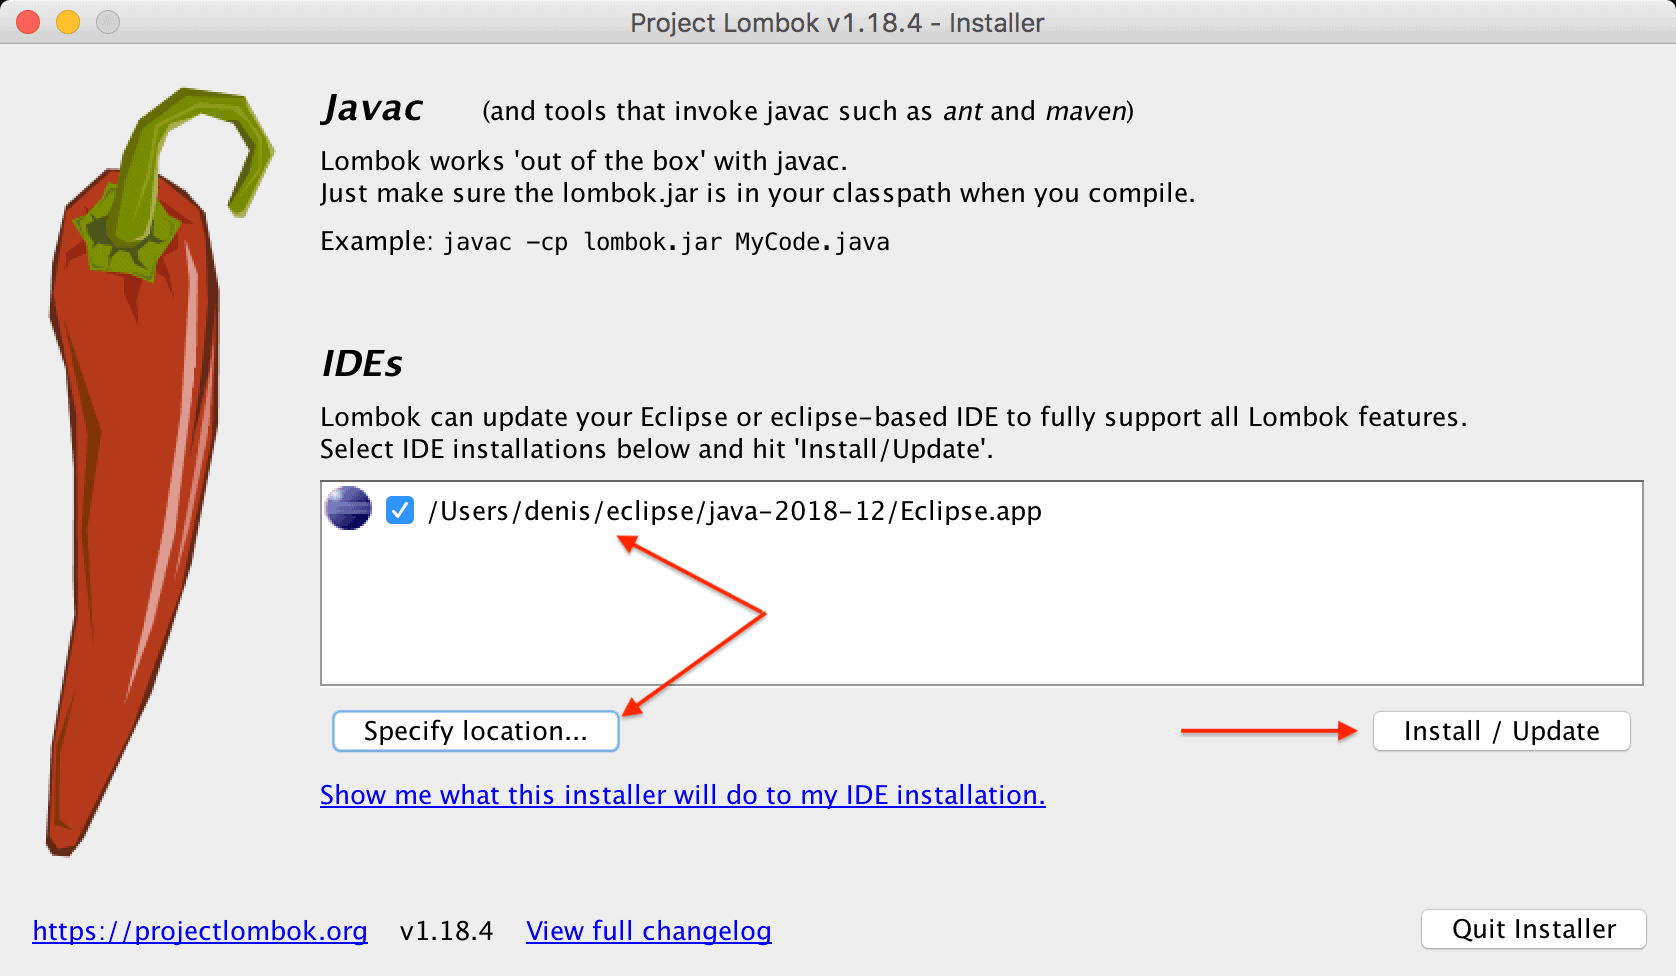
Next, we can run the jar via java -jar command, and an installer UI will open. This tries to automatically detect all available Eclipse installations, but it’s also possible to specify the location manually.
Once we’ve selected the installations, we press the Install/Update button:
👁 lombok6
If the installation is successful, we can exit the installer.
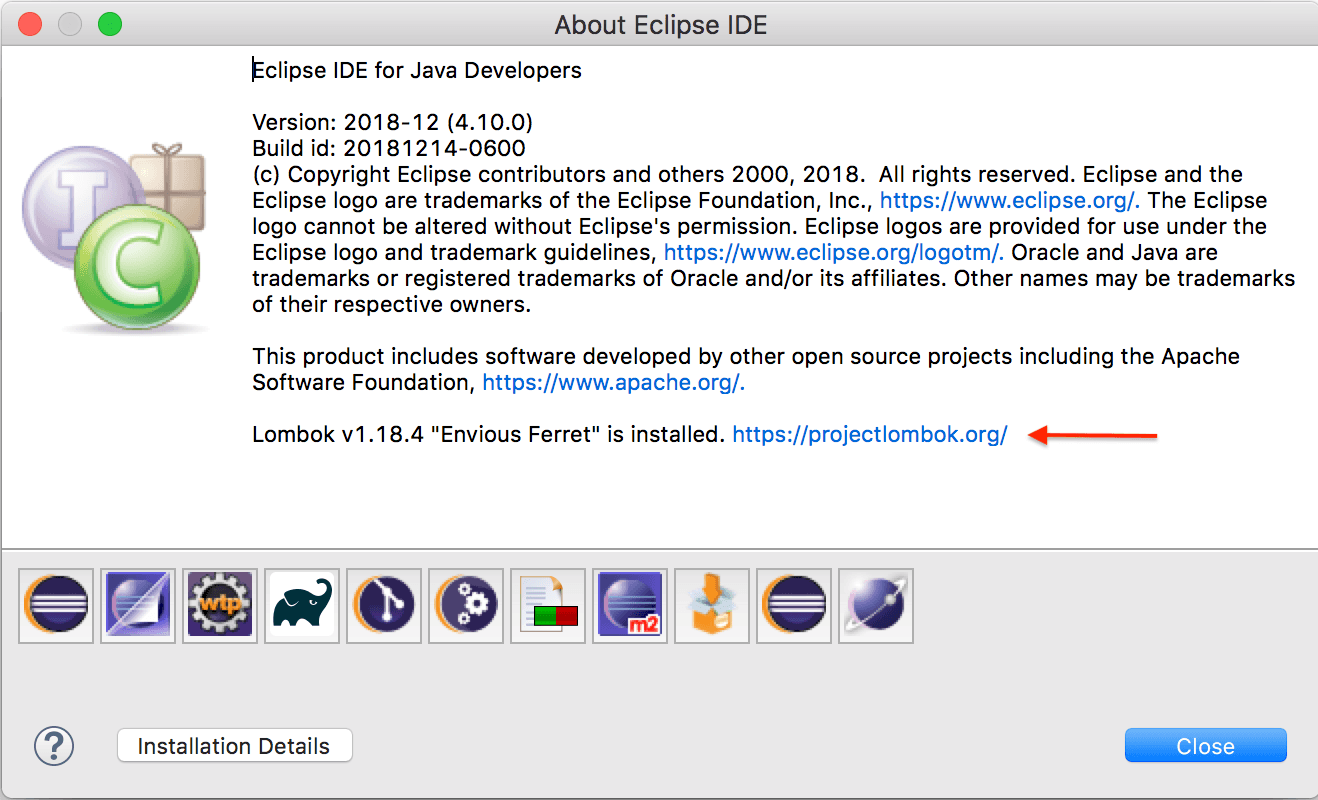
After installing the plugin, we need to restart the IDE and ensure that Lombok is correctly configured. We can check this in the About dialog:
👁 lombok7
4. Adding Lombok to the Compile Classpath
The last remaining part is to ensure that Lombok binaries are on the compiler classpath. Using Maven, we can add the dependency to the pom.xml:
<dependencies>
 <dependency>
 <groupId>org.projectlombok</groupId>
 <artifactId>lombok</artifactId>
 <version>1.18.30</version>
 <scope>provided</scope>
 </dependency>
</dependencies>
The most recent version is located on Maven Central.
Everything should be fine now. The source code should be shown without errors in the IDE, correctly compiled and executed:
public class UserIntegrationTest {

 @Test
 public void givenAnnotatedUser_thenHasGettersAndSetters() {
 User user = new User();
 user.setFirstName("Test");
 assertEquals(user.getFirstName(), "Test");
 }

 @Getter @Setter
 class User {
 private String firstName;
 }
}
5. Conclusion
Lombok does a great job of reducing Java verbosity and covering boilerplate stuff under the hood. In this article, we checked how to configure the tool for the two most popular Java IDEs.