 |
VOOZH | about |
|
VOOZH | about |
Social media management plays a very major role in the success of businesses, influencers, and organizations alike. With the rapidly growing number of platforms and the need for real-time engagement, having a centralized hub to monitor and manage social media activities is important. In this article, you will learn to build a Social Media Dashboard With Next.js.
Project Preview:
Step 1. Set up Next.js project using the command:
npx create-next-app social-media-dashboard The create-next-app command will sets up everything automatically for you, and on the terminal you will see this,
What is your project named? my-app
Would you like to use TypeScript? No / Yes
Would you like to use ESLint? No / Yes
Would you like to use Tailwind CSS? No / Yes
Would you like to use `src/` directory? No / Yes
Would you like to use App Router? (recommended) No / Yes
Would you like to customize the default import alias (@/*)? No / Yes
What import alias would you like configured? @/*
Just go for yes on every option otherwise keep it default and hit enter.
Step 2. Navigate to the project folder using:
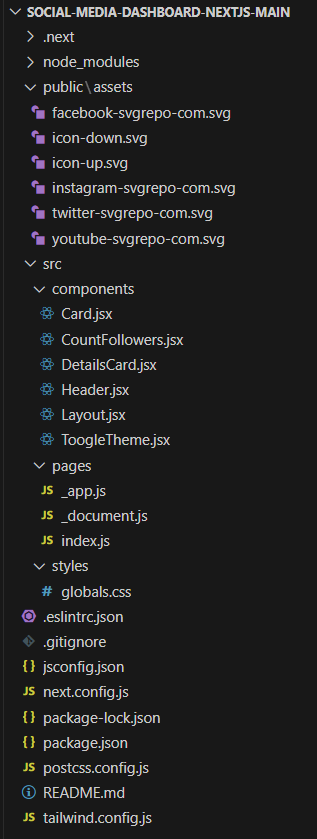
cd social-media-dashboard You can put any logo you need in the public\assets directoryAfter following the installation steps the dependencies in package.json file will be somewhat like this:
 "dependencies": {
 "@next/font": "13.1.6",
 "eslint": "8.33.0",
 "eslint-config-next": "13.1.6",
 "next": "13.1.6",
 "react": "18.2.0",
 "react-dom": "18.2.0",
 "standard": "^17.0.0"
 }
Example: Here is the example code to create a dashboard using Next.js.
Type the command:
npm run devOutput:
.gif)