 |
VOOZH | about |
|
VOOZH | about |
AutoSum in Excel is one of the most powerful and time-saving tools for quickly adding up a range of numbers. Whether you're working with a small list of values or a large data set, AutoSum can save you from the process of manually entering formulas to calculate sums.
In this step-by-step guide, learn how to use AutoSum in Excel and explore additional tips to optimize its functionality.
In the below methods learn how to use AutoSum in Excel to make your workflow faster and more efficient. From basic summation to advanced calculations, AutoSum can significantly speed up your spreadsheet tasks:
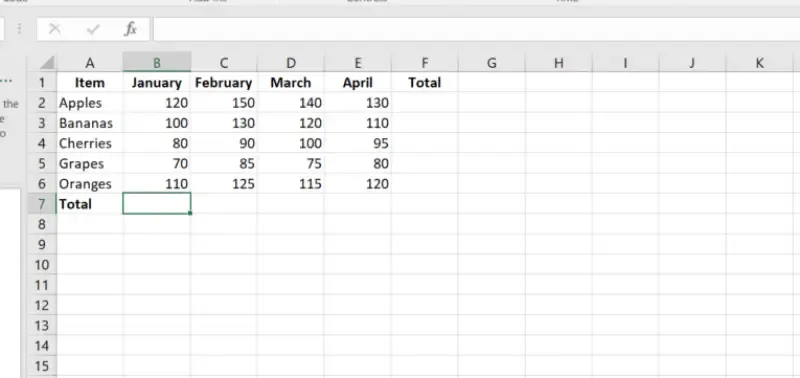
In this method, you will learn how AutoSum is used to calculate the sum of a range of numbers in spreadsheet:
Click on the cell where you want the sum to be displayed. Like in the below image, we have selected B7.
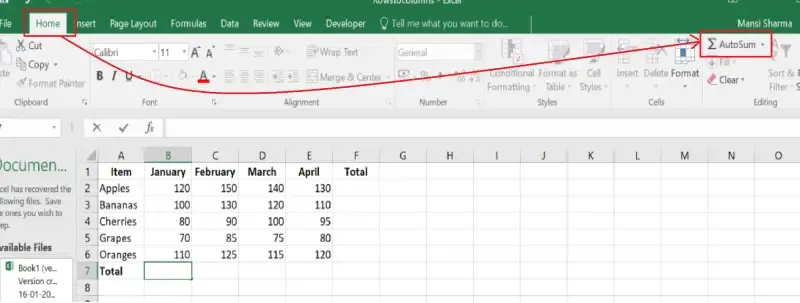
Shortcut Key to AutoSum Function : Alt + =
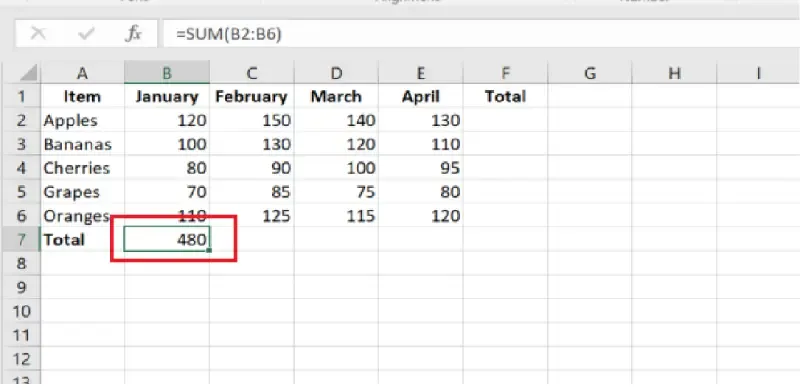
Excel will automatically detect the range of adjacent cells to sum. Verify that the range is correct. If necessary, adjust it by dragging the selection borders or entering the desired range manually.
Press the Enter key, and AutoSum feature will calculate and display the sum in the selected cell.
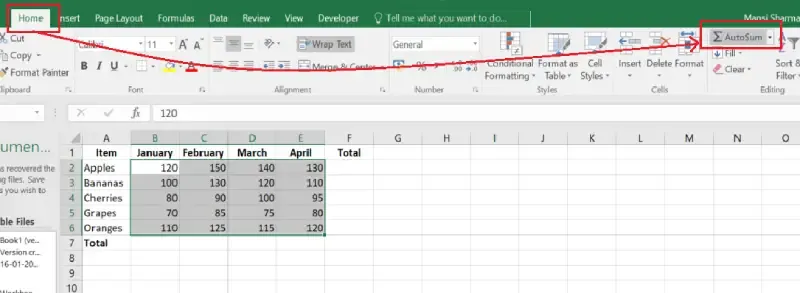
Now, in this method you'll learn how AutoSum can efficiently calculate totals for multiple rows and columns at the same time:
Select the range of cells that includes the data and you can also include an empty row or column (optional) where the totals will be placed.
Go to the Home tab and click on the AutoSum (∑) icon in the Editing group.
Excel will automatically calculate the totals for each row and column and place them in the corresponding empty row or column.
Do you know? AutoSum can be used for more than just summing values. It allows you to calculate averages, counts, maximum, and minimum with ease.
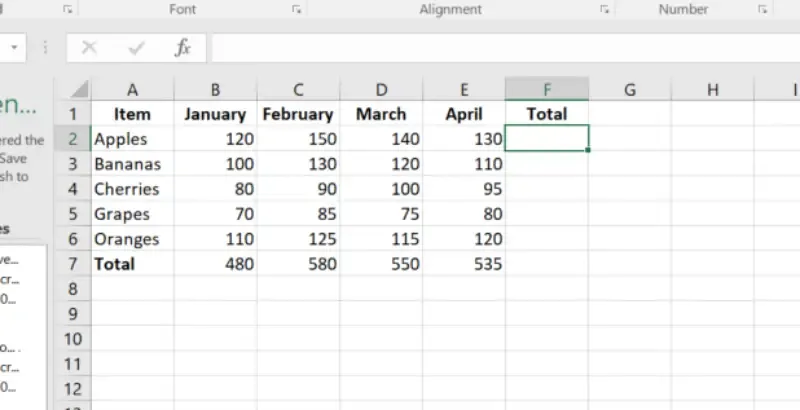
Click on the cell where you want the result to appear. In the below example, we have selected F2.
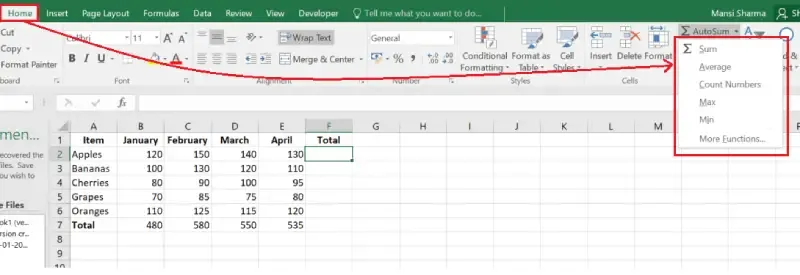
Go to Home Tab and Click the dropdown arrow next to the AutoSum (∑) icon.
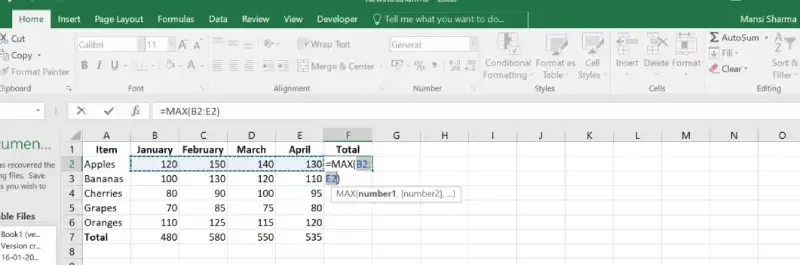
Select any function like Average, Count Numbers, Max, or Min from the dropdown list based on your usecase. Here, we have selected Max to find out the Maximum number in the row.
Excel will auto suggest a range of cells. Confirm or modify the range as needed.
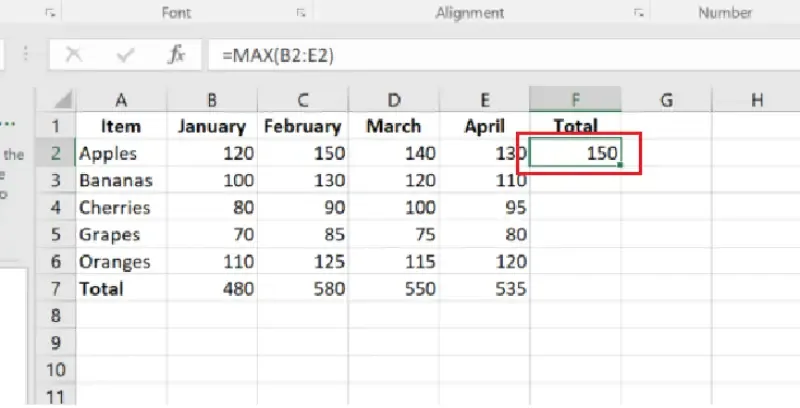
Now, Press Enter and Preview the Results. Here, it has shown 150 is the maximum number between B2:E2.
If you need to troubleshoot AutoSum in Excel, check for common issues like formatting errors, blank cells, hidden rows, or incorrect range selection. These problems are often the reason behind Excel AutoSum not working, and resolving them will help you quickly fix the issue and get accurate results.
Problem: Numbers are stored as text, so AutoSum cannot calculate.
Solution:
Problem: AutoSum skips blank or non-numeric entries, causing incorrect totals.
Solution: Ensure the range contains only numeric values and remove any errors or blank cells.
Problem: Hidden rows or columns are included in the calculation.
Solution: Use the SUBTOTAL function to exclude hidden rows:
=SUBTOTAL(9, range)Problem: AutoSum selects the wrong range, especially if there are gaps in data.
Solution: Manually adjust the range by dragging the selection borders or typing the correct range.
Problem: Filtered-out data may still be included in the sum.
Solution: Use SUBTOTAL or AGGREGATE to calculate only visible rows:
=SUBTOTAL(9, range)Problem: Excel is set to manual calculation, so AutoSum doesn’t update.
Solution: Go to Formulas > Calculation Options and select Automatic.
Problem: The sheet is protected, or there’s a circular reference in your formula.
Solution:
The AutoSum feature in Excel is an important tool for handling data calculations quickly and efficiently. By understanding this function, you can easily perform quick calculations in Excel and resolve any common AutoSum issues without spending much time. With its features like having a dedicated shortcuts key and the ability to apply additional functions, AutoSum makes working with spreadsheets much simpler.