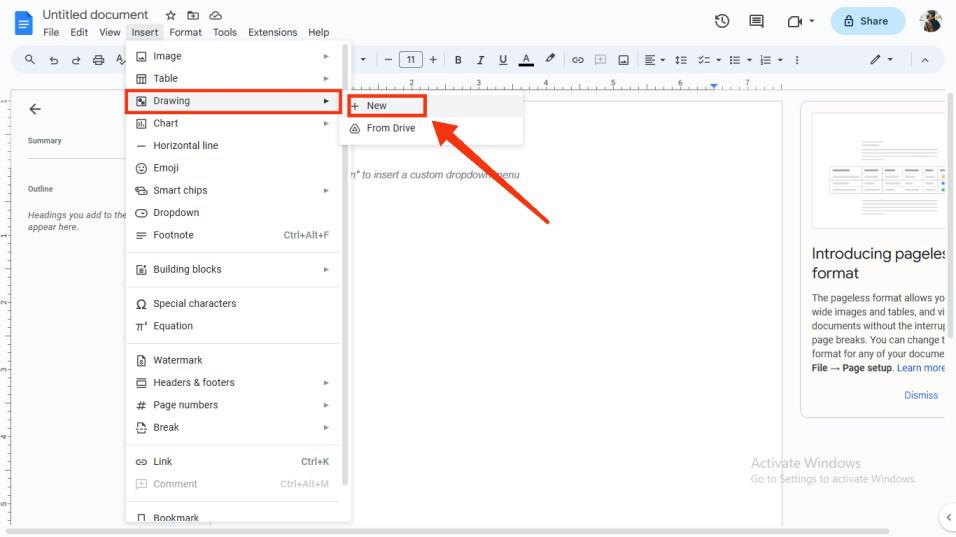
Word Art in Google Docs lets you create stylized text to make your document more visually appealing. You can add it through the Drawing tool, customize it, and easily edit or delete it anytime.
Steps to Insert Word Art in Google Docs on Desktop
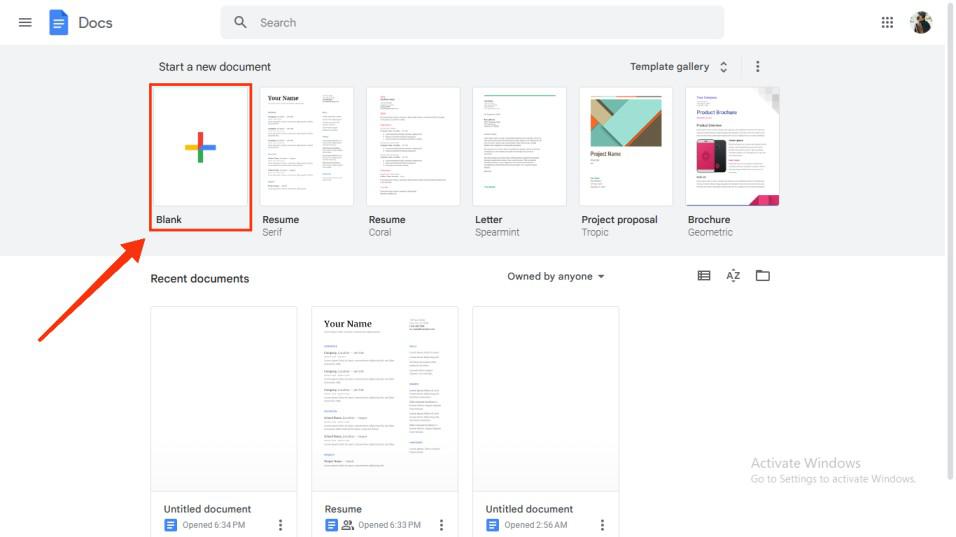
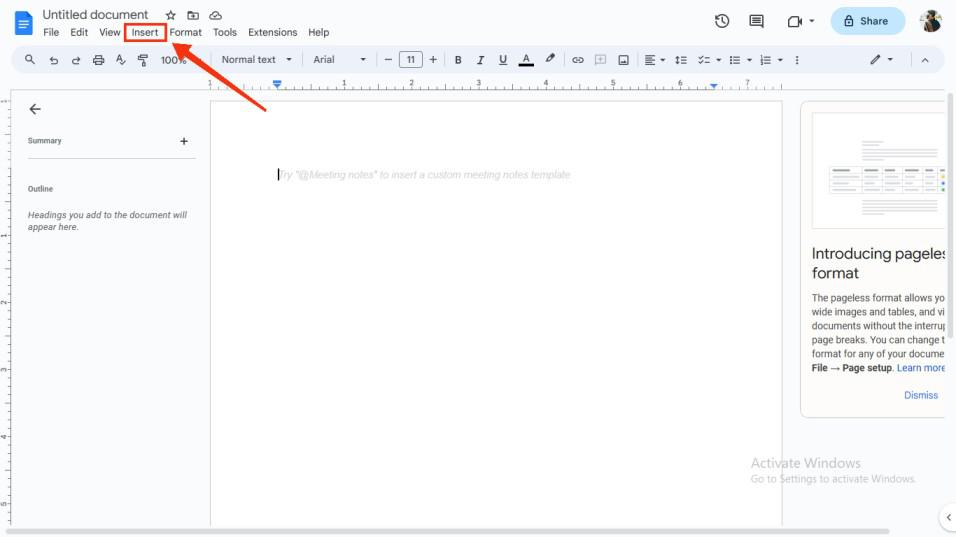
Step 1: Open a Document
Open your Google Docs and select a blank document or an existing one.
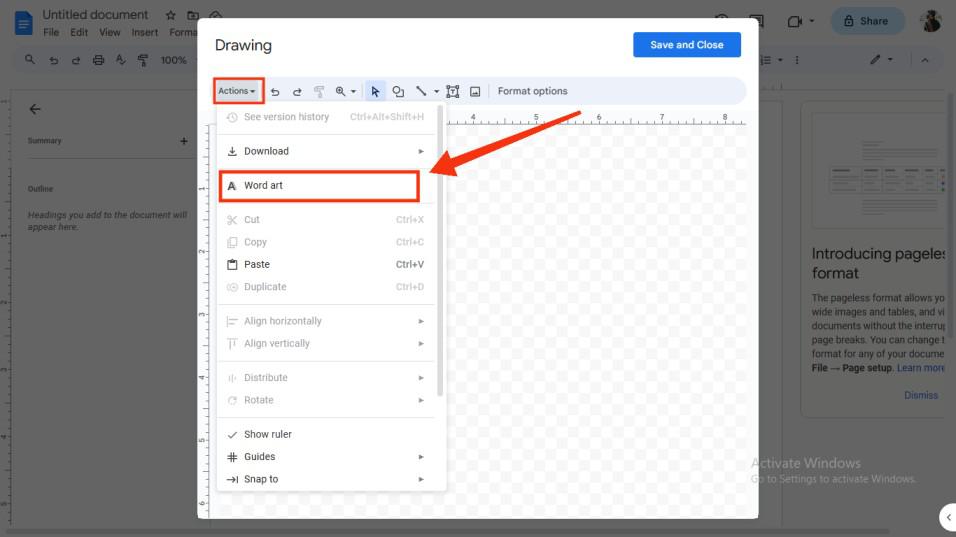
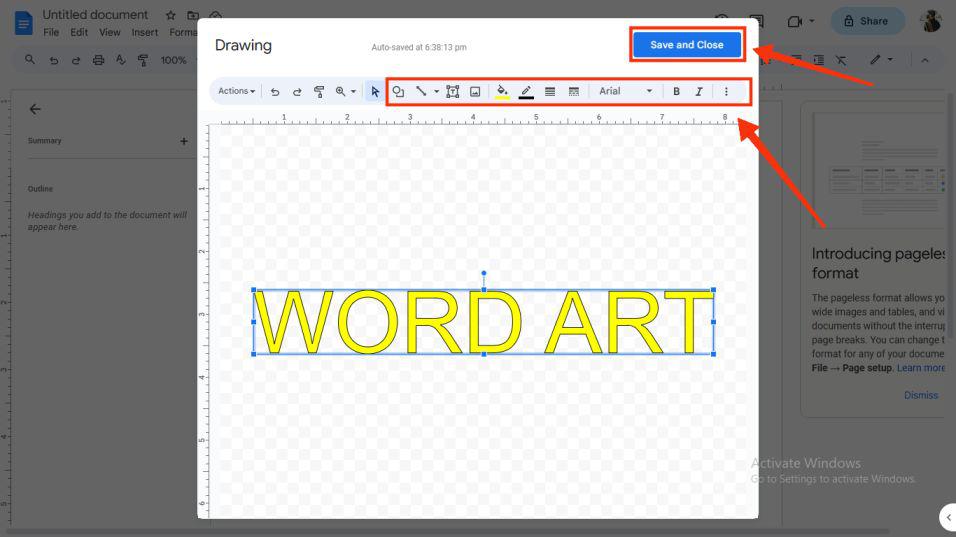
Step 6: Customize your Text, Click Save and Close button
Now you can customize the font, size, and color of the text entered by the tools present at the top menu. After formatting the text click the "Save and Close" button located in the top right corner of the window.
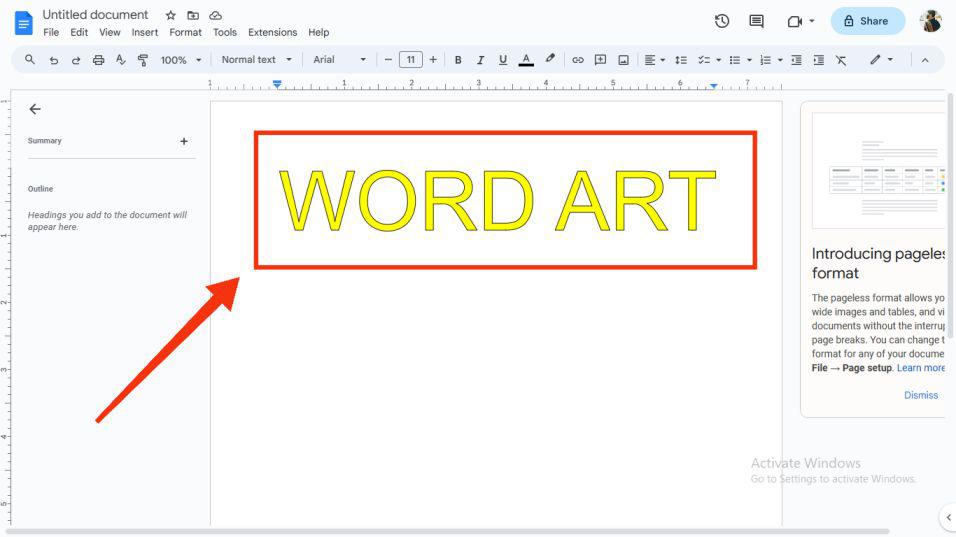
In case you want to delete the inserted word art from your document you can also do so easily. You just have to select your word art and press the delete key from your keyboard and your word art will be deleted.
Another way to delete your word art is by selecting it and then right-click on it. A drop-down menu will pop and you will have an option to delete there. Click on that and your word art will be deleted from your document.
