 |
VOOZH | about |
|
VOOZH | about |
Organizing your documents efficiently is key to maintaining productivity, and creating folders in Google Docs can greatly streamline your workflow. If you're managing a project, keeping track of client documents, or organizing personal files, knowing how to create folders in Google Docs is essential.
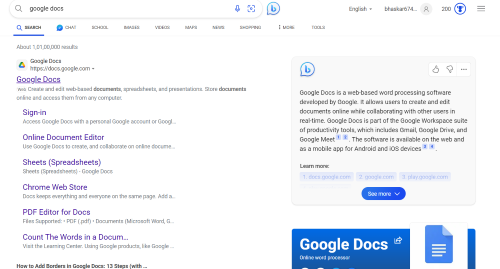
The first step is to open Google Docs.
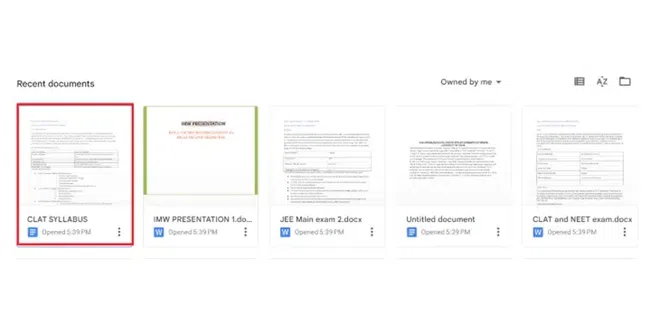
After opening Google Docs, the next step is to open the document from your list of documents from where you want to create folders.
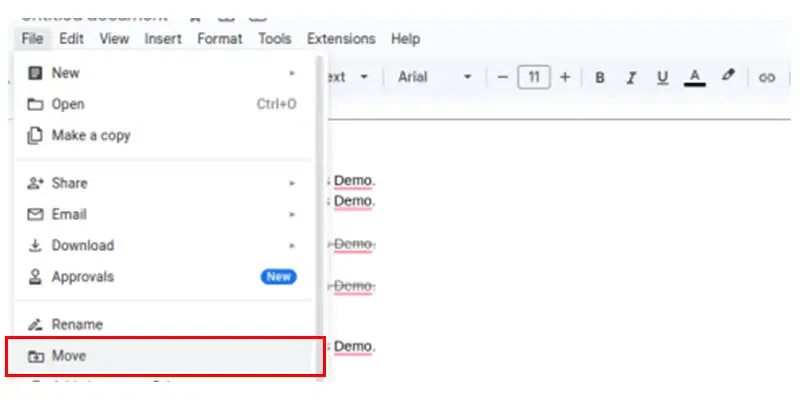
Go to the File tab at the top left corner and click on it. A drop-down menu will pop up. From the given options select "Move". As you click on the move option a small "My Drive" box will appear on your screen
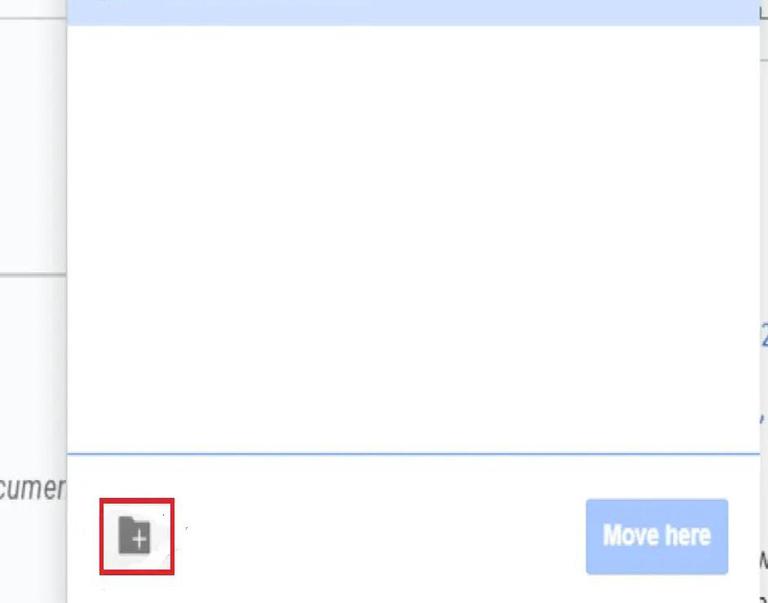
Select the "+ option" ( New Folder) from the drop-down menu that appears on your screen to create a folder.
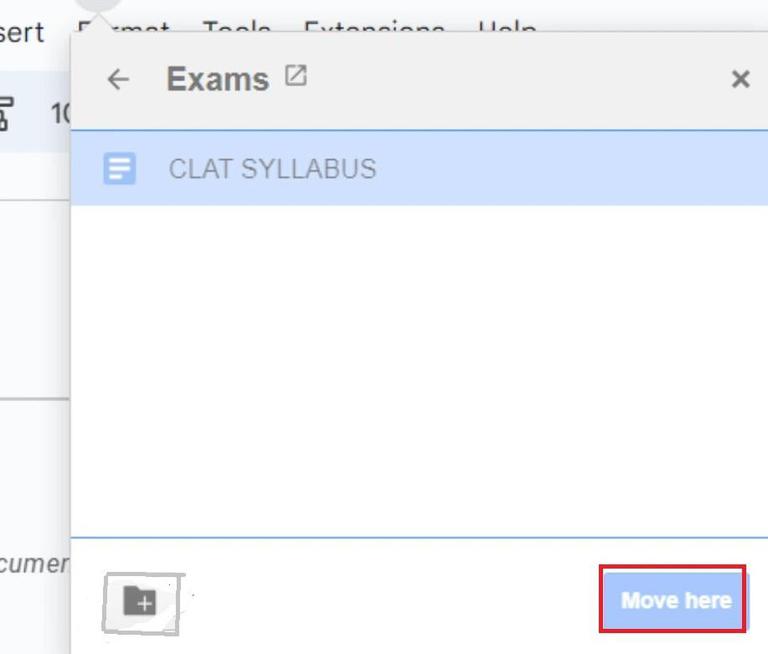
Now in the opened text box write the name of the folder with which you want to create a new folder, click on the option available on the right side after naming the folder, and Click on the "move here" button at the bottom right corner.
You can search for the folder created to confirm if the folder has been created or not.
The first step is to log into your Gmail account. Go to the Google apps at the top right corner and click on it. A drop-down menu will pop up.
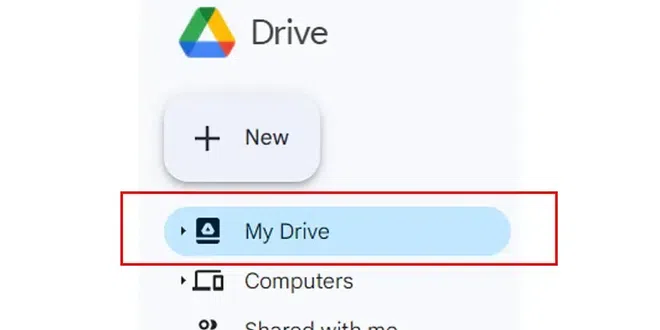
Select the Google Drive option from the drop-down menu that appears after clicking on the Google app. Click on the New option available at the top left corner of the screen. A drop-down menu will pop up.
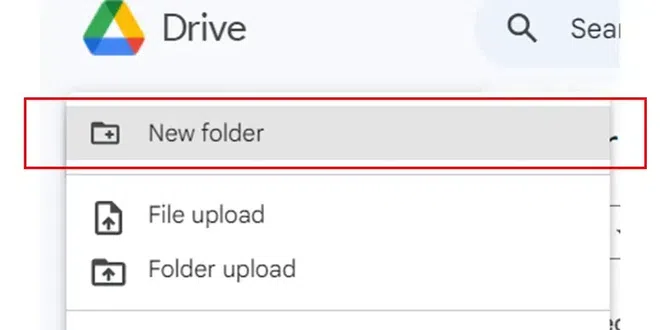
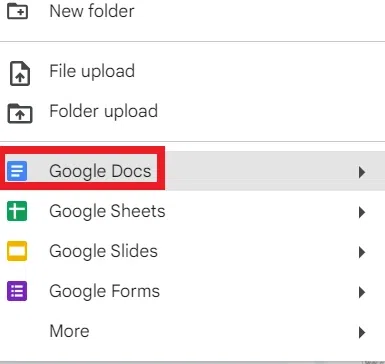
Select the new folder option from the drop-down menu that appeared after clicking on the "+ New".
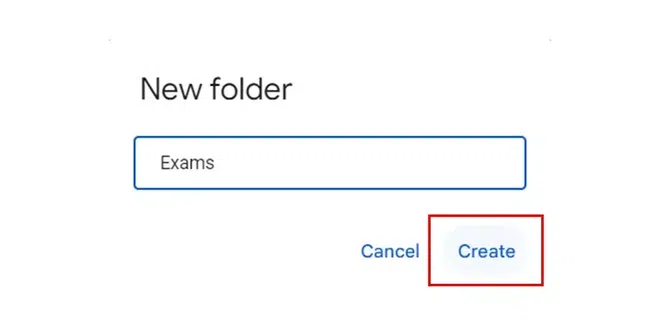
Now, You can name the folder and click on Create.
Now, you can Open the folder as created by you. After opening the folder, right-click on the screen and select Google Docs.