 |
VOOZH | about |
|
VOOZH | about |
Creating brochures in Google Docs is a quick way to design professional marketing materials, flyers, or catalogs. With easy templates and formatting tools, you can organize text and images, customize designs, and export them for print or digital use.
Google Docs offers a variety of brochure templates to suit different needs and design preferences. Some of the common types of brochures you can find or create in Google Docs include:
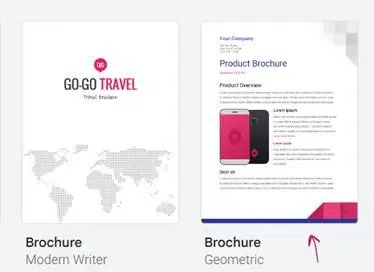
Google Docs only offers two brochure templates ("Geometric" and "Modern Writer"), and you can easily access them by searching for "brochure" in the template section. They are fully customizable, allowing you to change colors, fonts, and layout elements to suit your needs.
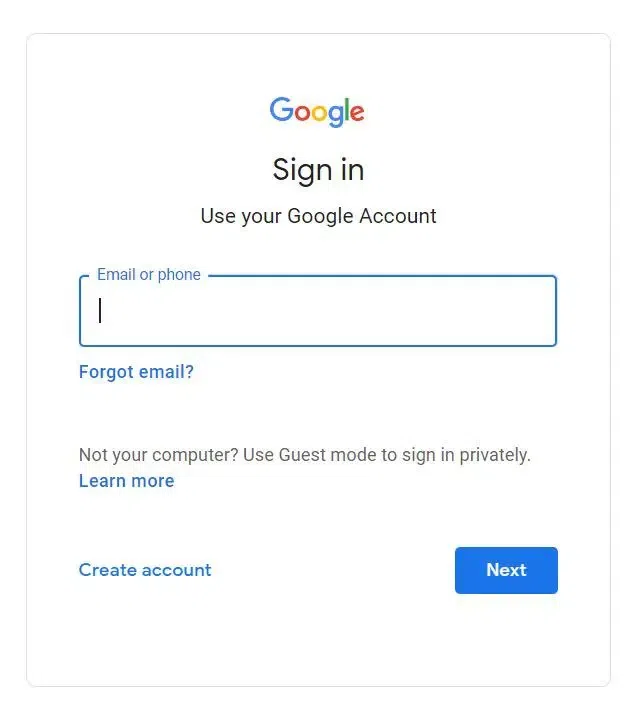
To begin, sign into your Google account and open Google Docs. Start a new document by selecting "Blank" from the home screen.
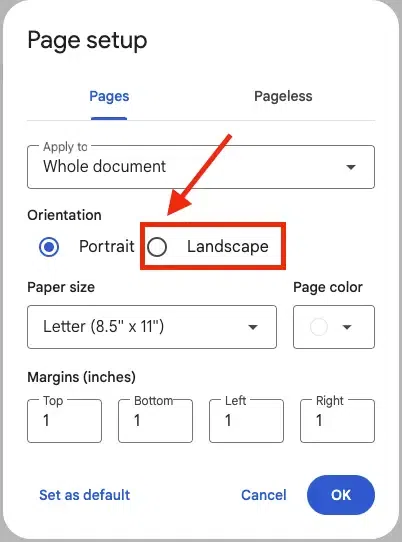
Go to File > Page Setup and choose the Landscape orientation. This will give your brochure a wide layout.
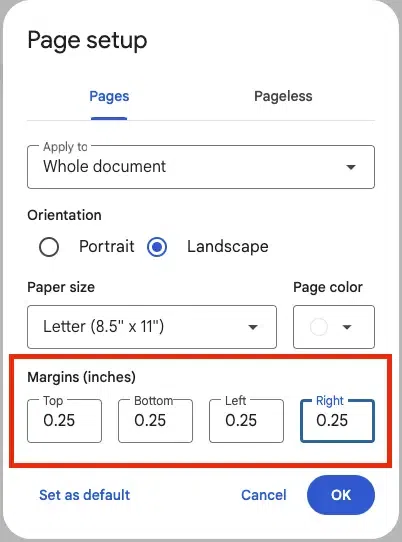
Set the margins to look professional brochure. Ideally for a standard base margin is to set 0.25 inches on all sides (Top, Bottom, Left, Right) for more space.
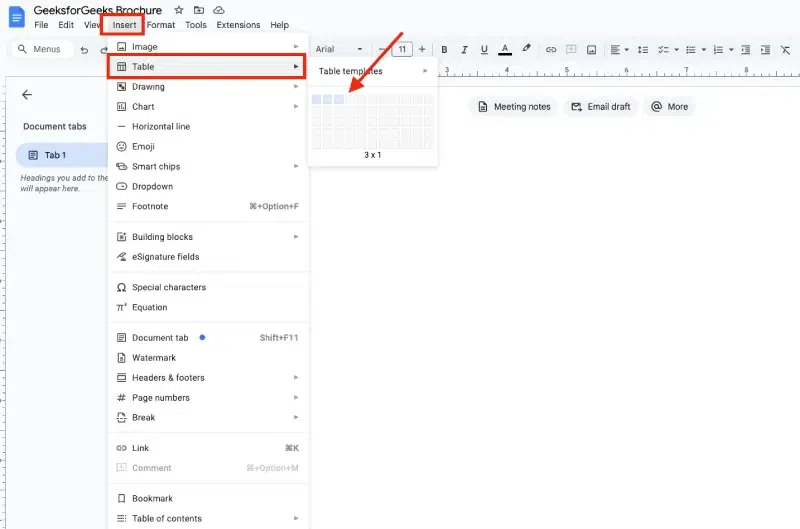
For a traditional brochure, you will need to divide your page into sections. Go to Insert > Table and select a 3x1 table for a tri-fold brochure. Adjust the column width by clicking and dragging the borders of the table to your preferred dimensions.
You can also increase the size of columns by dragging like this:
Start by adding your text in the different sections of the table. Use Headings for titles, and keep your font size between 10–12 points for readability. You can also add images by going to Insert > Image and selecting where to upload your images from (e.g., Google Drive, Upload from computer).
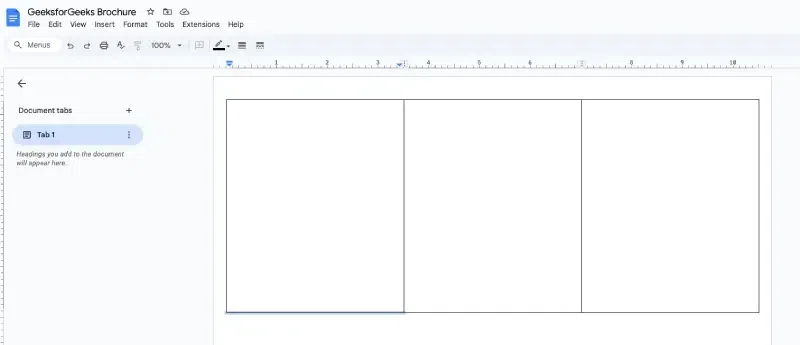
This is what your trifold brochure will look like. Here, we have just used a sample to show you an example.
Note: To create a two-page brochure, you need to add a second page. Type your content on the first page, then insert a page break by selecting Insert > Break > Page Break. This will create a new page for the second part of your brochure.
Customize the font style, color, and alignment. Google Docs has various formatting options such as bold, italics, and underline, which will help in making headings stand out.
Once you’re satisfied with the design, make sure to proofread your content. After finalizing everything, save your brochure as a PDF or print it directly.
Google Docs offers several free brochure templates that you can use to create a professional bifold brochure quickly. These templates come pre-designed, so all you need to do is fill in your information and make a few customizations.
After signing into your Google account, go to Google Docs homepage.
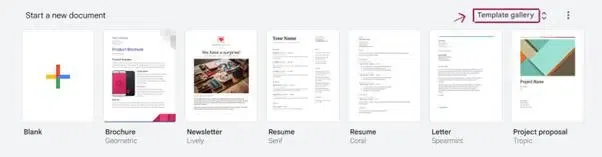
Now from the top right corner click on "Template Gallery", from here you will get a lot of templates for different creative works.
You can either search for brochure templates or scroll down to the ‘Work’ section and look for the brochure templates. Currently, Google Docs offer two brochure templates, one is "Geometric", and the other is "Modern Writer".
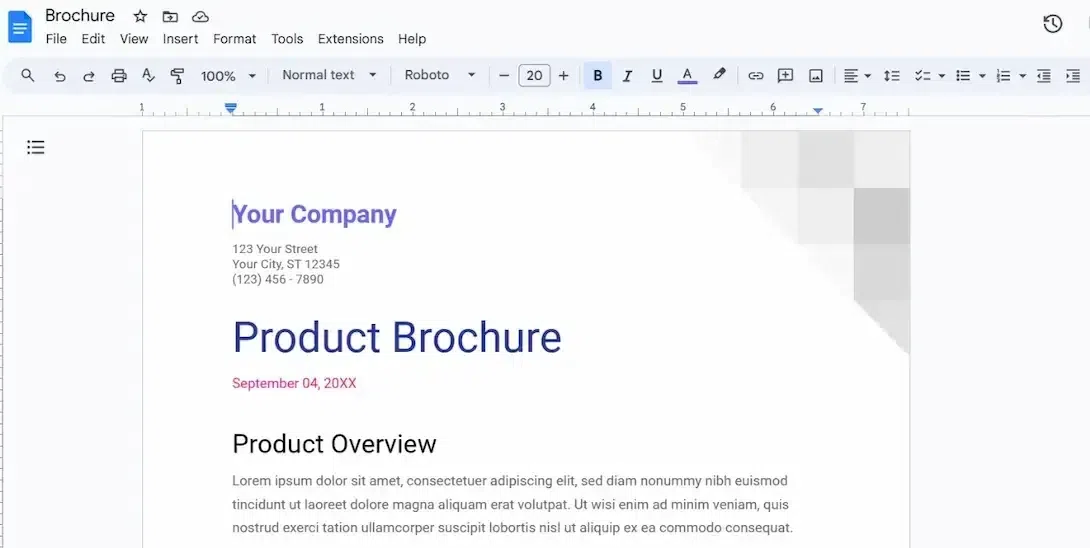
Now that you’ve selected the template, open and edit it.
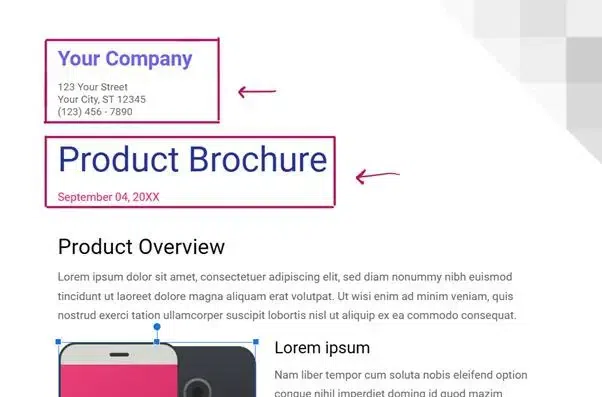
Start by updating the company name, address, and product description.
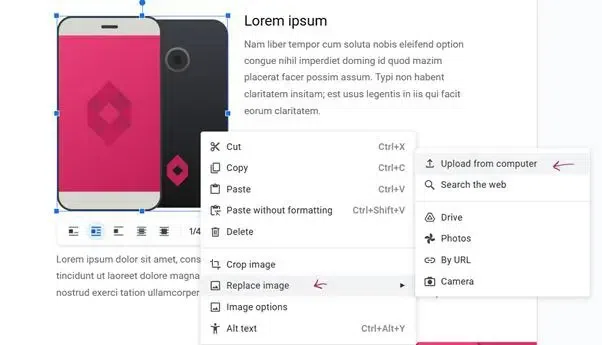
You can change the image by right-clicking on the image selecting "Replace Image" then choosing "Upload from Computer", and selecting the desired or most suitable image from the gallery.
Note: If you want to keep it a One-page brochure then add all the required details of the brochure on one page only or else you can add a detailed page on page two making it a Two-page brochure.
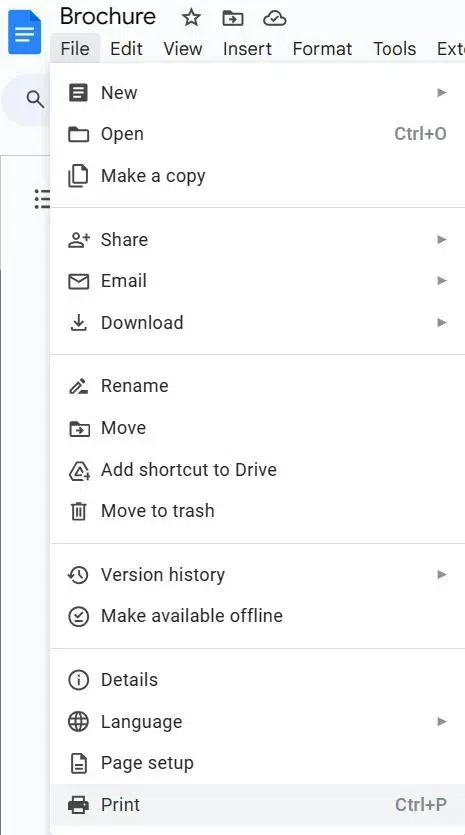
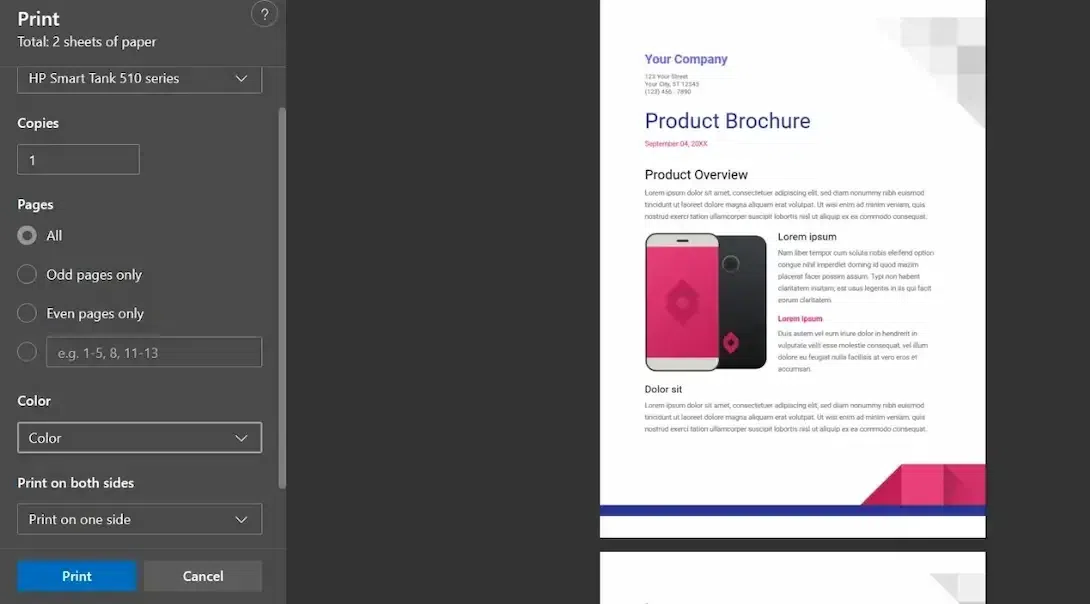
After altering all the features that were required like font, colors, styling, and images, you can download the brochure or print it by clicking on File -> Print.
Make changes to print settings like, number of copies, layout, and page format.