 |
VOOZH | about |
|
VOOZH | about |
Creating an invoice in Google Docs is a quick way to manage billing for business or freelance work. With customizable templates, you can create professional invoices for services, products, or recurring payments, ensuring accurate and organized billing.
Here are the methods to create or generate a professional invoice tailored to your needs. Follow these easy steps to get started:
This method gives you complete control over the layout, colors, and sections, making it perfect for businesses or freelancers looking for a personalized solution. Plus, at the end, we’ve included a fully customizable template to save you even more time!
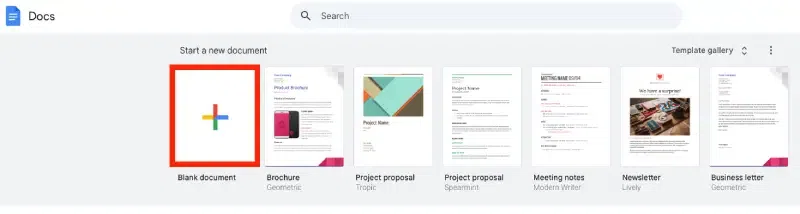
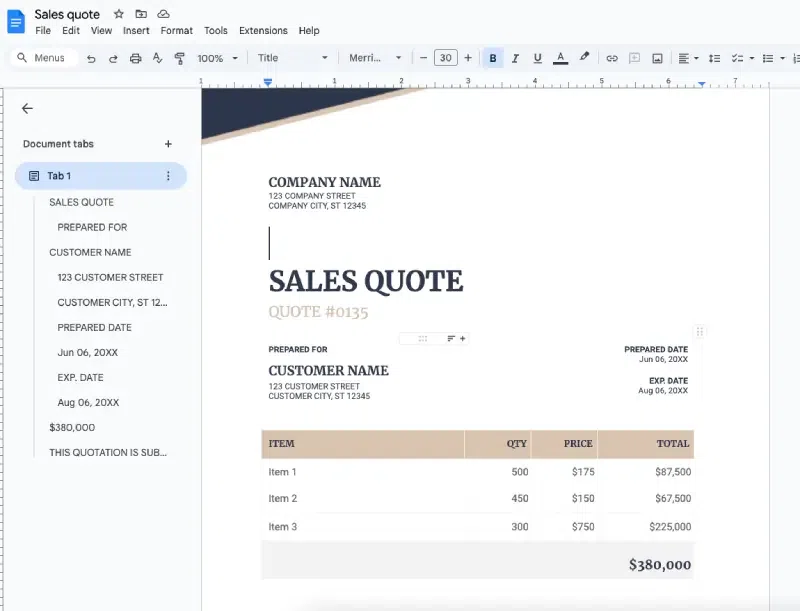
Step 1: Open a New Document in Google Docs
To start creating your invoice, open a new document in Google Docs:
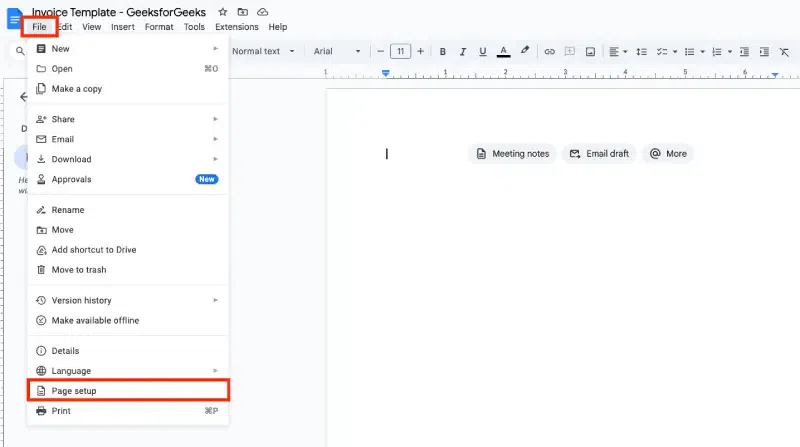
Step 2: Go to Page Setup
Click on File in the top menu and then select Page setup.
Step 3: Set Up Page Margins and Orientation
In the Page setup window, set all four margins (Top, Bottom, Left, Right) to 1 inch. Choose Portrait for the Orientation and click OK.
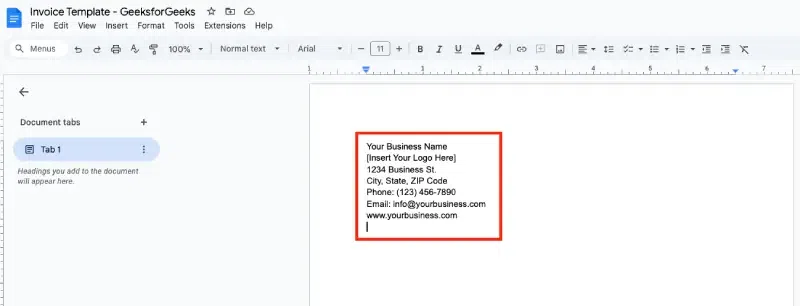
Step 4: Add Your Business Information
At the top of the document, you should include your business information, as this is critical for branding and identification. This typically includes:
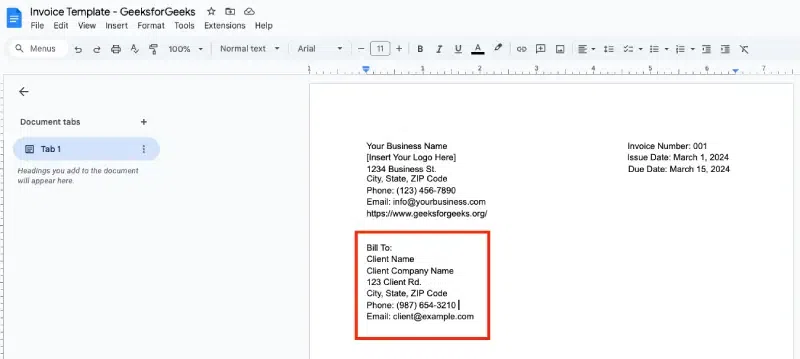
Step 5: Add the Invoice Title and Date
Just right side of your business information, it's essential to title your document as an Invoice and add the relevant details:
Add the Invoice Number, Issue Date, and Due Date:
Step 6: Add Client Information
Below the invoice details, include the client's information for whom the invoice is being issued. This ensures that both you and your client have proper records.
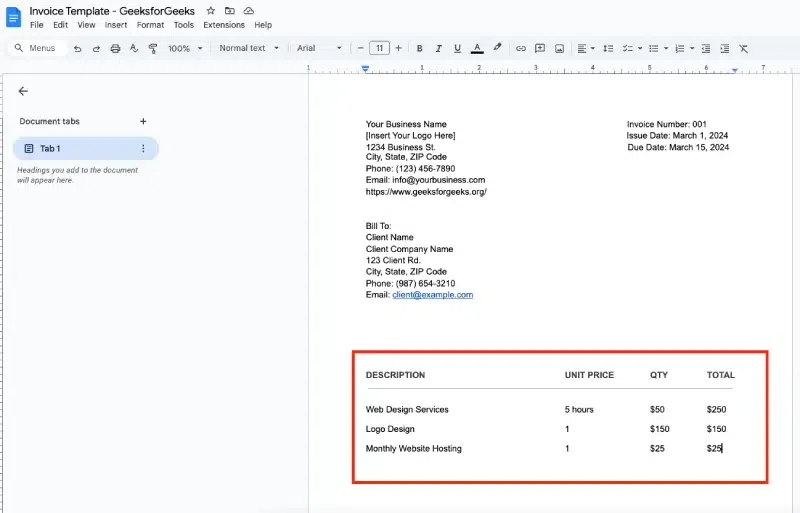
Step 7: Create the Itemized List of Services or Products
Now, it’s time to itemize the services or products that you're invoicing for. To do this effectively:
Insert a Table:
Use the following column headings:
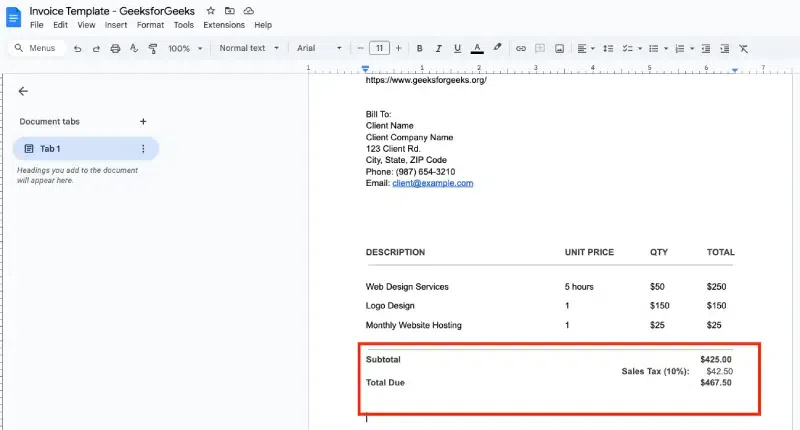
Step 8: Calculate Total Amount Due
Below the itemized table, it’s important to summarize the total amount that the client owes. Add a Total Due section in a larger font size and in bold to make it stand out.
You can calculate the sales tax and subtotal manually or use Google Sheets for easier calculations and copy the results into the document.
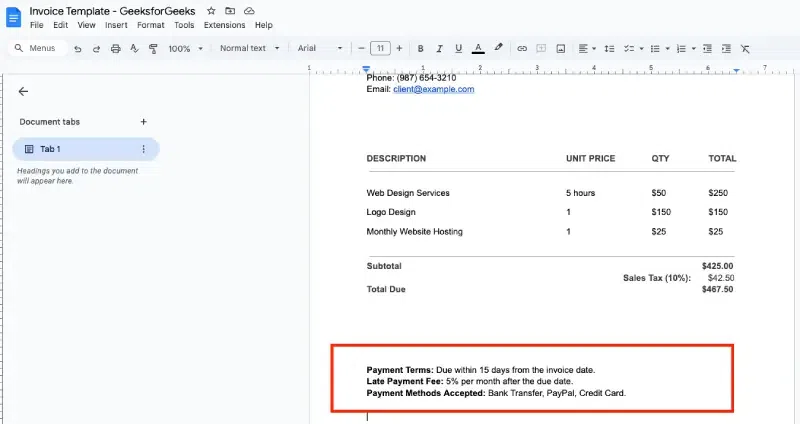
Step 9: Payment Terms and Instructions
It’s important to include your payment terms to avoid confusion. Add the following details:
Step 10: Add a Personal Note (Optional)
You can also personalize your invoice by adding a short thank you message or note to your client. This helps maintain good relationships and adds a professional touch.
Step 11: Save and Download Your Invoice Template
Once you’ve designed your invoice, make sure to save it properly for future use. To ensure it’s easily accessible, save it as a template and reuse it whenever needed.
If you're looking for a quick and easy way to create an invoice, Google Docs offers built-in templates that can be customized to suit your business needs. Here's how you can find and use these templates:
Step 1: Open Google Docs and Access the Template Gallery
Start by opening Google Docs in your browser as shown in the previous method.
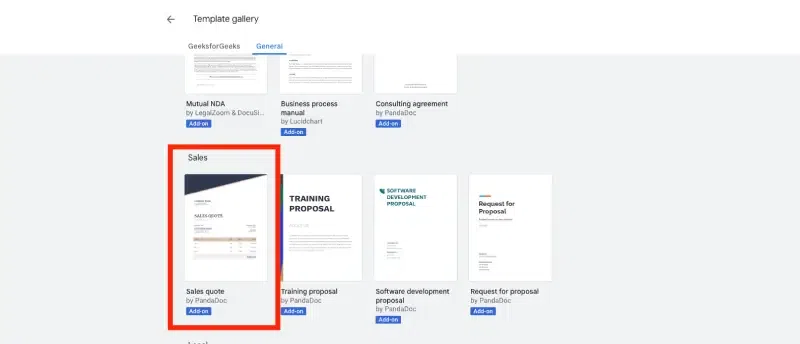
Step 2: Search for Invoice Templates
In the template gallery, use the search bar at the top to type "invoice." This will filter the available templates and show you all relevant invoice designs.
Step 3: Select and Open a Template
Browse through the results and choose a template that matches your needs. Click on the template to open it in a new document.
Step 4: Customize the Template
Edit the invoice template by adding your business details, client information, and the specific items or services being billed. Ensure that the payment terms and due date are clear.
Tip: Save this customized invoice as your template for future use.
Using the Google Docs template gallery is a convenient way to create professional invoices quickly without starting from scratch.
Since Google Docs doesn't provide native invoice templates, the Invoice Generator add-on can be a lifesaver. This tool allows you to create professional invoices directly within Google Docs by leveraging an easy to use Add on.
Step 1: Open Your Google Docs Document
Start by opening any document in Google Docs or creating a new blank document. This will be the base for adding the Invoice Generator as done in the previous method.
Step 2: Access the Add-Ons Menu
Navigate to the Extensions tab in the top menu and hover over Add-ons. From the dropdown, click on Get add-ons to open the Google Workspace Marketplace.
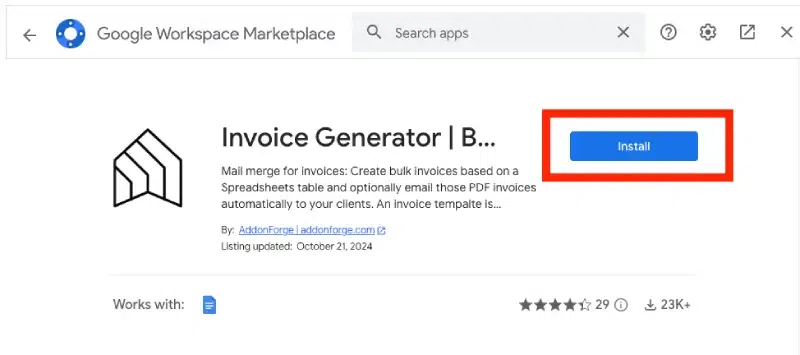
Step 3: Search for the Invoice Generator
In the search bar at the top of the Google Workspace Marketplace, type Invoice Generator. Press Enter and locate the add-on in the search results.
Step 4: Install the Add-On
Click on the Invoice Generator add-on and then click the Install button. Follow the on-screen instructions to grant permissions and complete the installation process.
Tip: Make sure you’re signed into your Google account to access and install add-ons.
Step 5: Launch the Invoice Generator
After installation, return to the Extensions menu in your Google Docs document. Hover over the Invoice Generator option and select Start to launch the add-on.
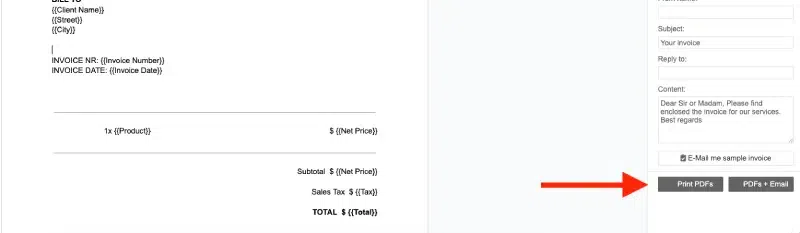
Step 6: Customize Your Invoice
Use the add-on's intuitive interface to create a personalized invoice. Add details like your business name, client information, items or services provided, pricing, and any additional notes.
Step 7: Save or Share Your Invoice
Once your invoice is complete, save it as a PDF or share it directly via email using the options provided by the Invoice Generator add-on.
Creating a professional invoice template in Google Docs can simplify your billing process and leave a lasting impression. Follow these tips:
These small tweaks can make your Google Docs invoices polished, user-friendly, and effective in conveying essential details.