 |
VOOZH | about |
|
VOOZH | about |
Text wrapping refers to the way text flows around or interacts with an image or object in a document. Text wrapping determines how an object within your document interacts with the text surrounding it. You have various choices to control how closely the text wraps around the object. Start by choosing an image and then pick a text wrapping option.
In Google Docs, you have several options for text wrapping around images, similar to those found in Microsoft Word. There are five image-wrapping choices in Google Docs:
Open Google Docs in your web browser.
Open an existing document or create a new document in which we can add the content.
Now in our Google document select the area where we need to insert the image and wrap it into the text.
Navigate to the Insert tab, multiple drop-down options will be displayed. From this option, we need to select an image, and we need to upload the image from your computer. Or we can also upload it from different sources.
Once you click the "Image" option, a small window will appear. From there, choose the picture you want to put into your document. In the screenshot below, you can see that we've picked the image, and now we're going to add it to our document.
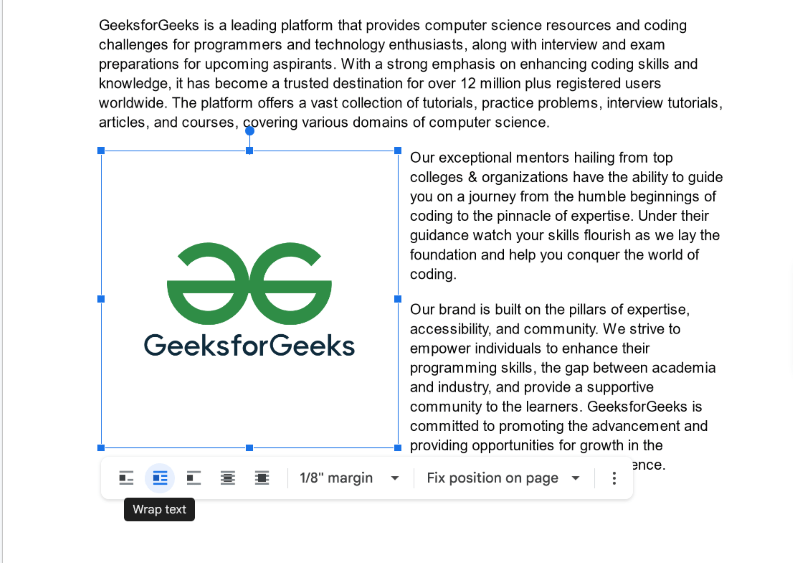
After the image is placed in your document, click on the image. Once you have done that, various icons will appear. Choose the "wrap text" icon as per your preference.
After selecting the wrap text option, our image is wrapped between the text in proper alignment and the proper layout.