 |
VOOZH | about |
|
VOOZH | about |
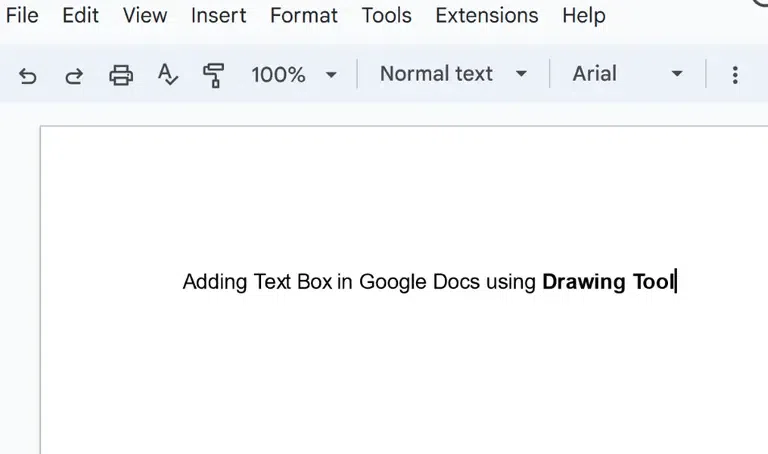
Adding text boxes in Google Docs lets you highlight, organize, and position text flexibly within your document. They can be used for emphasis, annotations, or designing layouts, and can be created using the drawing tool, shapes, or tables, both on desktop and mobile devices, for precise control over text placement and formatting.
Follow the steps given below to know how to add a text box on Google Docs:
In the very first step, we need to visit the Google Docs official website, from which we are provisioned to create and edit the documents.
Now, after opening the Google Docs website, We have two options for opening the document. We can open the existing document in Google Docs, or we can create a new Document.
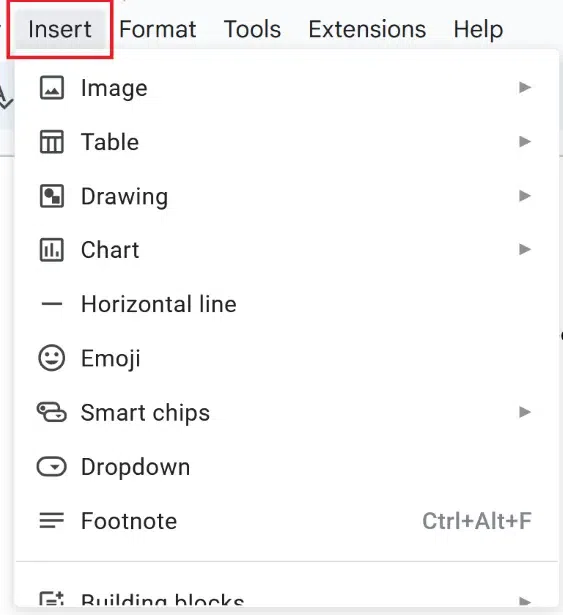
Now we need to click on the Insert Tab which is situated on the top panel of the editing space.
A list of options will be displayed when we navigate to the Insert Tab, so from these sub-options, we need to select the option of Drawing > New.
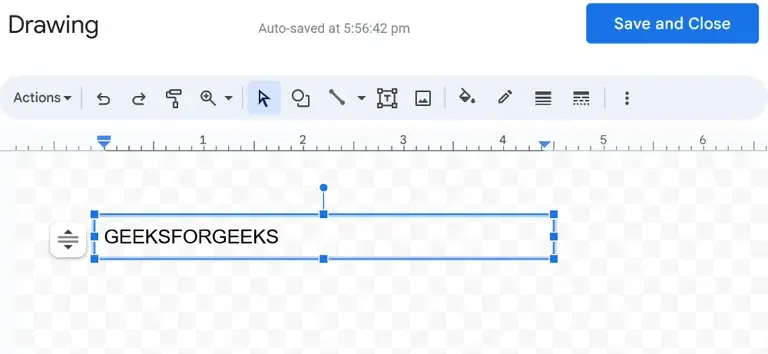
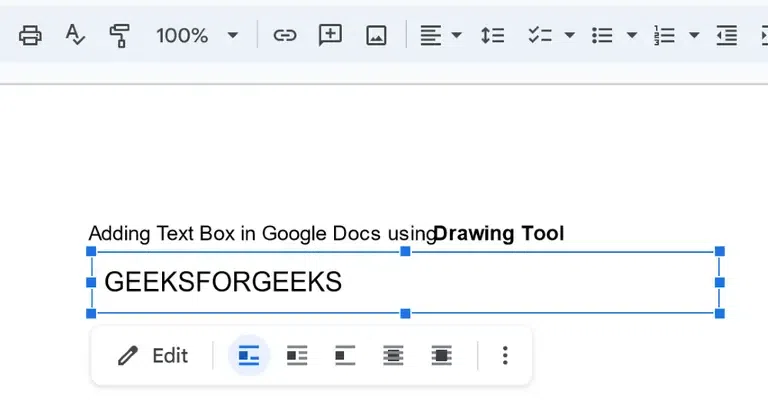
After clicking the "New" option, a window will pop up. From this window, you should choose the Text Box Icon.
To make a text box, you should drag it to the drawing area. Once you've done that, you can change it the way you want. After creating the text box, click the "Save & Close" button to add it to your document.
After clicking on the Save & Close Button, the Text Box will get added to our document successfully.
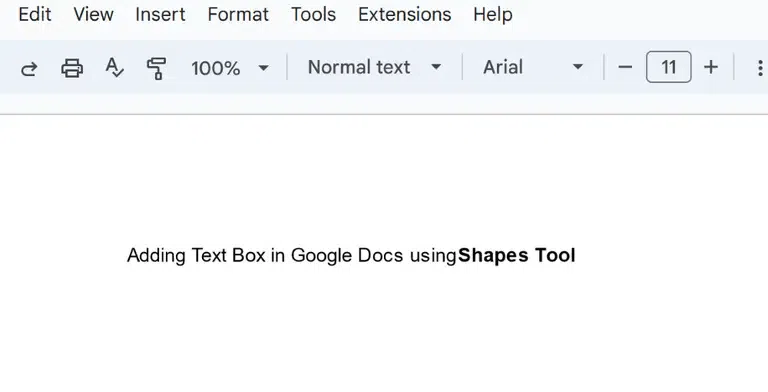
You can insert a shape in Google Docs like arrows, squares, stars, and flowchart shapes. These shapes are flexible, so you can add text, change colors, and line thickness. To know how to put a text box in google docs follow the steps given below:
After opening the Google Docs website, open the document, in which we need to insert or add the Text Box.
Click on the Insert Tab which is situated on the top panel of the editing space.
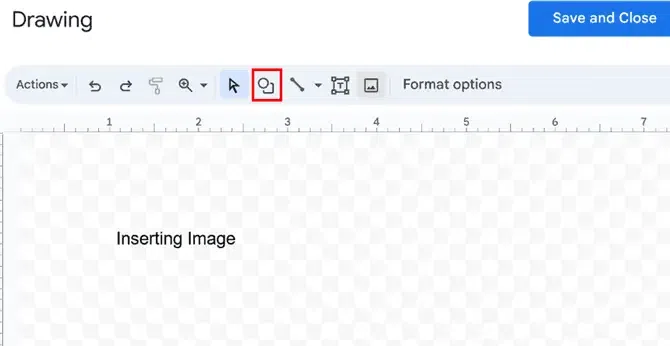
A list of sub options will be displayed when we navigate to the Insert Tab, so from these sub-options, we need to select the option of Drawing > New.
After clicking on the New option, a window will open, from this window, we need to select the icon of Shapes which is stated in the below screenshot.
Now, Choose your preferred shape.
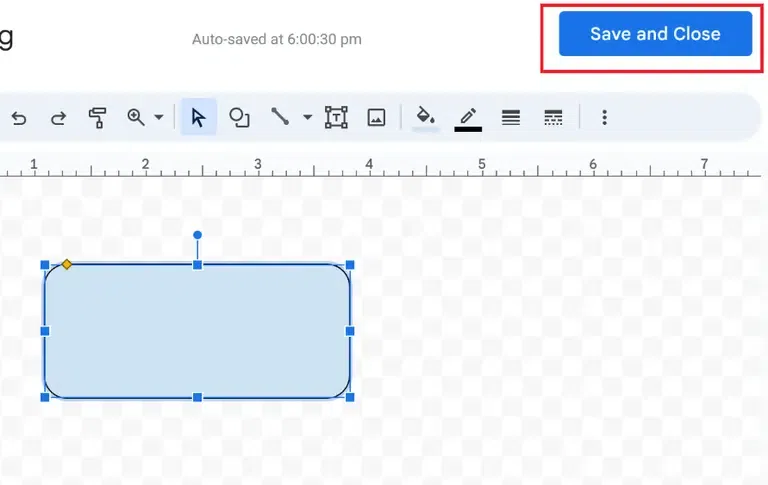
We need to create the text box by dragging it to the drawing space. We can customize it as per our requirement, after creating the desired shape, we need to click on the Save & Close Button to apply the Text shape to our document.
After clicking on the Save & Close Button, the Shape (Text Box) will get added to our document successfully.
To know how to add text box on google docs follow the steps given below:
Open the document, in which we need to Insert or add the Text Box using Table.
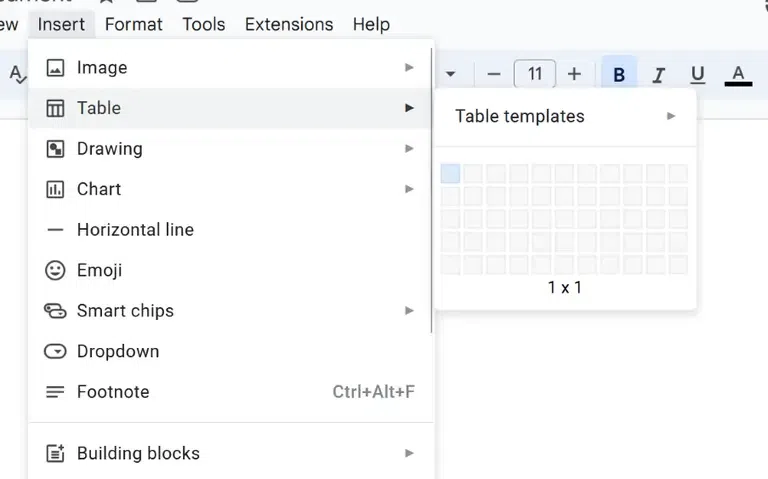
After opening the document in which we need to add the textbox, we need to click on the Insert Tab which is situated on the top panel of the editing space.
After clicking on the Insert Tab, we will select the 1 x 1 Table Cell and add it to our document. This is the way to insert text box in Google Docs without drawing.
Once the Table cell gets inserted into our document, we can adjust its length and width and also we can enter the text into our cell. This is the indirect way to create a Text Box using a Table.
-768.webp)
.webp)
.webp)
.webp)
.webp)