 |
VOOZH | about |
|
VOOZH | about |
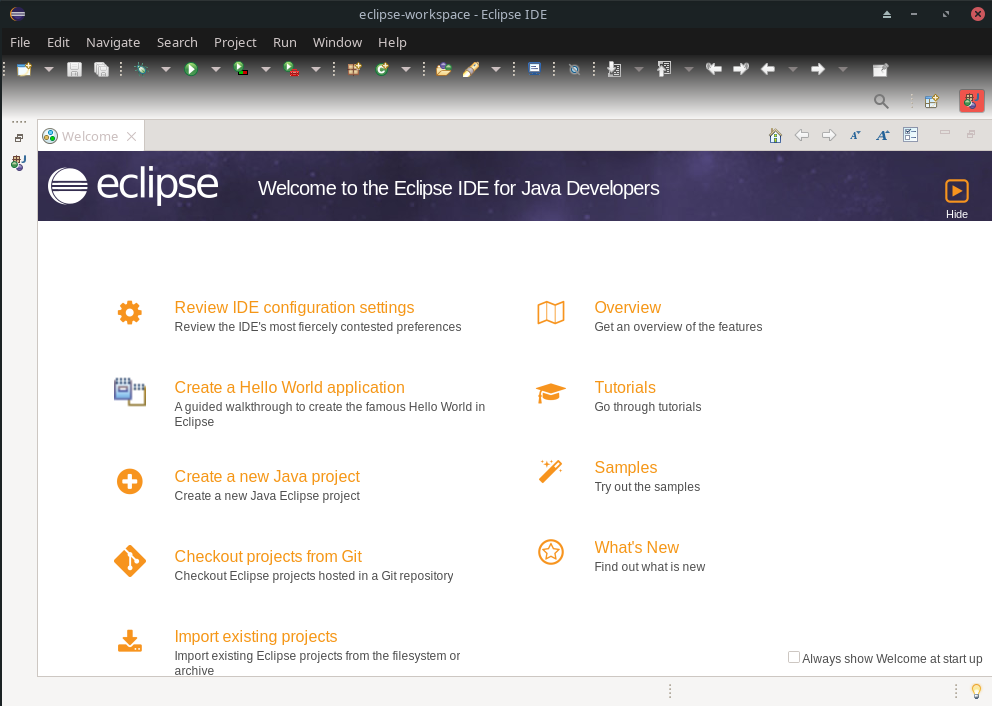
Eclipse is an open-source and cross-platform integrated development environment(IDE) and is used for developing applications in Java, C/C++, PHP, Python, Ruby, etc. Since 2001, it has been maintained by the Eclipse foundation and primarily written in Java. It is the second most popular Java IDE on the market due to its features like auto code completion, syntax highlighting, linting, debugging, profiling, etc. It also supports code navigation, code completion, code refactoring, unit testing, integration testing, and a wide variety of plugins.
This article will discuss the two most common ways to install Eclipse on Arch/Manjaro/Chakra.
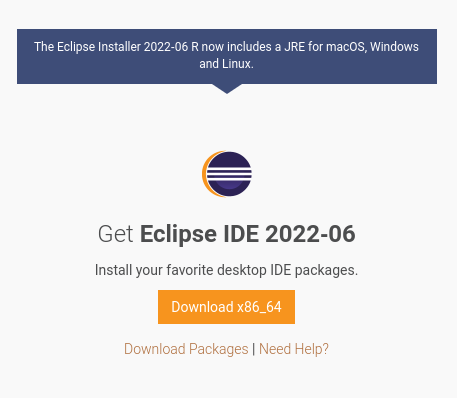
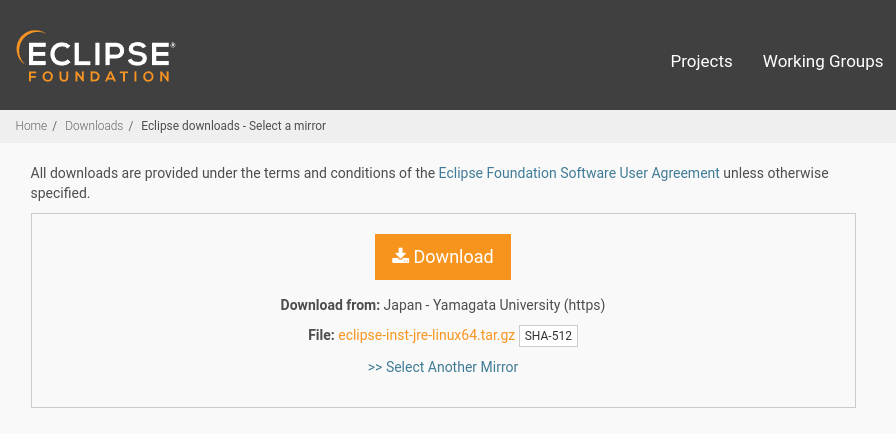
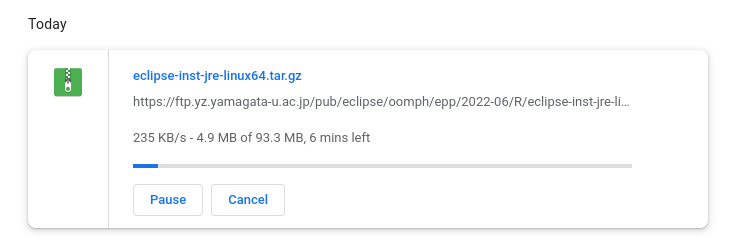
Step 1: Download the latest version of the Eclipse graphical installer by clicking here.
Step 2: Extract the tar file by using the following command
$ tar -xzf eclipse-inst-jre-linux64.tar.gz
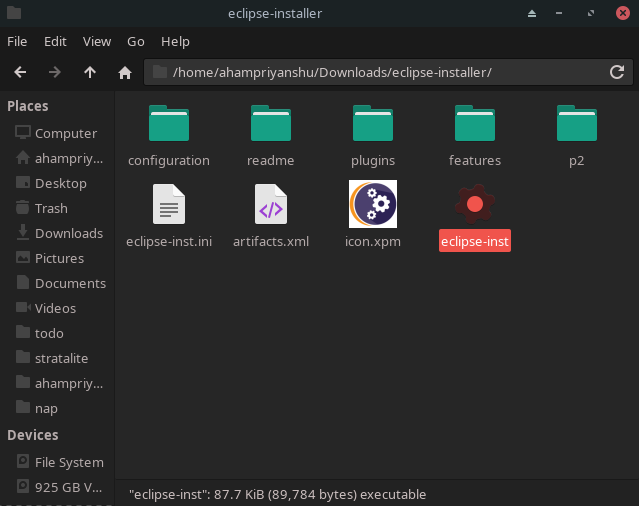
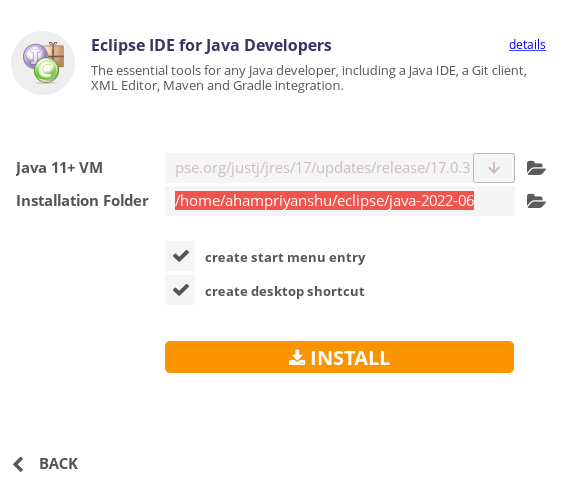
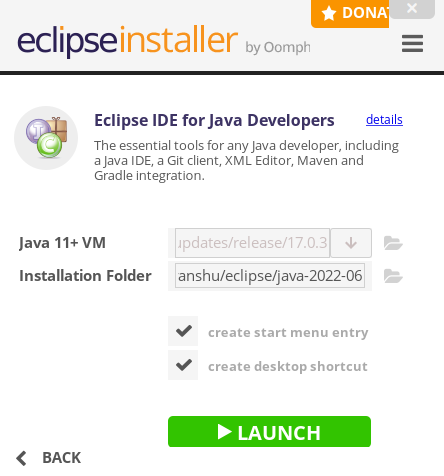
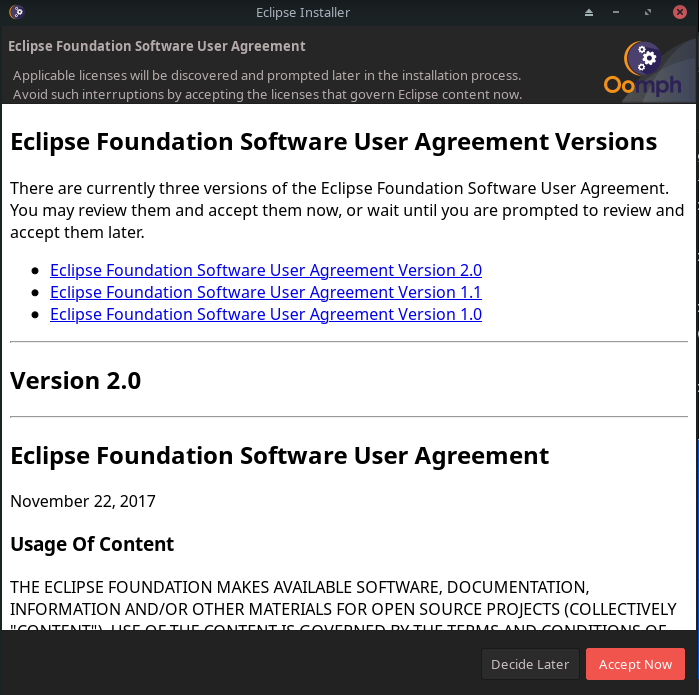
Step 3: Start the installation process by clicking the executable file.
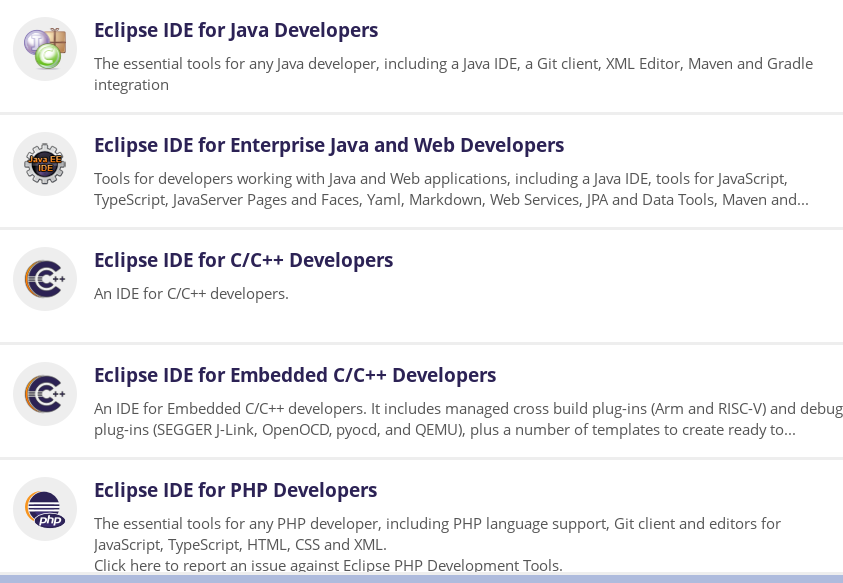
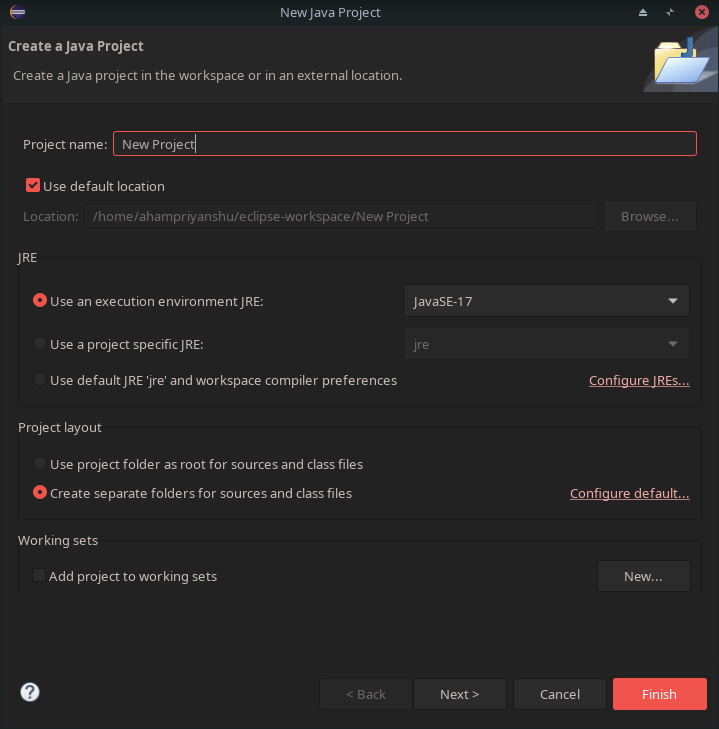
Step 4: Choose the required package for the language in which you want to develop your application. I will be using Java for this tutorial.
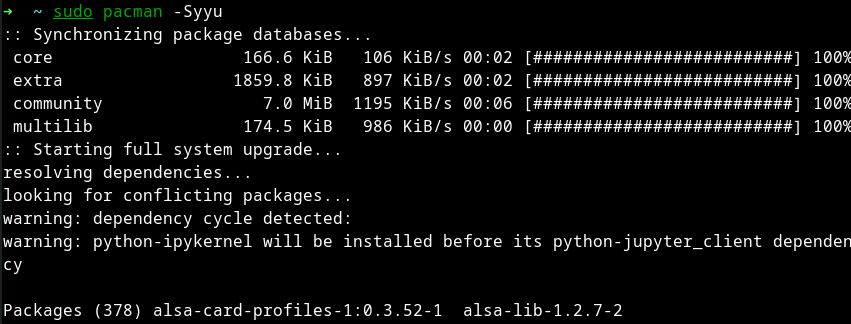
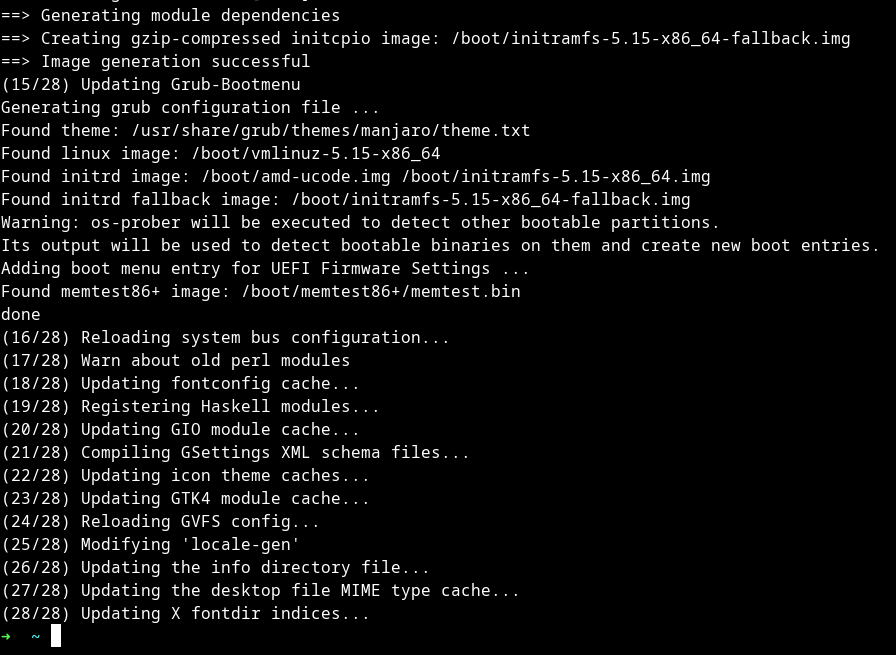
Step 1: Update and upgrade your system by running
$ sudo pacman -Syyu
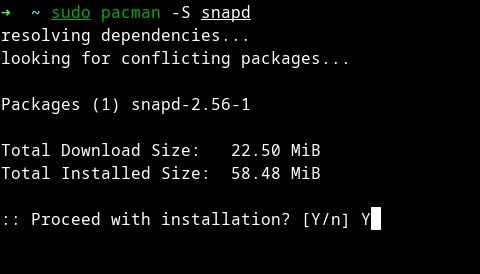
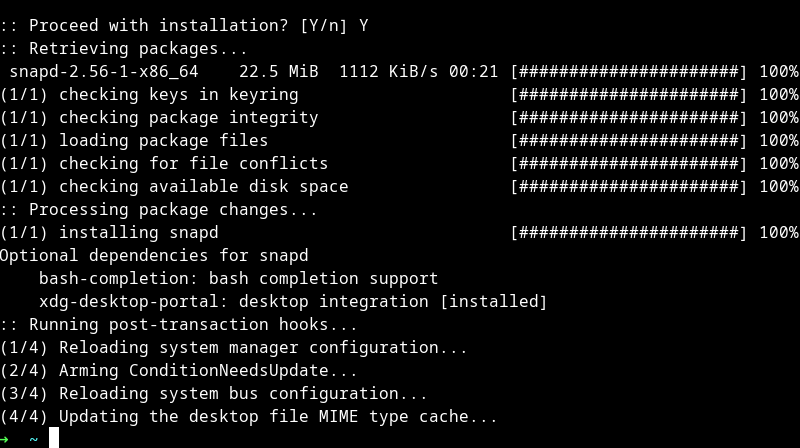
Step 2: Install snap from the official Arch repositories
$ sudo pacman -S snapd
Step 3: Enable snap by using the systemctl command
$ sudo systemctl enable --now snapd.socket
Step 4: Create a symbolic link between /var/lib/snapd/snap and /snap to enable classic support
$ sudo ln -s /var/lib/snapd/snap /snap
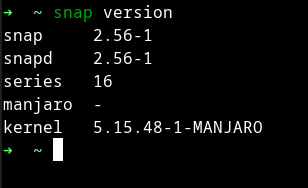
Step 5: Verify the installation by running
$ snap version
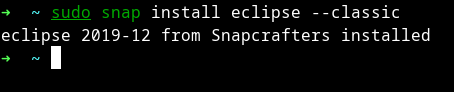
Step 6: Finally, install Eclipse using the snap with --classic flag.
$ sudo snap install eclipse --classic
To uninstall Eclipse along with all of its dependencies run:
$ sudo snap remove eclipse