 |
VOOZH | about |
|
VOOZH | about |
GIMP is a free and open-source raster graphics editor used for image manipulation and image editing, free-form drawing, transcoding between different image file formats, and more specialized tasks. GIMP is released under GPL-3.0-or-later license and is available for Linux, macOS, and Microsoft Windows. It is developed by GIMP Development Team. It is initially released on 2 June 1998. Its Original author is Spencer Kimball, Peter Mattis. It is written in C and GTK+. Its size depends on the language. GIMP has import and export support for image formats such as BMP, JPEG, PNG, GIF, TIFF, and HEIF,[86] along with the file formats of several other applications such as Autodesk flic animations, Corel PaintShop Pro images, etc.
Follow the below steps to install GIMP( GNU IMAGE MANIPULATION PROGRAM ) on Windows :
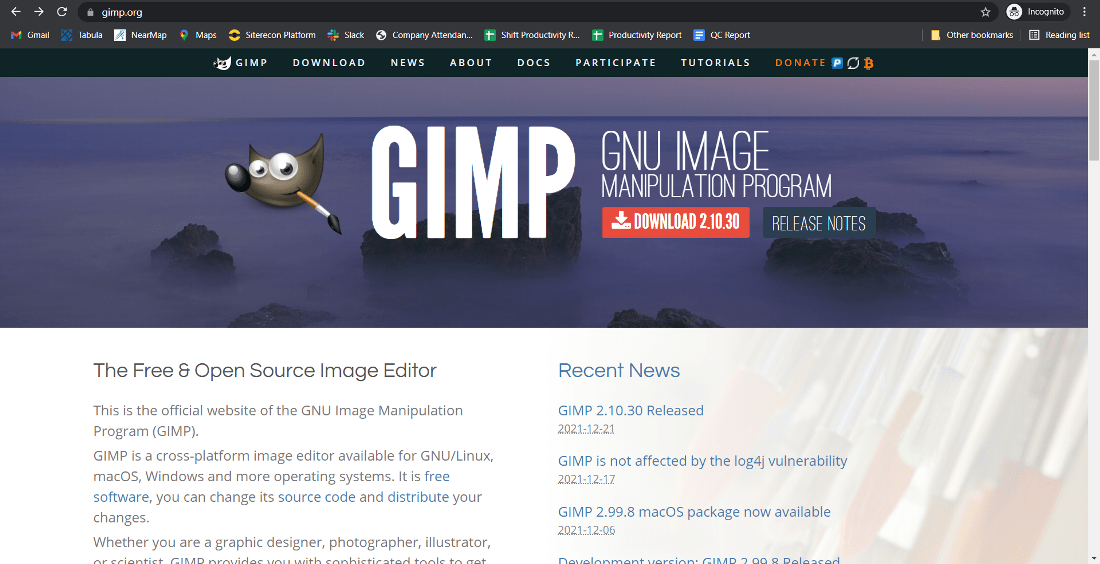
Step 1: Visit the official GIMP website using any web browser.
👁 official GIMP websiteStep 2: Click On the Download button.
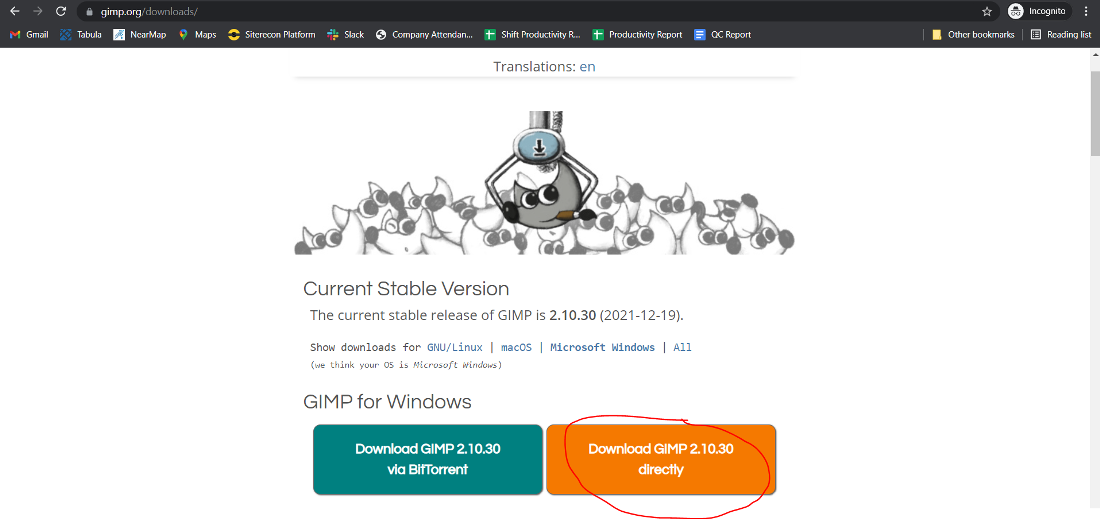
👁 click On the Download buttonStep 3: Next webpage will open now click on Download GIMP directly.
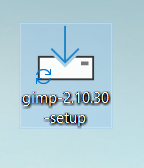
👁 Download GIMP directlyStep 4: Now check for the executable file in downloads in your system and run it.
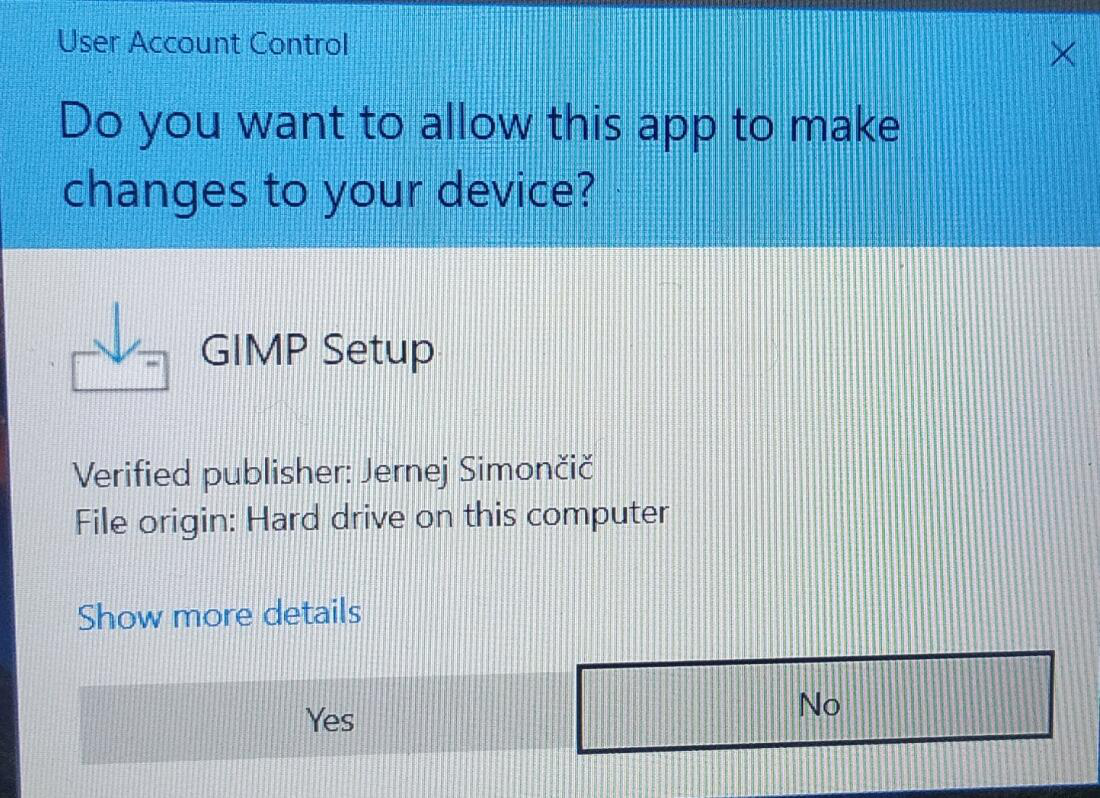
👁 executable fileStep 5: It will prompt confirmation to make changes to your system. Click on Yes
👁 confirmation to make changes to your systemStep 6: The next screen is to choose your setup language which you want to choose and click on OK.
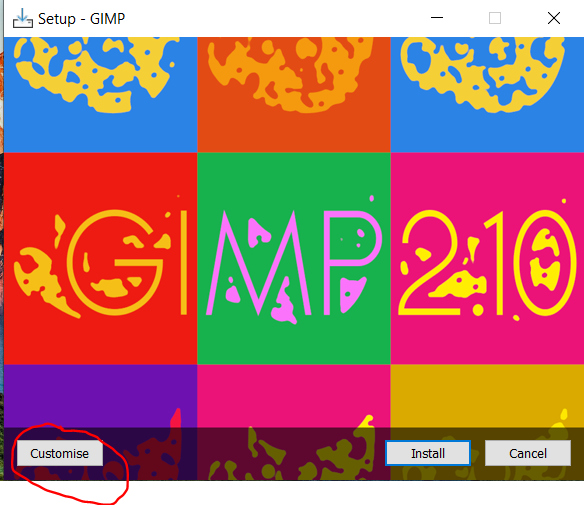
👁 setup languageStep 7: Now setup will start to click on customize to change the setup basics.
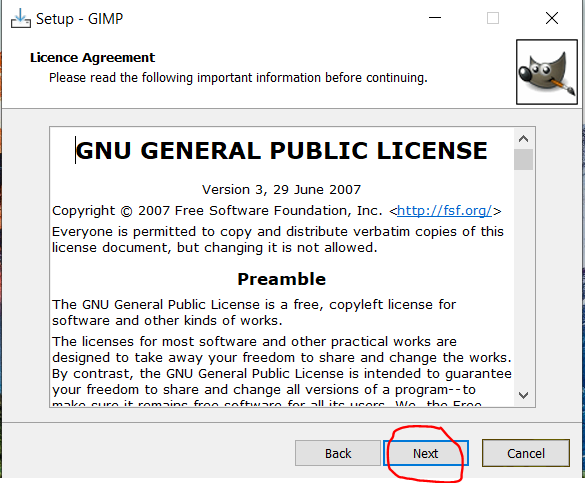
👁 setup basicsStep 8: The next screen will be of License Agreement, click on Next.
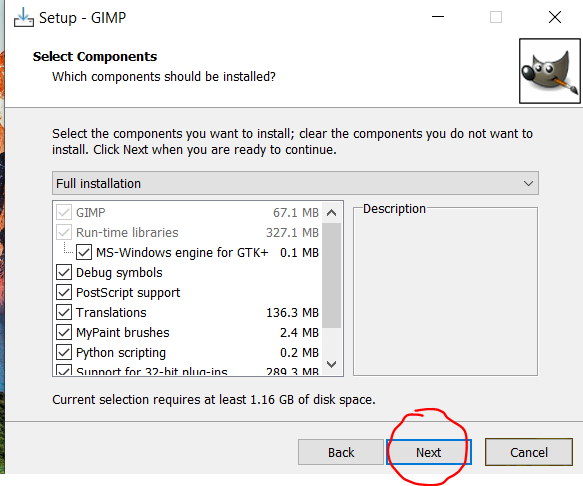
👁 License AgreementStep 9: Next screen is of choosing components, all components are already marked so don’t change anything just click on the Next button.
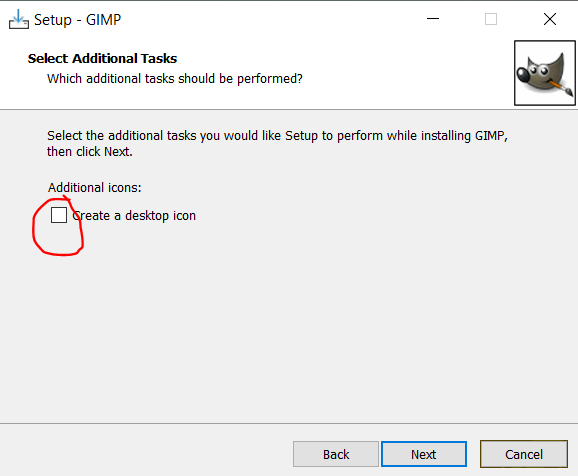
👁 select componentsStep 10: Next screen will ask for a Desktop Icon if you want your application On Desktop. Then tick that column and click on Next.
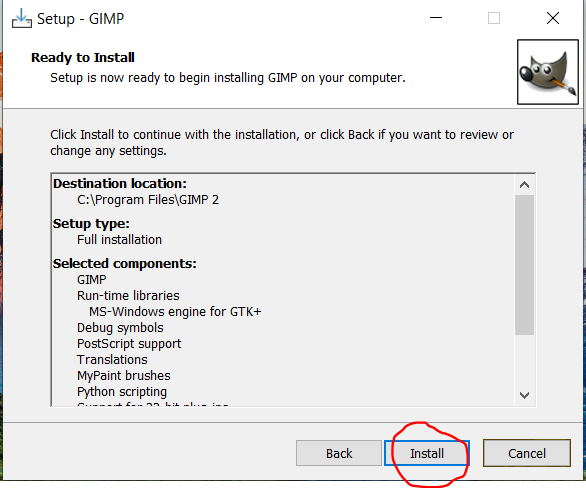
👁 select additional tasksStep 11: Now the setup is ready to install. Click on Install.
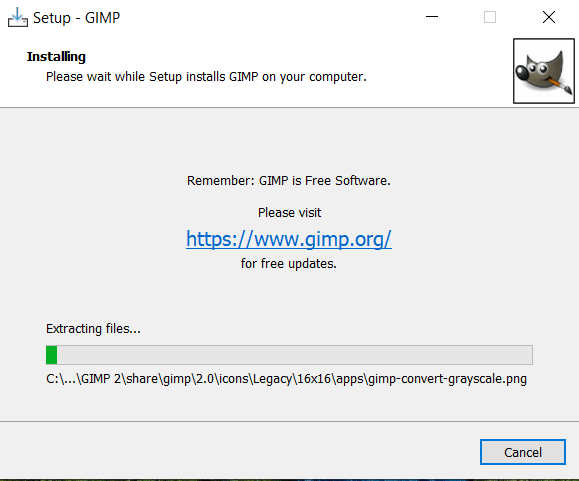
👁 Ready to install GIMPStep 12: After this installation process will start and will take 2 - 5 minutes depends on your computer speed and specification to complete the installation.
👁 Installing GIMPStep 13: Click on the Finish button after the installation process is complete.
👁 finish GIMP installationAt this point, GIMP is successfully installed on the system and an icon is created on the desktop.
👁 GIMP IconRun the software and see the interface.
👁 GIMP interfaceCongratulations!! At this point, you have successfully installed GIMP on your Windows system.