 |
VOOZH | about |
|
VOOZH | about |
Google Chrome is one of the most popular web browsers, offering fast performance, security and synchronization across devices. If you're using Windows 11, 10 or older versions like Windows 7, this guide is for you. We will walk you through the various steps of downloading, installing, running, and setting Chrome as a default web browser, and uninstalled Chrome when required. Let's get started:
Prerequisites:
- A Windows PC (Windows 11, 10, 8 or 7)
- A stable Internet Connection
- Admin access
Table of Content
Follow the below steps to download Chrome Browser:
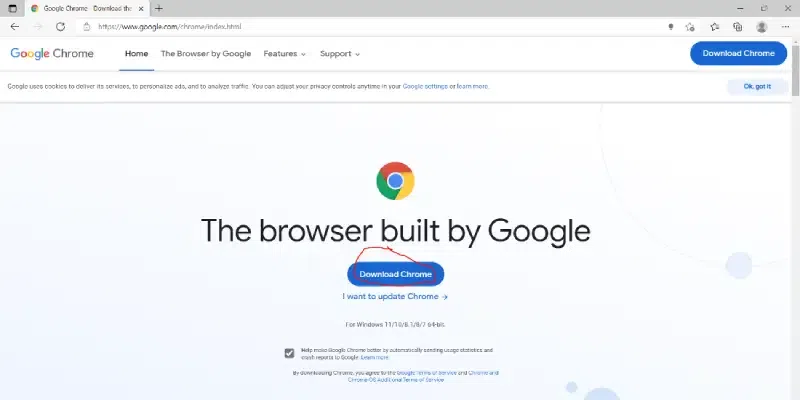
Visit the official website using any web browser.
Click on the Download Chrome button to start downloading Chrome.
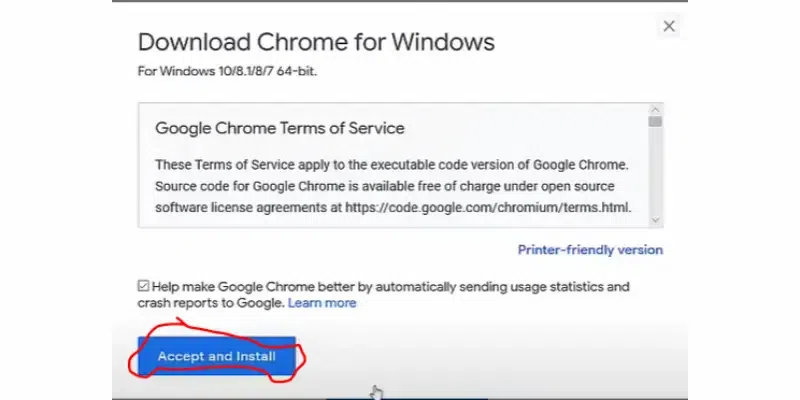
Now the dialogue box will open then click on Accept and Install.
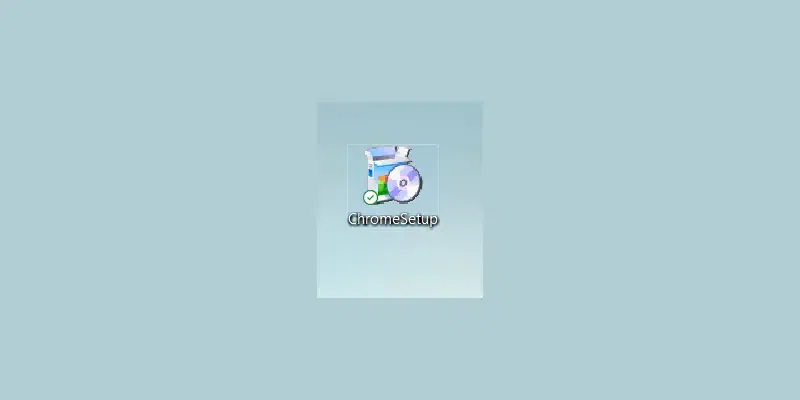
Once the chrome web browser download is complete in your system, now it's time to proceed with the Google Chrome Installation.
Now find the executable file in the downloads folder in your system and run it.
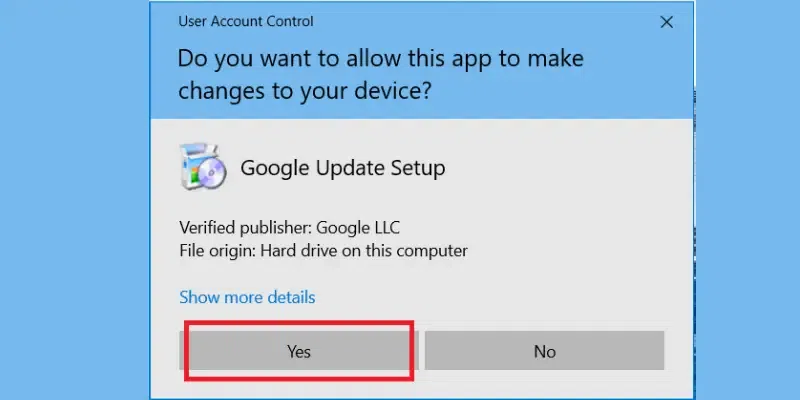
UAC (Use Account Control) will prompt confirmation to make changes to your system. Click on Yes.
After this installation process will start and will take a few minutes depending on your Internet speed to complete the installation and Google Chrome will launch automatically.
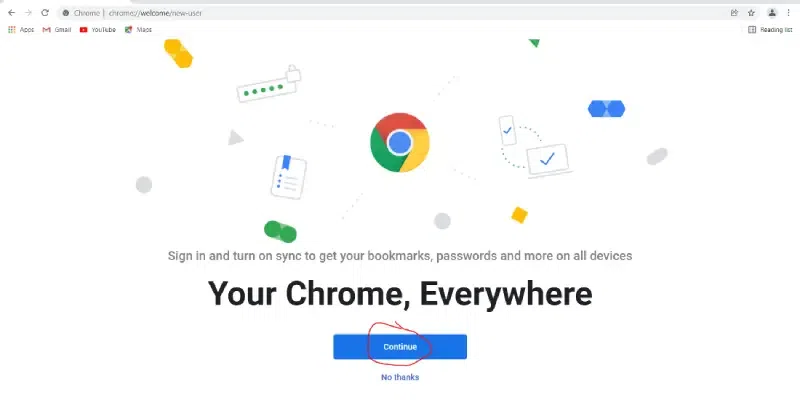
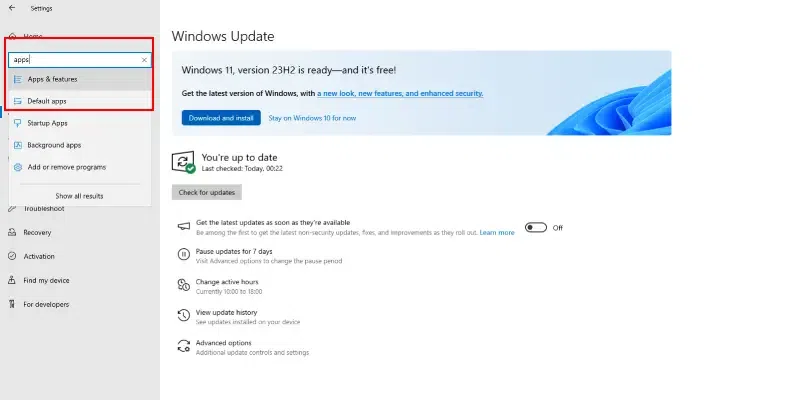
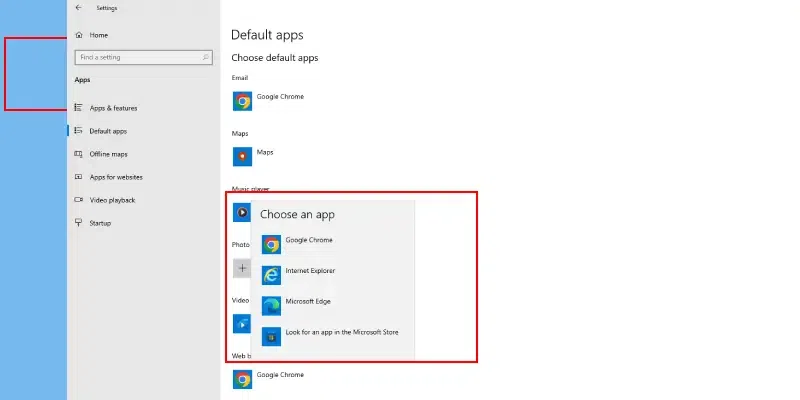
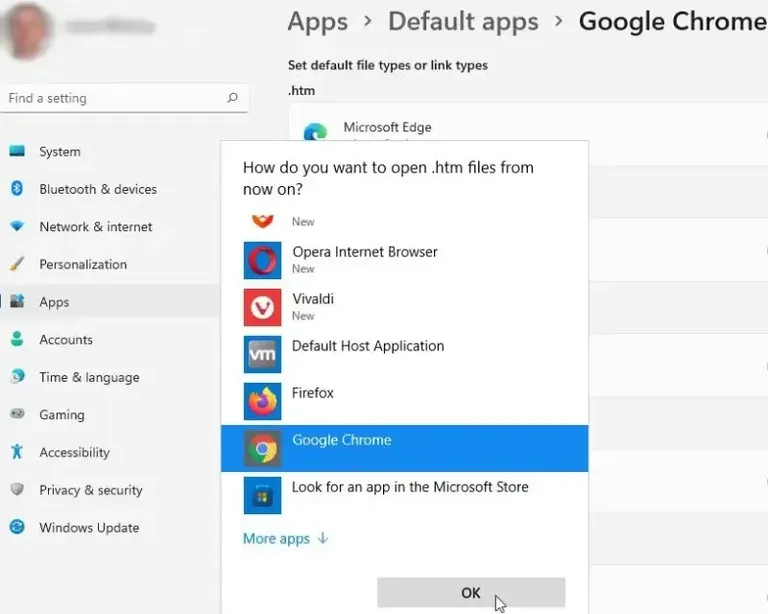
Once you download and install Google Chrome browser, it will ask to "set as a default browser". If not, follow this quick step to choose Google Chrome as your default web browser.
By following this, you can easily set Google Chrome as your default web browser.
Follow the steps below to check which Chrome version you're using:
If you wish to remove Google Chrome, follow the steps below to uninstall it:
By following this guide, you can easily install, update, set Chrome as a default web browser, and even check it's latest version. Irrespective of the version you're using, Windows 11, 10, 8 or 7, these steps will cater your needs and will ensure a smooth transition.