 |
VOOZH | about |
|
VOOZH | about |
Java development requires the Java Development Kit (JDK) to build and run applications. OpenJDK is the free and open-source version of Java that includes all the essential tools for development. It is widely used on Linux systems because it is stable, easy to install, and supported by most distributions.
Why OpenJDK matters:
Follow the below step-by-step procedure to complete the installation of OpenJDK in Linux. All the steps are performed here in this guide on Ubuntu Linux distribution.
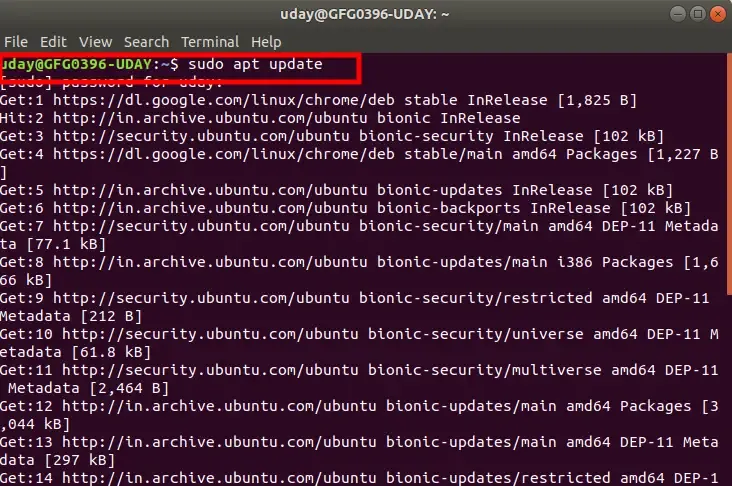
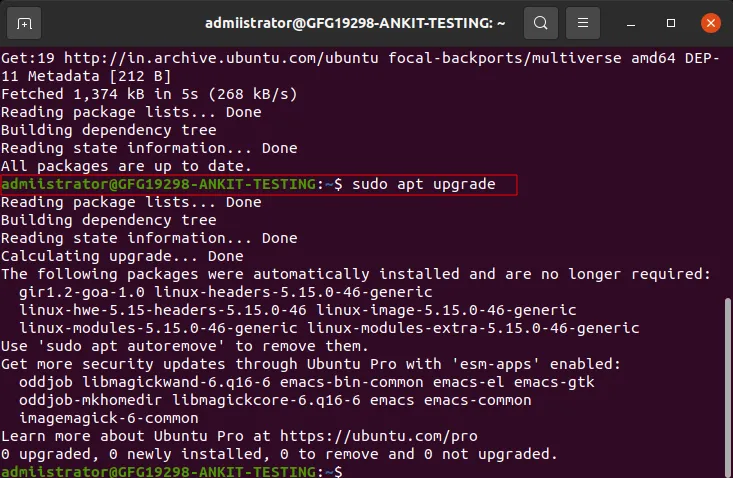
Before installing any software, update your system packages.
sudo apt update
sudo apt upgrade
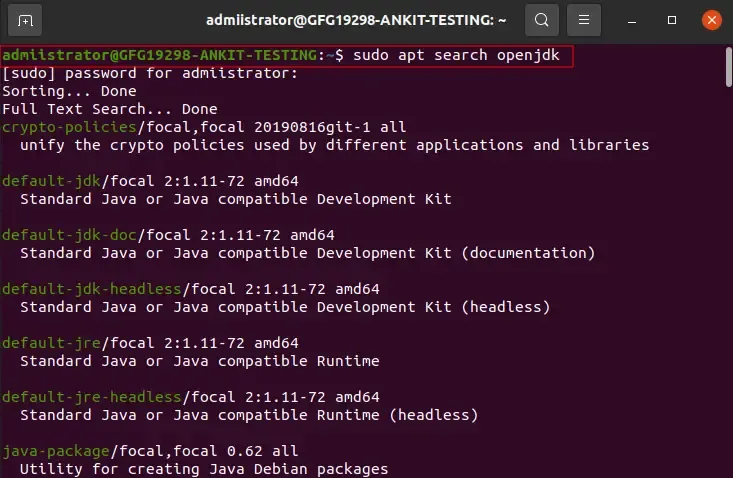
To see available OpenJDK versions:
sudo apt search openjdk
Note: After this command you need to enter you password.
To install OpenJDK 21, run this command:
sudo apt install openjdk-21-jdk
Note: Make sure you are connected with internet while opting this command
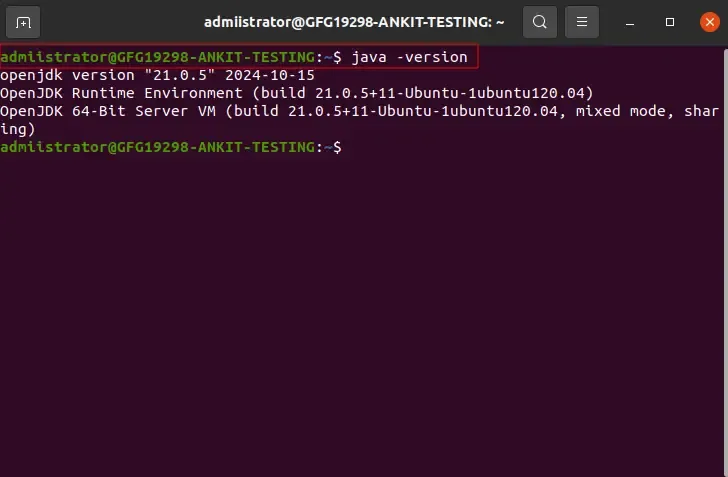
javac compiler.After installation, confirm that OpenJDK is properly installed by checking the Java version:
java -version
openjdk version \"21.0.1\" 2025-01-01
OpenJDK Runtime Environment \(build 21.0.1\+12-Ubuntu-1\)
OpenJDK 64-Bit Server VM \(build 21.0.1\+12-Ubuntu-1, mixed mode, sharing\)
If you have multiple versions of Java installed, you can set OpenJDK 21 as the default version by running:
sudo update-alternatives --config java
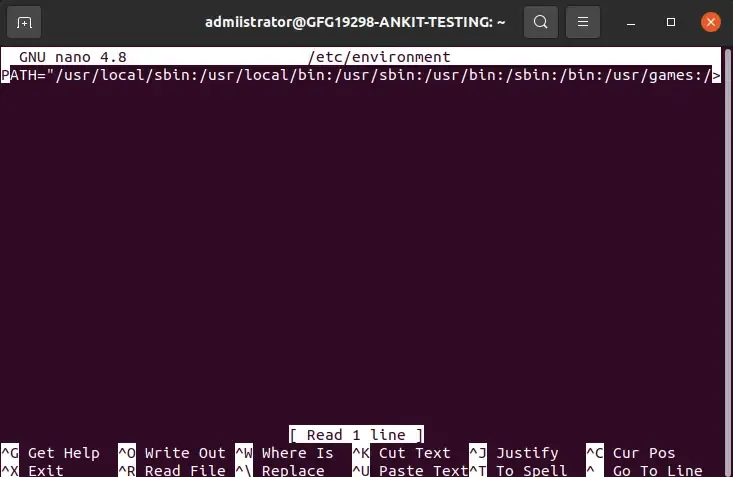
For some applications, you might need to set the JAVA_HOME environment variable. To do this, follow these steps:
sudo nano /etc/environment
JAVA_HOME=\"/usr/lib/jvm/java-21-openjdk-amd64\"
source /etc/environment
JAVA_HOME variable:
echo $JAVA_HOME