 |
VOOZH | about |
|
VOOZH | about |
Sourcetree is a powerful Git client that provides a graphical interface to manage your repositories. It's especially helpful for those who prefer a visual approach to version control over using the command line. If you're a macOS user looking to streamline your Git workflow, installing Sourcetree is a great choice. In this guide, we'll walk you through the steps to install Sourcetree on macOS.
To install the sourcetree for git in MacOS follow the following steps:
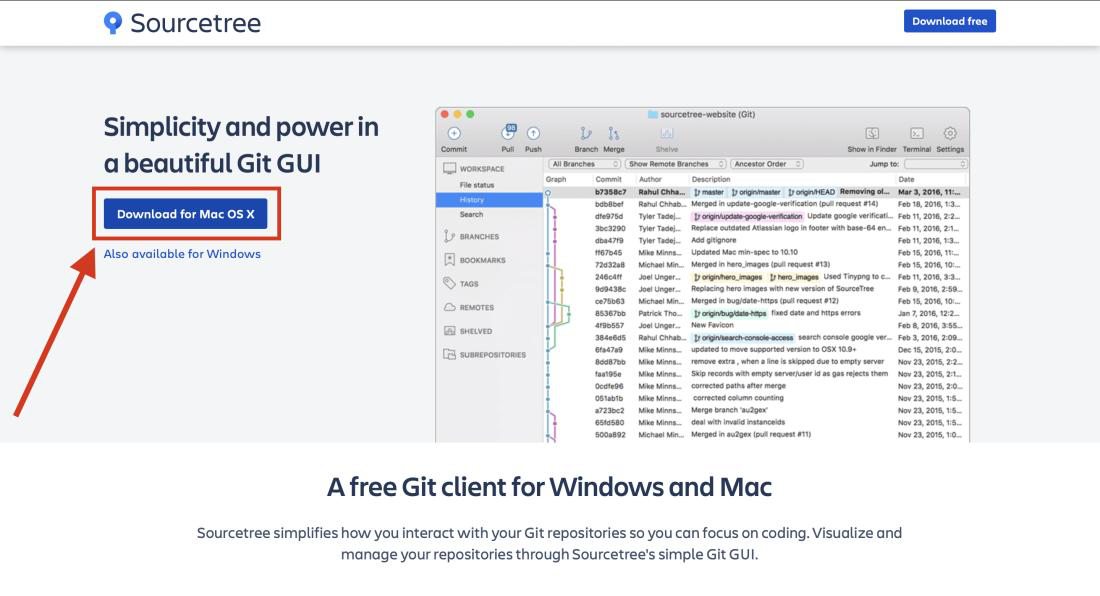
Step 1: To download the latest release of SourceTree from its official website.
Step 2: Click on the Download for Mac OS X button and read their policy and click agree and click download once again.
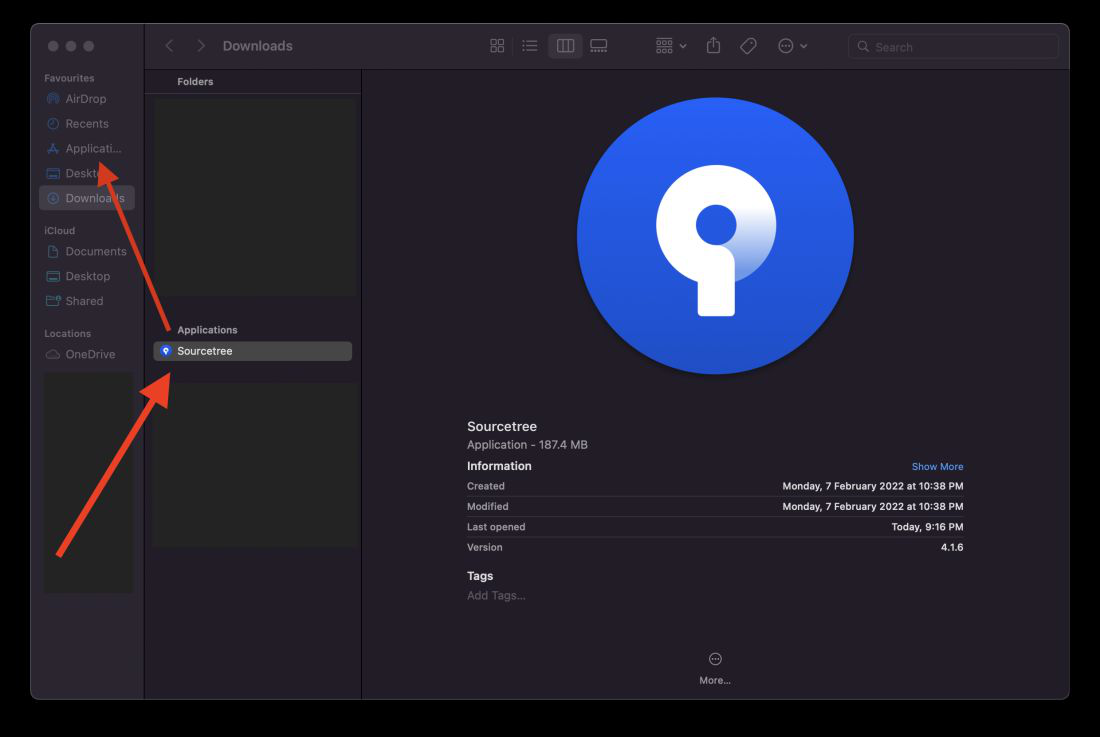
👁 SourceTree-official-websiteStep 3: The application will be downloaded to your downloads folder. Then drag and drop it to your Application folder to add it to the Launchpad.
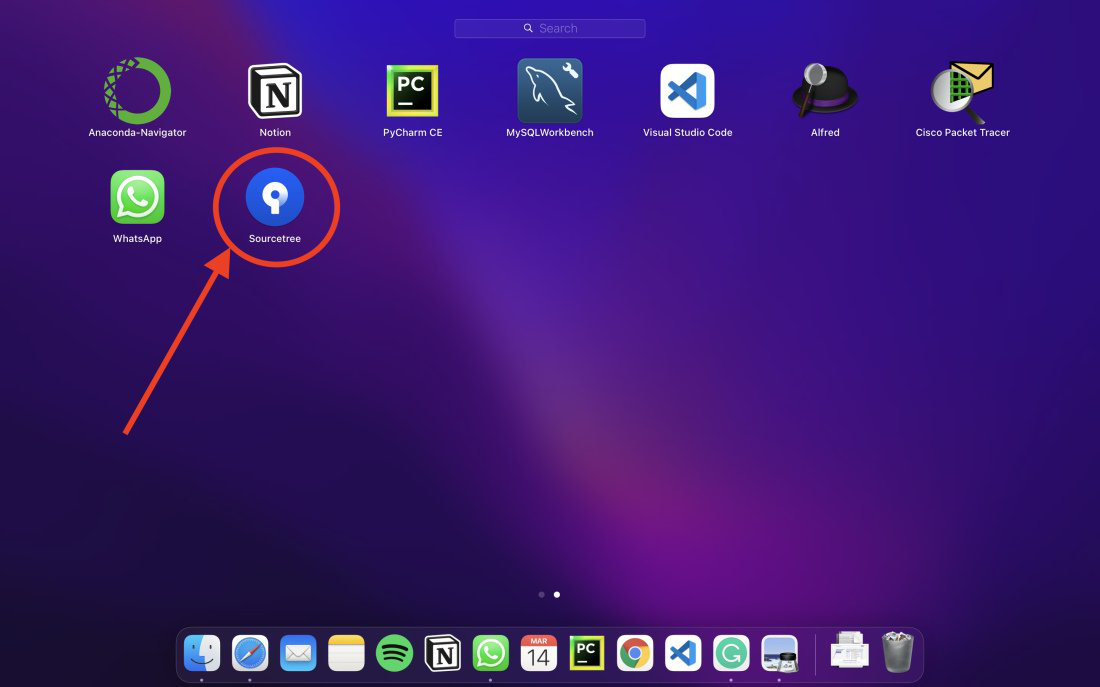
👁 Downloads-folder-in-FinderStep 4: Open Launchpad and Double click on the SourceTree Application to open the application.
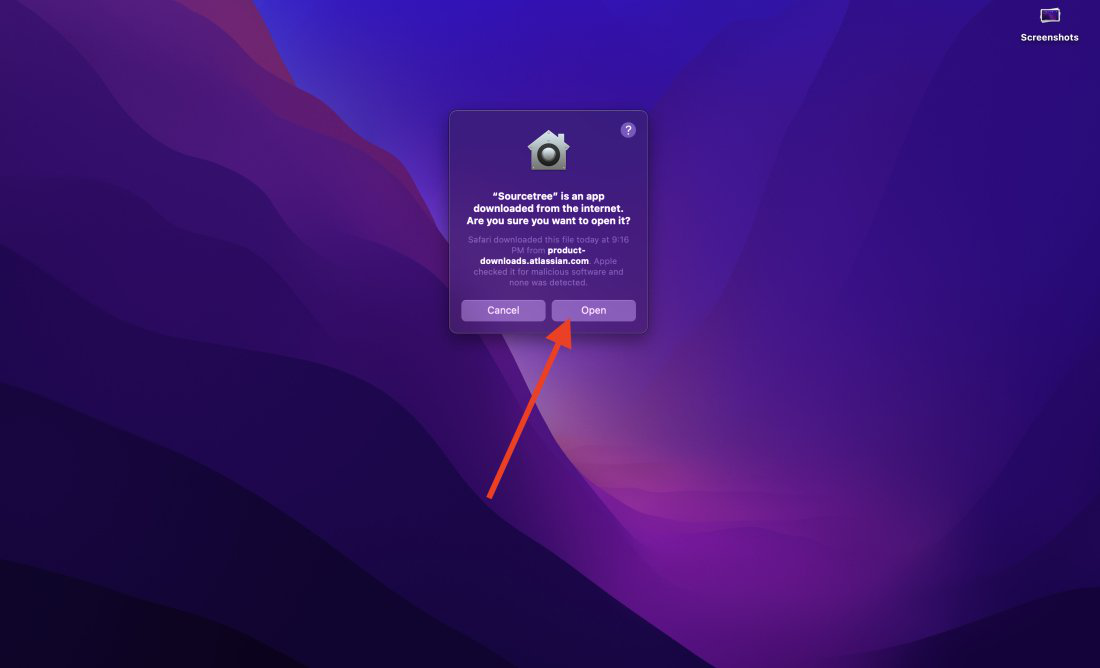
👁 LaunchpadStep 5: A warning message will appear on the screen because it is downloaded from the internet. Now click on open button (Atlassian is a trusted software company so don't worry about the security).
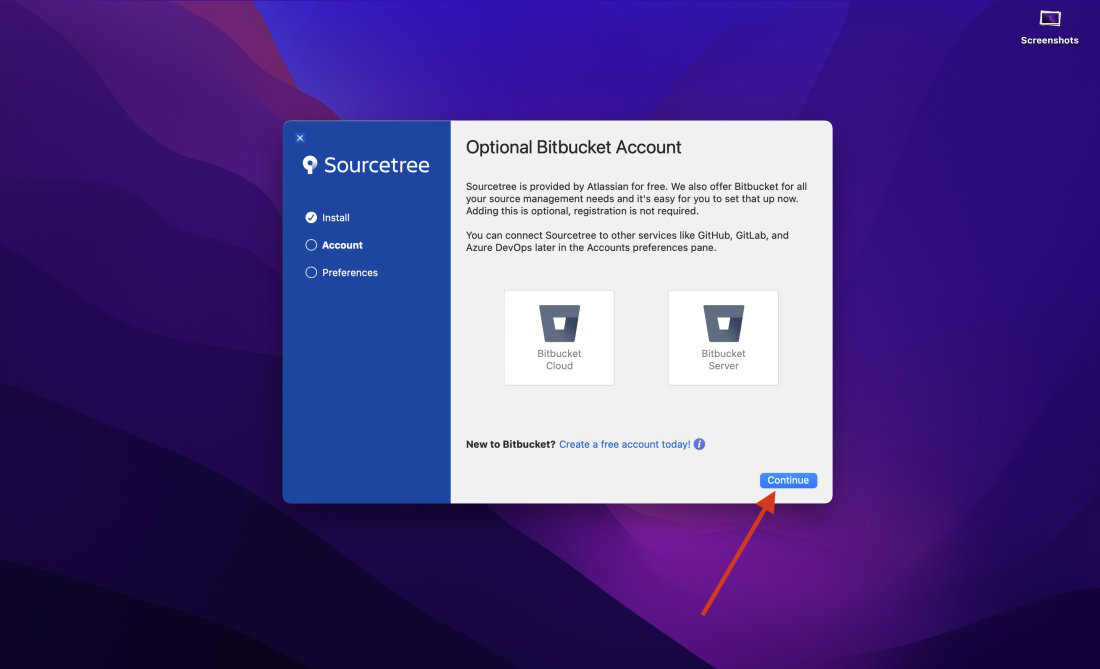
👁 Warning-message-on-first-time-opening-of-the-appStep 5: The initial installation window will appear. If you have a Bitbucket account then add it otherwise you can click on continue button and finish the process.
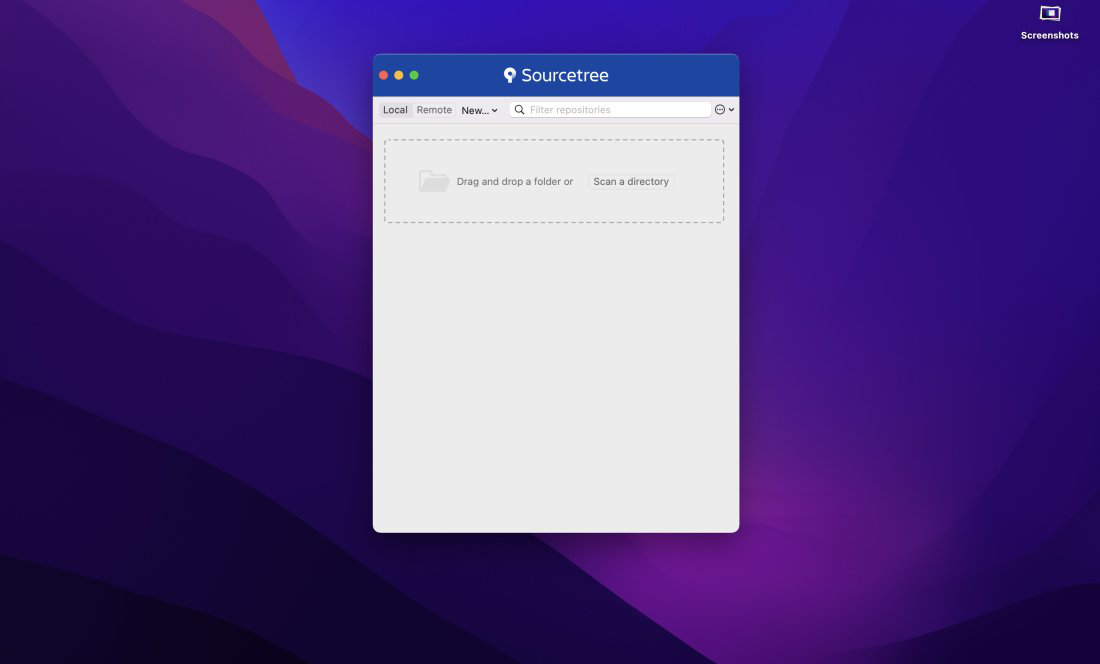
👁 Installation-window(only-on-the-first-time-opening-of-the-app)Now, SourceTree is completely installed in your mac. Drag and drop your local repositories to manage it or add remote access to your repositories directly and manage it through SourceTree.
👁 SourceTree-Application-window