 |
VOOZH | about |
|
VOOZH | about |
SQLAlchemy is the Python SQL toolkit and Object Relational Mapper that is used as flexible database access using SQL. In this article, we will look into the process of installing SQLAlchemy on a windows machine.
The only thing that you need for installing Numpy on Windows are:
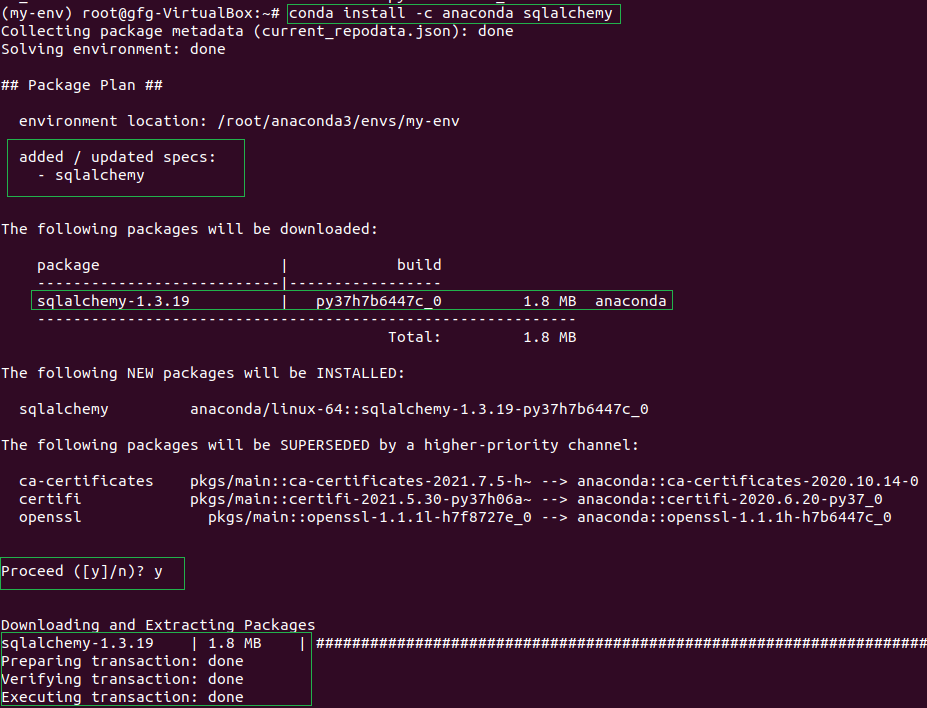
If you want the installation to be done through conda, you can use the below command:
conda install -c anaconda sqlalchemy
Type in "y" for yes when prompted.
You will get a similar message once the installation is complete
👁 Installing SQLAlchemy on Linux using CondaMake sure you follow the best practices for installation using conda as:
conda create -n my-env
conda activate my-env
Note: If your preferred method of installation is conda-forge, use the below command:
conda config --env --add channels conda-forge
Use the below command to verify if the above package has successfully installed:
conda list sqlalchemy
You will get a similar message as shown below if the installation has been successful:
👁 Verifying SQLAlchemy Installation on Linux using CondaUsers who prefer to use pip can use the below command to install the package:
pip install sqlalchemy
You will get a similar message once the installation is complete:
👁 Installing SQLAlchemy on Linux using PIPIt is a good programming practice to install packages in a virtual environment rather than installing them globally. PIP users can use the below command to create a virtual environment:
python3 -m venv my-env
Activate the virtual environment (ie, my-env) using the below command:
source my-env/bin/activate
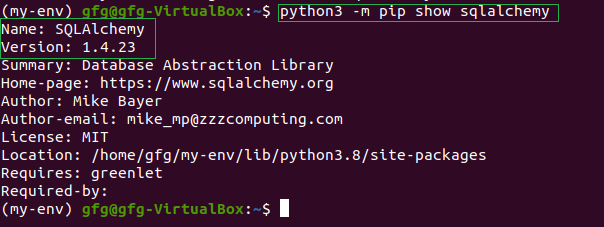
Use the below command to check if the package has been successfully installed:
python3 -m pip show sqlalchemy
You will get a similar message as shown below if the installation is successful:
👁 Verifying SQLAlchemy Installation on Linux using PIP