 |
VOOZH | about |
|
VOOZH | about |
NFS, which stands for Network File System, was created in 1984 by Sun Microsystems. A file system called Network File System (NFS) enables local access to distant files from various places across a network.
NFS has a typical client/server architecture for this access, facilitating sharing between Linux workstations of any distribution. We will demonstrate how to set up the NFS Server on Ubuntu 22.04 LTS.
Step 1: Install the package for the NFS kernel server.
To begin, we will install the NFS kernel server package on Ubuntu, effectively transforming it into an NFS server. However, let's first update the package list as displayed.
$ sudo apt update
The NFS kernel server package can then be installed by running the following command.
$ sudo apt install nfs-kernel-server
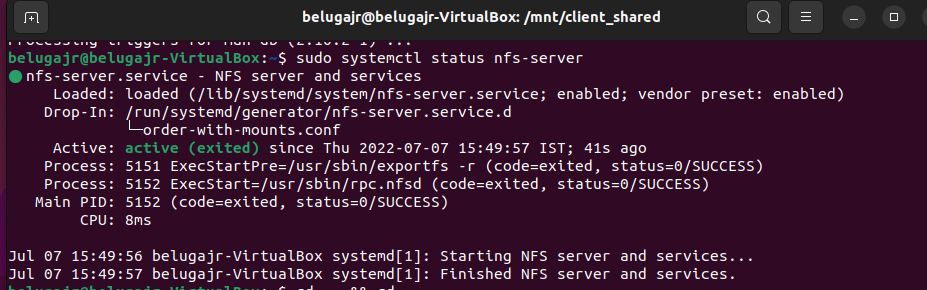
Step 2: You can check to see if the nfs-server service is active as indicated
$ sudo systemctl status nfs-server
Step 3: Create an NFS directory share
The creation of an NFS directory share will come next. The files that will be shared across the local area network will be put in this directory.
As seen below, we shall construct it in the /mnt/ directory. Our NFS sharing directory is located here and is called /beluga_jr _shares. You are able to give your directory whatever name you like.
$ sudo mkdir /mnt/beluga_jr_shares
We will assign the following directory ownership and permissions since we want all of the files to be accessible to all clients.
$ sudo chown nobody:nogroup /mnt/beluga_jr_shares
$ sudo chmod -R 777 /mnt/beluga_jr_shares
All of the files and subdirectories that you create will have these recursive permissions applied to them.
Step 4: Access clients to the NFS Server
$ sudo nano /etc/exports
After constructing the NFS directory share and specifying the required ownership and permissions, we must grant client systems access to the NFS server. We may do this by altering the /etc/exports file that was generated during the installation of the nfs-kernel-server package.
So, open the /etc/exports file.
/mnt/beluga_jr_shares client-IP(rw,sync,no_subtree_check)//formate
/mnt/beluga_jr_shares 192.168.0.0/24 (rw,sync,no_subtree_check)
This makes the server accessible to every client in the 192.168.0.0 subnet. In this instance, we'll provide all clients access to the NFS server as demonstrated.
/mnt/beluga_jr_shares 192.168.2.0/24(rw,sync,no_subtree_check)
Let's quickly review the permissions and what they represent.
Step 5: Export the shared directory
Use the following command to export the directory and make it accessible:
$ sudo exportfs -a
Restart NFS server
To restart the NFS server on your Ubuntu 22.04 machine, type the following command:
$ sudo systemctl restart nfs-kernel-server
Step 6: Set up the NFS Server firewall rule.
If you are protected by a UFW firewall, you must use the syntax displayed to permit NFS traffic through the firewall.
$ sudo ufw allow from [client-IP] to any port nfs
$ suso ufw allow from 10.0.2.15/24 to any port nfs
In our situation, the command will look like this:
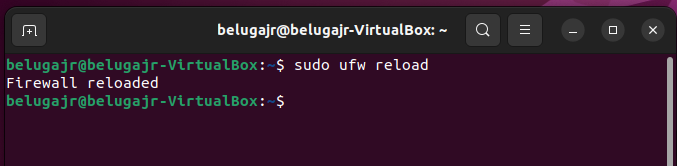
Step 7: Enable Firewall
$ sudo ufw reload
from 192.168.2.0/24 to any port nfs
With the NFS Server configuration, we are all done. The client must then be configured, and any changes must be tested. So let's move forward and set up the client.
$ sudo ufw status
Step 8: Configure the Client system
Once logged in, update the package index as instructed on the client system.
$ sudo apt update
Next, install the nfs-common package as shown.
$ sudo apt install nfs-common
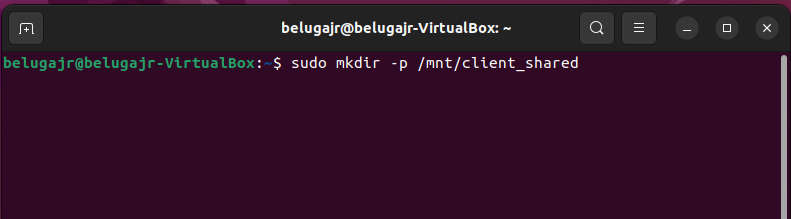
After that, make a directory in the /mnt folder where you'll mount the server's NFS share.
$ sudo mkdir -p /mnt/client_shared
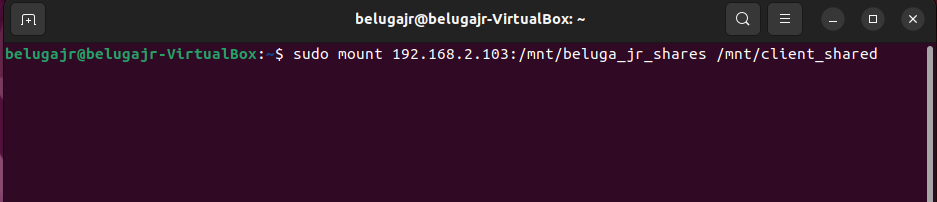
Finally, mount the client directory to the remote NFS share directory as shown.
$ sudo mount 192.168.2.103:/mnt/beluga_jr_shares /mnt/client_shared
Step 9: Testing the NFS Share setup
We are going to create a test file in the NFS directory as demonstrated to see if our configuration is functioning.
$ cd /mnt/beluga_jr_shares
$ touch demoshare_file.txt
Test-NFS-Server-Ubuntu-22-04
Returning to our client, let's check to see if we can see the file in our mounted directory.
$ ls /mnt/client_shared_folder/
We hope that this information was useful to you and that you can now easily share files on your network using NFS.