 |
VOOZH | about |
|
VOOZH | about |
LXD is a system container manager built on top of LXC (Linux Containers). Unlike traditional hypervisors such as KVM or VMware, LXD uses operating system-level virtualization.
Initial Requirements
Before moving forward, users need to follow some system requirements or prerequisites to install the Ubuntu server edition with LXD Containers.
- Note the server's public IP address and the system or virtual machine with a minimum of 20 GB of disc space and 2 GB of RAM.
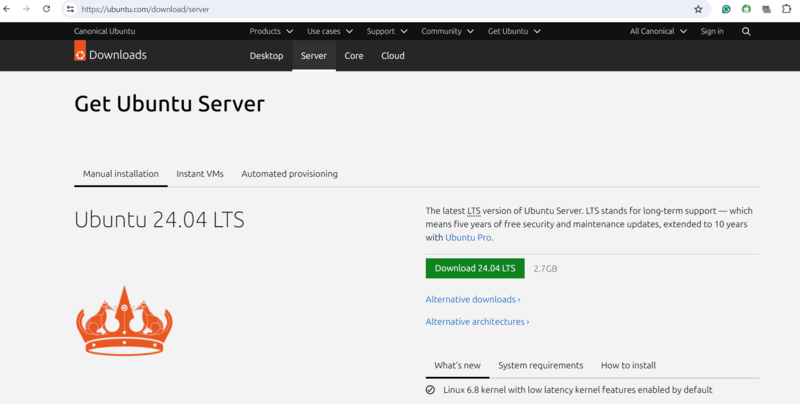
- A downloaded Ubuntu Server Edition ISO image system.
- Internal connection to the internet for downloading and updating packages as per requirement.
LXD can be downloaded as an official snap package as of Ubuntu configuration. There are various types of advantages to this new package in the system. Any Linux distribution process that supports snap packages can be used to install a snap package modification system.
After installation, reboot and log in.
sudo apt update
sudo apt upgrade -y
Install LXD:
sudo snap install lxd
Initialize LXD:
sudo lxd init
You can accept default options for a basic setup.
Add your user to the lxd group to manage containers without sudo:
sudo usermod -aG lxd $USER
newgrp lxd
Create a new Ubuntu container (latest LTS recommended):
lxc launch ubuntu:22.04 my-container
Verify running containers:
lxc list
Access the container shell:
lxc exec my-container -- /bin/bash
Start a container:
lxc start my-container
Stop a container:
lxc stop my-container
Delete a container:
lxc delete my-container
LXD automatically creates a default bridge network. To create a custom network:
lxc network create my-network
lxc network attach my-network my-container eth0
This allows you to isolate containers with custom networking configurations.
Unlike hypervisor-based virtualization platforms such as KVM or VMware, LXD containers:
For lightweight server deployments and development environments, LXD is often more efficient than traditional VMs.
Also Read