 |
VOOZH | about |
|
VOOZH | about |
In this article, we will explore how to build a real-time chat application using Socket.IO and Vue.js. Socket.IO is a popular library that enables real-time, bidirectional, and event-based communication between the client and the server. By integrating Socket.IO with Vue.js, we can create a seamless and interactive chat experience for users.
Step 1: Run the command to create a Vue.js app
npm init vue@latestStep 2: Give name to your project and go to that project
cd my-chat-appStep 3: Install the required dependencies:
Install the Socket.IO library for real-time communication
npm install socket.io
npm install socket.io-client
update dependencies looks like:
"dependencies": {
 "socket.io": "^4.7.5",
 "socket.io-client": "^4.7.5",
 "vue": "^3.4.21"
},Step 4: Set up the server-side code:
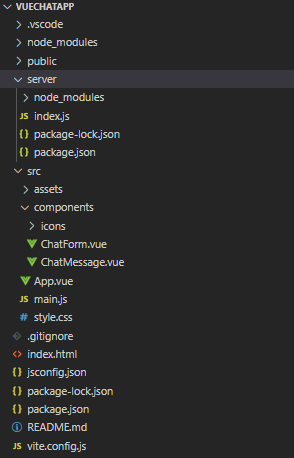
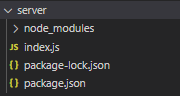
Create a new directory called server in the project root. and navigate to the server directory:
mkdir server
cd server👁 Screenshot-2024-04-28-225416
Step 5: Initialize a new Node.js project and install the required dependencies:
npm init -y
npm install socket.io http"dependencies": {
"http": "^0.0.1-security",
"socket.io": "^4.7.5"
}Step 6: Create a new file called index.js and add the following code:
//server/index.js
const http = require('http');
const fs = require('fs');
const socketIo = require('socket.io');

const port = 5000;
const server = http.createServer((req, res) => {
 if (req.url === '/') {
 fs.readFile(__dirname + '/index.html', (err, data) => {
 if (err) {
 res.writeHead(500);
 res.end('Error loading index.html');
 } else {
 res.writeHead(200, { 'Content-Type': 'text/html' });
 res.end(data);
 }
 });
 }
});

const io = socketIo(server, {
 cors: {
 // Replace with your client-side URL
 origin: 'http://localhost:5173',
 methods: ['GET', 'POST']
 }
});

io.on('connection', (socket) => {
 console.log('A user connected');

 socket.on('send message', (chat) => {
 io.emit('send message', chat);
 });
});

server.listen(port, () => {
 console.log(`Server is listening at the port: ${port}`);
});
Step 7: Integrate the Vue.js components. add these codes into respective files.
Step 8: Start the development server:
In the project root directory, run the following command to start the Vue.js development server
npm run devStep 9: In a separate terminal, navigate to the server directory and start the server
node index.jsThe application should now be running, and you can access it at http://localhost:3000. The server-side code is running at http://localhost:5000 and handling the real-time communication using Socket.IO.
Output: