 |
VOOZH | about |
|
VOOZH | about |
We will explore how to pass multiple parameters to a mutation in Vuex, which is a state management library for VueJS applications. Vuex allows you to manage the state of your application efficiently, and understanding how to work with mutations is crucial when building scalable Vue applications.
Vuex mutations modify the state of the store in a Vue application. By default, mutations only take one argument, the payload. However, there are situations where you might want to pass multiple parameters. In Vuex, you can either pass an object containing multiple values or use destructuring inside the mutation to handle multiple parameters.
If you haven’t installed the Vue CLI, install it globally on your machine by running:
npm install -g @vue/cliIn your terminal or command prompt, run the following command to create a new Vue 3 project:
vue create vuex-appcd vuex-appIf Vuex is not installed automatically, install it using the following command:
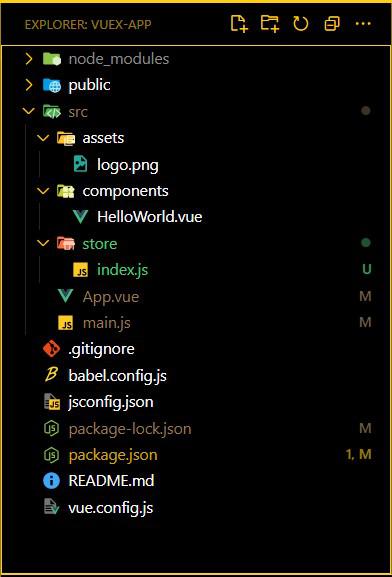
npm install vuex --saveCreate a folder named store inside the src directory and add a file named index.js:
mkdir src/store
echo > src/store/index.js
This file will contain the Vuex store where you will define the state, mutations, actions, and getters.
"dependencies": {
 "core-js": "^3.8.3",
 "vue": "^3.2.13",
 "vuex": "^4.0.2"
 },
 "devDependencies": {
 "@babel/core": "^7.12.16",
 "@babel/eslint-parser": "^7.12.16",
 "@vue/cli-plugin-babel": "~5.0.0",
 "@vue/cli-plugin-eslint": "~5.0.0",
 "@vue/cli-service": "~5.0.0",
 "eslint": "^7.32.0",
 "eslint-plugin-vue": "^8.0.3"
 },
In store/index.js, set up your Vuex store as follows:
import { createStore } from 'vuex';

export default createStore({
 state: {
 user: {
 name: '',
 age: null,
 city: ''
 }
 },
 mutations: {
 updateUser(state, payload) {
 state.user.name = payload.name;
 state.user.age = payload.age;
 state.user.city = payload.city;
 }
 },
 actions: {
 updateUser({ commit }, payload) {
 commit('updateUser', payload);
 }
 },
 getters: {
 getUser(state) {
 return state.user;
 }
 }
});
In src/main.js, import and configure Vuex to work with the Vue application:
import { createApp } from 'vue';
import App from './App.vue';
import store from './store';

const app = createApp(App);
app.use(store);
app.mount('#app');
This is the most common and flexible approach. Instead of passing individual parameters, you pass a single object containing all the data you want to mutate in the state. The object is then accessed in the mutation, and the properties of this object are used to update the state.
You can pass an entire object as the payload when committing a mutation. This object will contain all the parameters as key-value pairs. The mutation then extracts the values from the object to update the state.
this.$store.commit('mutationName', { param1, param2, param3 });Example: This example shows the use of above explained approach.
Another method is to pass an object as the payload, but instead of accessing individual values via dot notation, destructure the object inside the mutation. This makes the code cleaner, and individual properties can be handled directly.
mutations: {
 mutationName(state, { param1, param2, param3 }) {
 // update state
 }
}
Example: This example shows the use of above explained approach.
In your project directory, run:
npm run serveOutput: Once you fill out the form and click Update User Info, the user data will be updated in the Vuex store. You can view the changes using Vue DevTools to monitor the state:
Passing multiple parameters to Vuex mutations is straightforward and flexible. You can choose between passing an object as the payload or using destructuring, depending on your needs. Understanding these approaches will help you manage complex state changes in your Vue applications, making them more maintainable and scalable.
By following this guide, you now have a complete understanding of how to handle multiple parameters in Vuex mutations, along with a working example you can implement in your own projects.