 |
VOOZH | about |
|
VOOZH | about |
WebGL is the JavaScript API that allows you to render 3D and 2D graphics within a web browser without needing plugins. It provides a way to interact with the graphics hardware directly and is built on top of OpenGL ES. Setting up a WebGL project involves configuring your development environment, creating a project structure, and writing the necessary HTML, CSS, and JavaScript code to render graphics.
Install a text editor or IDE (like VSCode) and ensure you have a modern web browser (Chrome, Firefox, etc.). Optionally, set up a local server using tools like HTTP-server or Python's built-in server for a better development experience.
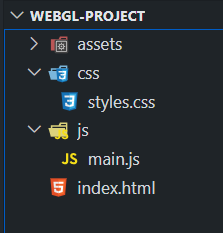
Organize your project with a clear structure as shown in the screenshot below.
Create index.html with a basic HTML5 structure, including a <canvas> element for rendering WebGL content and linking to CSS and JavaScript files.
In css/styles.css, style the <canvas> to cover the full viewport and remove default margins. This ensures the WebGL content fits the screen correctly.
In js/main.js, get the WebGL rendering context from the canvas, set up basic WebGL configurations (viewport, clear color), and create shaders and a shader program. This involves compiling shaders, linking them, and handling any potential errors.
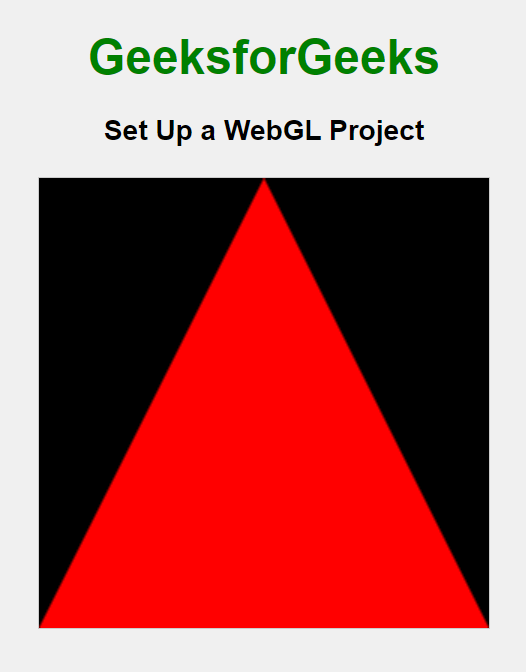
Example: In this example, we have set up a basic WebGL project with a centered canvas inside a styled box. The HTML file includes headings and a canvas element, the CSS file styles the headings and centers the canvas, and the JavaScript file initializes WebGL, creates shaders, and renders a simple red triangle on the canvas.
Output: