 |
VOOZH | about |
|
VOOZH | about |
Using Vite with Electron allows you to build modern desktop applications with a fast development experience. Vite provides a speedy development server and build tooling, while Electron helps you create cross-platform desktop applications. Here’s a step-by-step guide to setting up Vite with Electron, including complete setup and code examples.
This guide walks you through setting up a Vite application with Electron, enabling you to create modern desktop apps using web technologies. You'll learn to initialize a Vite project, configure Electron with a main process, and create a simple HTML component. The steps include installing dependencies, configuring build settings, and running your application in development mode. By the end, you’ll have a basic Electron app displaying a simple greeting message.
npm create @quick-start/electron@latestProject name:my-electron-app
Need to install the following packages:
@quick-start/create-electron@1.0.24
Ok to proceed? (y) y
√ Project name: ... my-app-electron
√ Select a framework: » vue
√ Add TypeScript? ... No / Yes
√ Add Electron updater plugin? ... No / Yes
√ Enable Electron download mirror proxy? ... No / Yes
Move into your newly created project directory:
cd my-electron-appInstall the necessary dependencies for Vite and Electron:
npm install"dependencies": {
"@electron-toolkit/preload": "^3.0.1",
"@electron-toolkit/utils": "^3.0.0"
},
"devDependencies": {
"@electron-toolkit/eslint-config": "^1.0.2",
"@rushstack/eslint-patch": "^1.10.3",
"@vitejs/plugin-vue": "^5.0.5",
"@vue/eslint-config-prettier": "^9.0.0",
"electron": "^31.0.2",
"electron-builder": "^24.13.3",
"electron-vite": "^2.3.0",
"eslint": "^8.57.0",
"eslint-plugin-vue": "^9.26.0",
"prettier": "^3.3.2",
"vite": "^5.3.1",
"vue": "^3.4.30"
}
Create a new file named main.js in your project root. This file will contain the main Electron process code:
Modify the scripts section in your package.json to include commands for building and running the application:
"scripts": {
 "dev": "vite",
 "build": "vite build",
 "start": "electron ."
}
You can create a simple HTML component to display text. Modify your index.html:
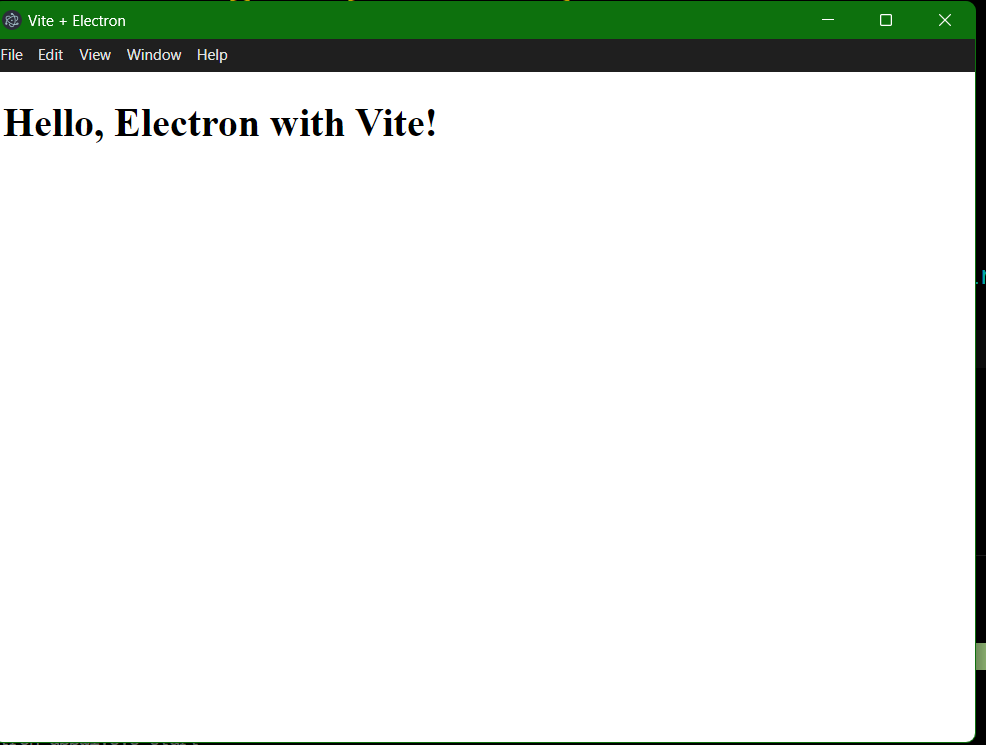
npm run devnpm run startOutput: