Disk Partitioning is the process of dividing a disk into one or more logical areas, often known as partitions, on which the user can work separately. Disk Partitioning is used for:
To upgrade the hard Disk (to incorporate a new Hard Disk into the system).
Dual Booting (Multiple Operating Systems on the same system).
Efficient disk management.
Ensure backup and security.
Work with different File Systems using the same system.
How to Partition Disks in Linux?
In order to successfully partition a disk and to make it useful, we need to ensure that we have completed the below four steps, regardless of the Operating system and Hardware of the system:
Attach the disk to the proper port
Create partitions in the disk
Create a file system on the partition
Mounting the file systems
1. Attaching the Disk
It is clearly specified that the system has only 20 GB of Hard Disk. After installing the necessary software and downloading some movies, I found that the system Hard Disk is almost completely used up.
Now I will have two options in front of me, either buy a new system with a higher Hard Disk capacity or upgrade the existing one. Most of you will go for the second option, just like me, unless the system is very old. Let us upgrade the system with an additional 20 GB of Hard Disk.
Adding a New Virtual Hard Disk in VMware
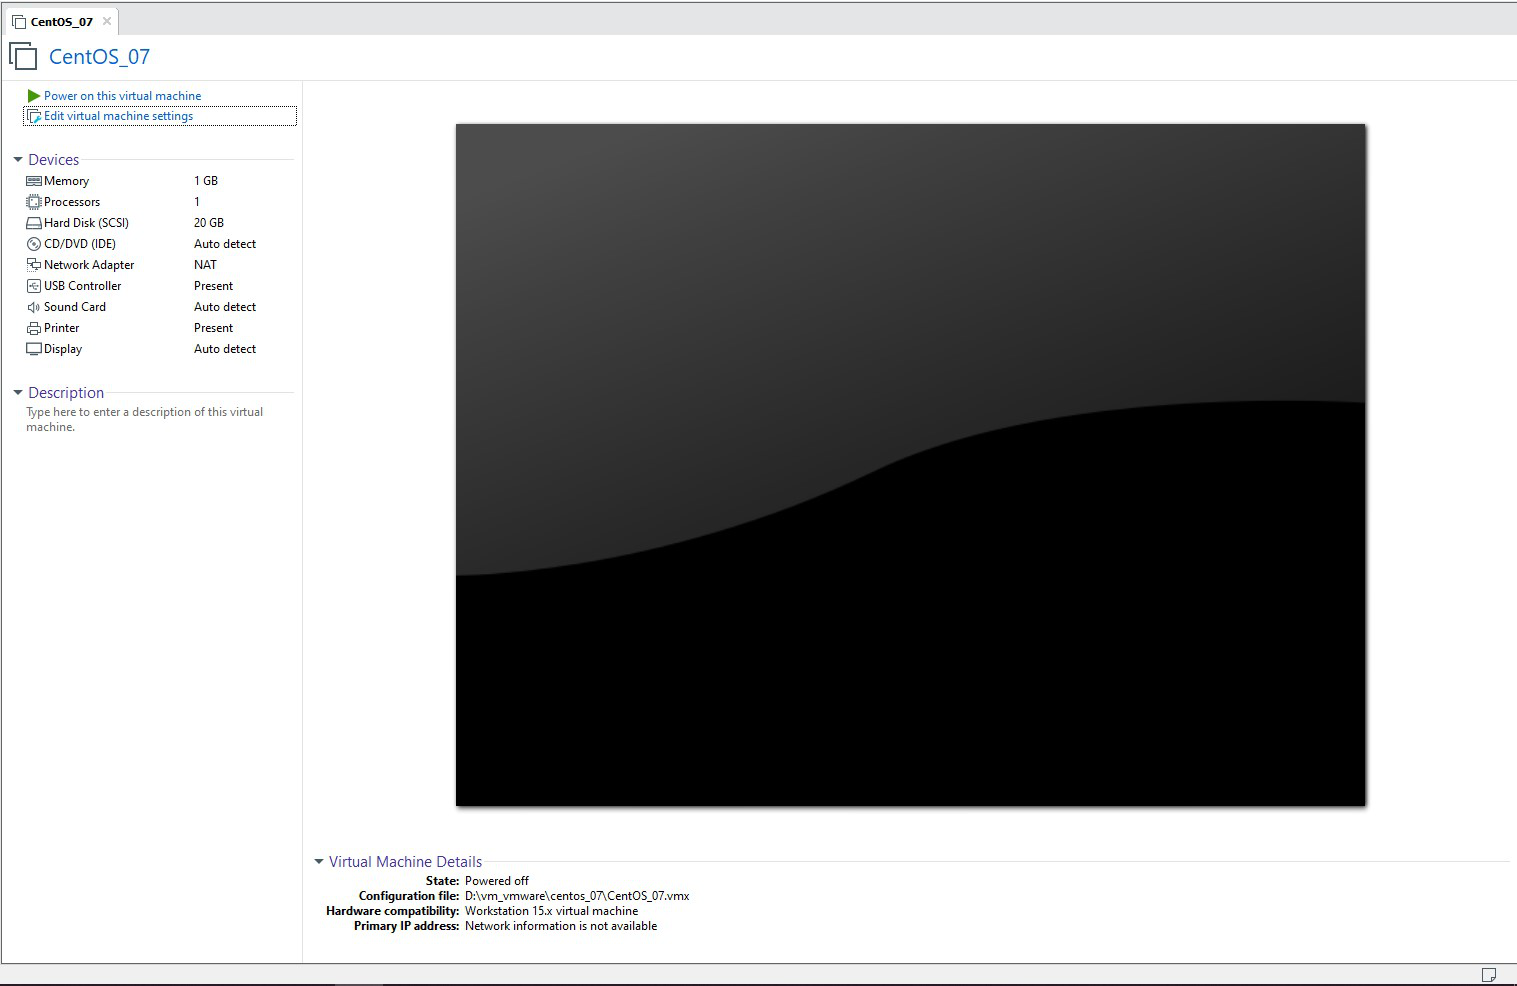
Step 1: Open Virtual Machine Settings
Shut down or power off the virtual machine completely before making hardware changes.
Click on "Edit virtual machine settings" or navigate to Player > Manage > Virtual Machine Settings.
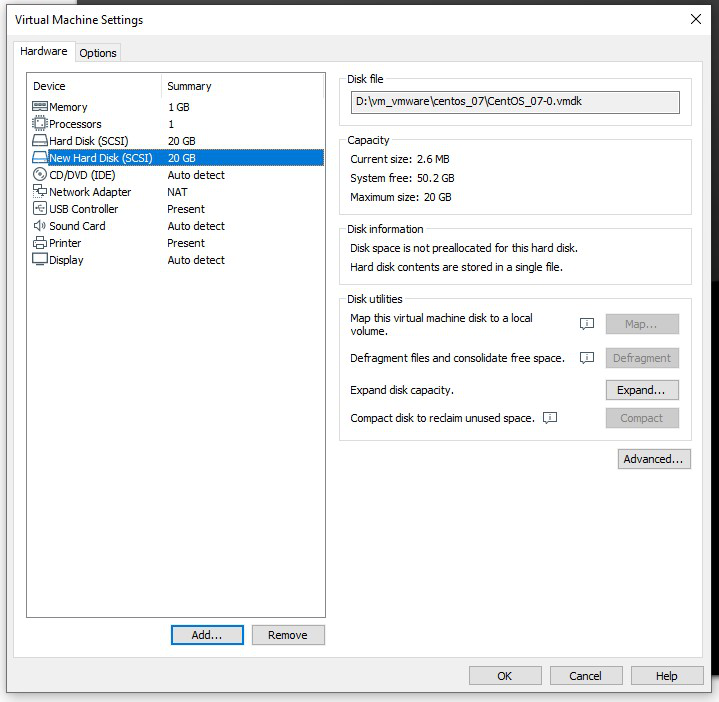
Click "Finish" to complete the wizard and add the new hard disk to your virtual machine configuration.
The final configuration shows that our system has a new Hard Disk of 20 GB size. The newly added Hard disk is of no use to our system unless we complete the remaining steps.
2. Create Partitions in the Disk
Power on the system and log in to the system. Ensure that you are logged in as root (or any user of the sudo group). Once the system UI comes up, open the Terminal. To view the available Hard Disks in our system, use the command lsblk or cat /proc/partitions. Both commands will display the same results, but in different ways.
We can find that the system has two disks -> sda and sdb. sda is our older Hard Disk. We can say so, as that disk is already partitioned as sda1 and sda2.
We can partition the disk using CLI as well as GUI. We will demonstrate CLI based partitioning in this article.
Now we found that the Hard Disk that we are going to partition can be found at /dev/sdb. Use the command.
fdisk /dev/sdb
It will take us to a different console where we can use the partitioning specific commands. We will be concentrating more on the following commands (or flags).
m -> help
p -> print partition table
n -> create new partition
d -> delete partition
q -> quit without writing
w -> write to disk
While partitioning, we should be aware of certain factors.
On a disk, we can have a maximum of four partitions.
The partitions are of two types: Primary and Extended.
Extended partitions can have logical partitions inside it.
Among the four possible partitions, the possible combinations are either all 4 primary partitions or 3 primary partitions and 1 extended partition
This will create a new partition. Specify the type of partition using the p for primary and e for extended.
p
This will create a primary partition. The console will prompt for the number to be given to the partition. We can give any number from 1 to 4. Let me give 1.
Then choose the starting position (cylinder) of partition 1.
Press enters to start partitioning from the beginning of the disk.
You can specify the size of the partition in two ways, either as the last cylinder number or by specifying the size directly. If we need partition1 to be of 4 GB size (as a whole number), use.
+4G
Pressing enter will create our 1st partition successfully. Follow the same steps, until we create 4 partitions on our newly attached disk.
We can check whether we have done the partitioning in the right way by printing the partition table using the p command.
If everything is as per the expectation, then write the changes to the disk using the w command, else use the q command to quit without writing.
3. Create a File System on the Partition
Linux uses file systems like ext4, ext3, XFS, and FAT to organize and store data on disks. Use the mkfs (make file system) command to format partitions with your chosen file system.
Format partition to ext4 with journaling:
mkfs.ext4 -j /dev/sdb1
Formats the first partition with ext4 file system.
The -j flag enables journaling, which logs errors and helps recover data after system crashes.
Format partition to FAT:
mkfs.ext4 -j /dev/sdb1
Formats the second partition with FAT file system, commonly used for USB drives and compatibility with Windows.
Create three directories to serve as mount points for the three partitions using the mkdir command
unmount /dev/sdb2
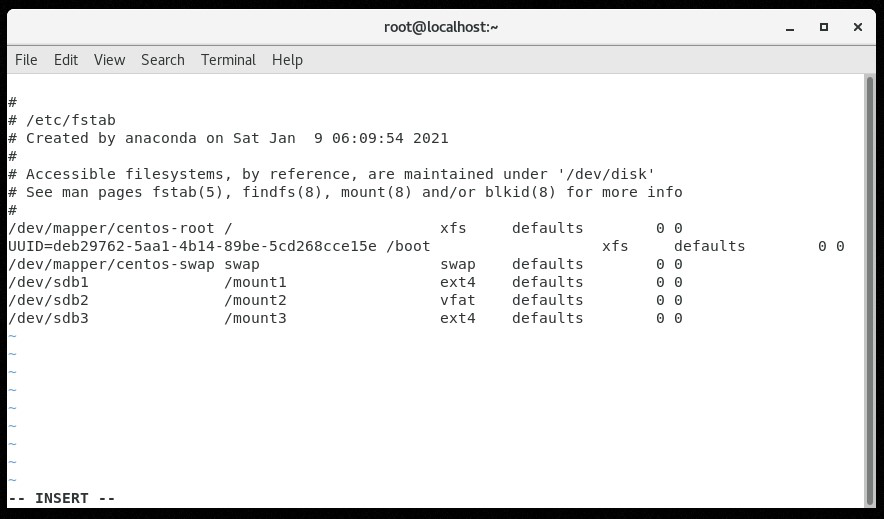
All these mountains are temporary in nature. Once we reboot the system, mounting will be reverted. To make it permanent, we must edit the File System Table of the Operating System.
We can verify whether our partitions are available for our purposes by visiting the root folder of the Operating System (since we have mounted the partitions on the mount1, mount2, mount3 directories in the root folder).
We can also verify the existence of our newly created partitions using the lsblk command.
lsblk
We can find our partitions in the table, each of 4 GB size.
