 |
VOOZH | about |
|
VOOZH | about |
Splunk is a software that helps organizations work with large amounts of data. The latest version 9.0.4.1 has new abilities. It can search data faster and use less memory. This makes it easier to look at and understand the data. Splunk 9.0.4.1 can now store old data in the cloud. This frees up space on the local machine for data that is used more often. The new version also has better ways to categorize events and support for AWS services. These new features give users more tools to manage and analyze their data. Splunk can be installed on different operating systems, including Linux. Linux is a popular choice for system administrators.
This guide will show you how to install Splunk on a Linux machine. Let's get started.
How To Install Splunk on Linux
Step 1: Go to the official website of Splunk or click on the link below to redirect to the website and follow the procedure below.
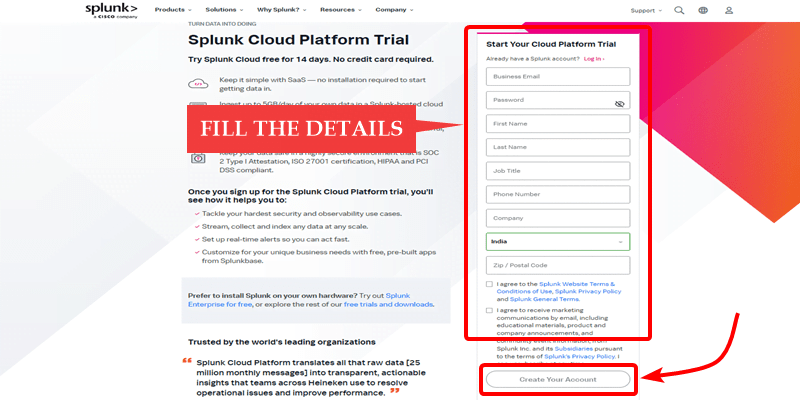
Link : https://www.splunk.com/Step 2: Fill the form and then click on the Create Your Account.
Step 3: On the next page click on the Downloads Page.
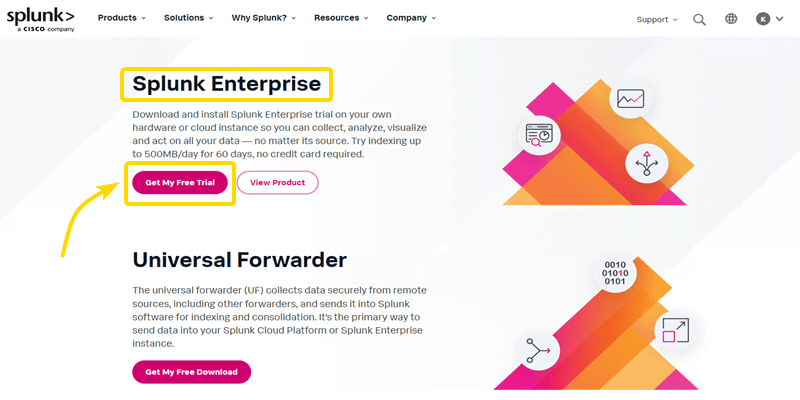
Step 4: After that choose Splunk Enterprise version and click on Get My Free Trial to Download.
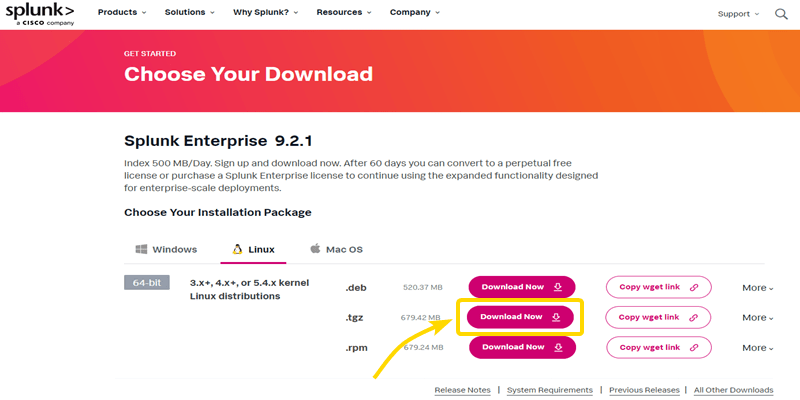
Step 5: Click on the Linux Tab and then choose the .tgz Download Option for the Linux.
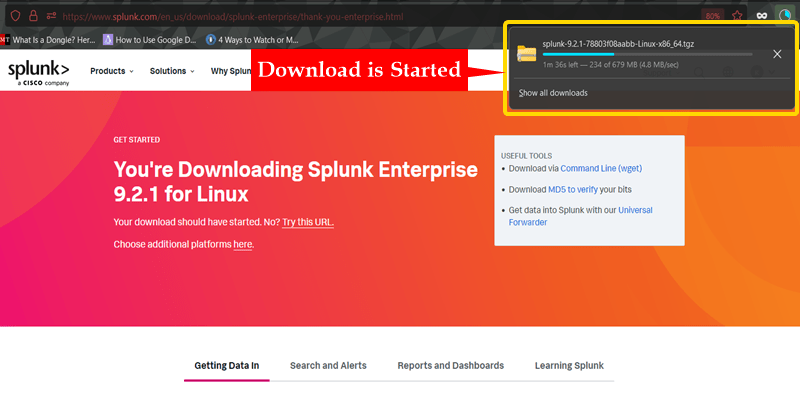
Step 6: Great, you can Clearly see that our Download has been started.
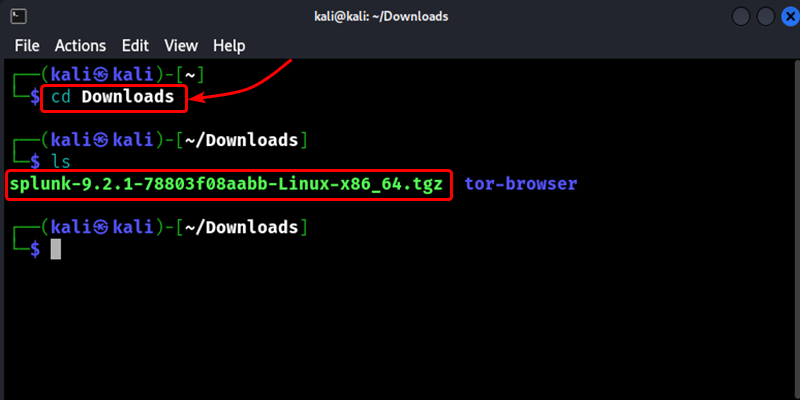
To install Splunk, go to the folder where you downloaded the file. Usually, the file is in the Downloads folder. Open the terminal and change to the Downloads folder. Use the below command.
Command :
cd DownloadsOutput :
Now we've to extract the file in order to install it to do that use the below command. The '/opt' directory is a standard location on Linux systems for installing optional software packages
Command :
sudo tar xvzf splunk-9.2.1-78803f08aabb-Linux-x86_64.tgz -C /optOutput :
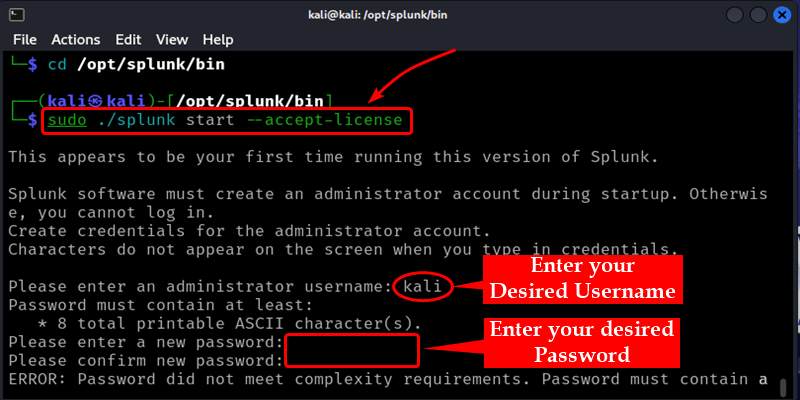
After extracting the Splunk installation files, we need to change to the specific directory where the program files are located. We can do this by using the following command.
Command :
cd /opt/splunk/binOutput :
After changing to the Splunk program directory, we need to accept the license agreement to start the Splunk server. We can do this by running the following command. After running this command, Splunk will prompt you to enter a username and password. You can choose any username and password you prefer. This username and password will be used to log into the Splunk web interface later.
Command :
sudo ./splunk start --accept-licenseOutput :
After setting up the username and password, you will see a web address displayed in the terminal output. This is the address you need to access the Splunk server through a web browser.
On the Splunk login page, you will see fields to enter your username and password. Enter the same username and password that you set in Step 4 when you ran the command to start the Splunk server.
That's it! You have now successfully signed in to the Splunk server using the web interface. After signing in, you will be able to access the Splunk dashboard and start exploring its various features for searching, analyzing, and visualizing your data.
Getting Splunk up and running on your Linux machine is not too difficult. After downloading the Splunk file, you extract it and use some basic terminal commands to start the Splunk server. Splunk will then give you a web address to access its interface through your browser. Just create a username and password when asked, open that web address, and sign in with your new credentials. With those straightforward steps completed, you now have Splunk installed and ready to use for collecting and analyzing data on your Linux system.