 |
VOOZH | about |
|
VOOZH | about |
KNOPPIX is a compilation of GNU/Linux software, which runs completely from CD, or flash disk. It automatically detects and supports a wide range of graphics adapters, sound cards, USB devices, and other devices. It is not necessary to install on a fixed disk. Because of its transparent decompression, up to 2 GB of executable software can be present on a CD, and up to 10 GigaBytes on a single-layered DVD.
Download the iso file from here.
Step 1: Open Virtual Box, then click on the new button.
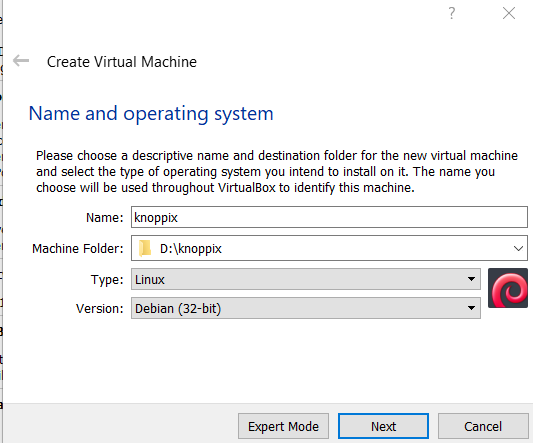
👁 ImageStep 2: Enter the name which you prefer for the virtual machine and select it to Debian-based 64bit Linux architecture.
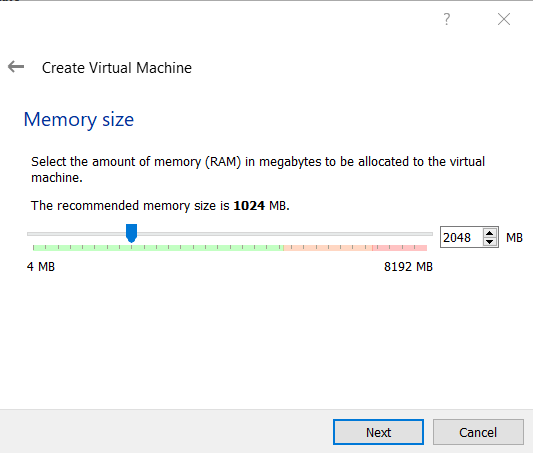
👁 ImageStep 3: Allot the size of RAM you want to the Virtual Machine of Knoppix.
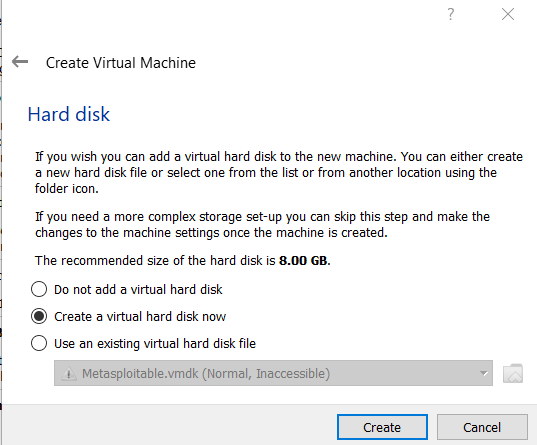
👁 ImageStep 4: Select the option to create a virtual hard disk, then click on the create button.
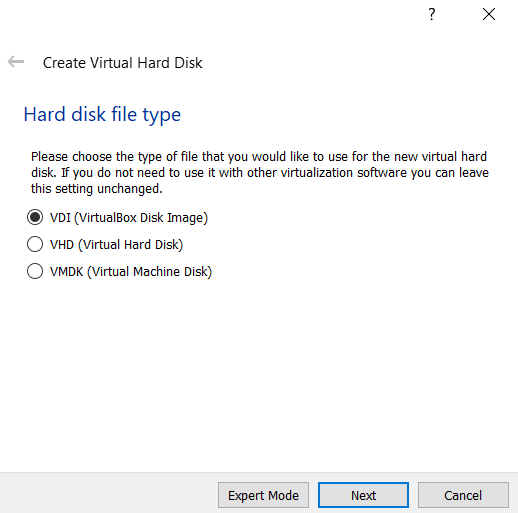
👁 ImageStep 5: Select the virtual hard disk as VDI.
👁 ImageStep 6: Select the type of Physical Hard Disk Storage as dynamically allocated.
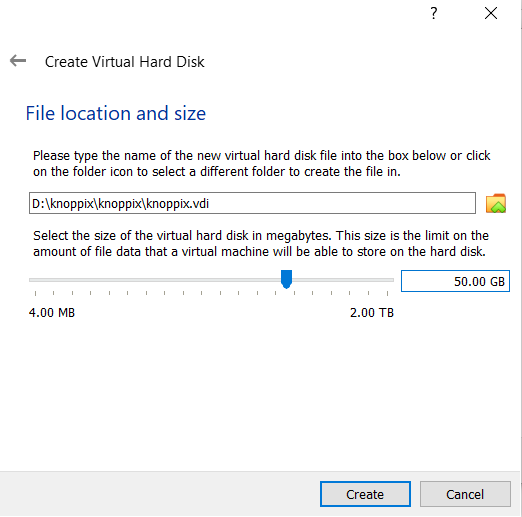
👁 ImageStep 7: Now, select the size of your virtual hard disk and also the location where you want to save your machine and its files.
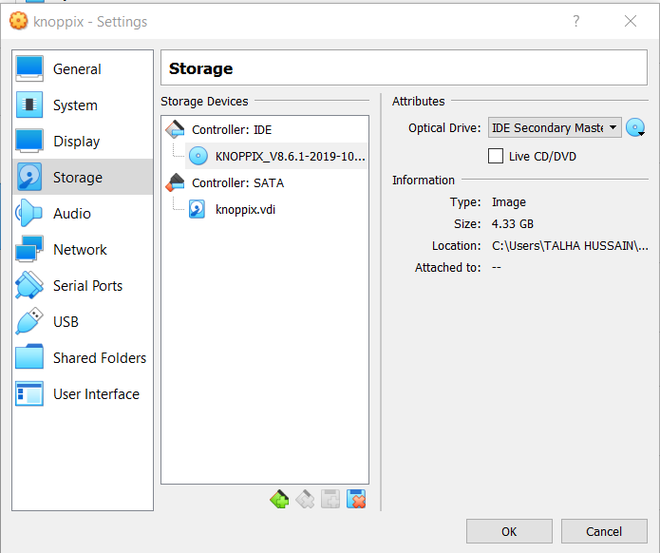
👁 ImageStep 8: Click on the Browse icon option located just above the cancel button and select your downloaded Knoppix ISO file and then click on the start button.
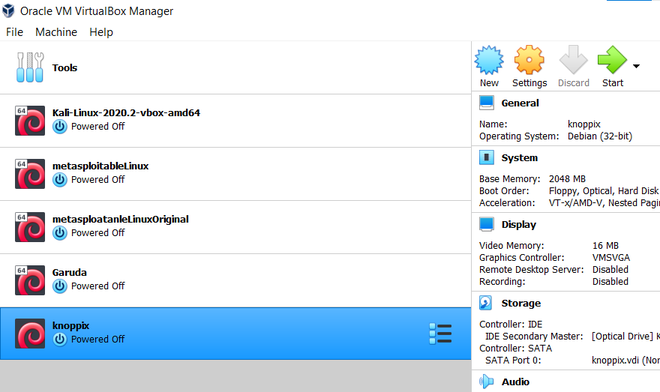
👁 ImageStep 9: Click on the start button.
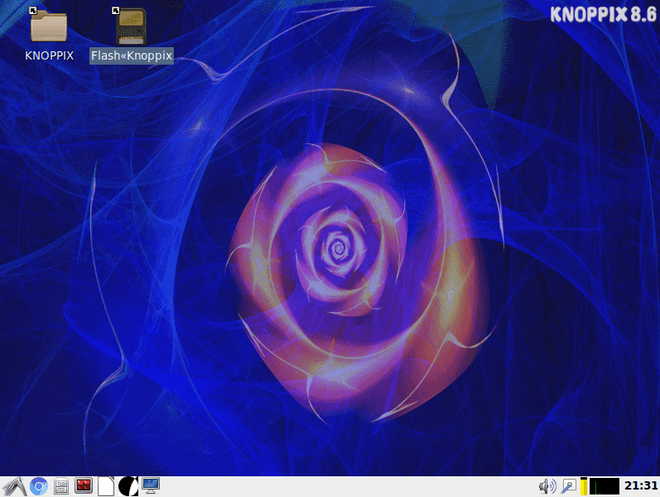
👁 ImageStep 10: Double click on flash Knoppix.
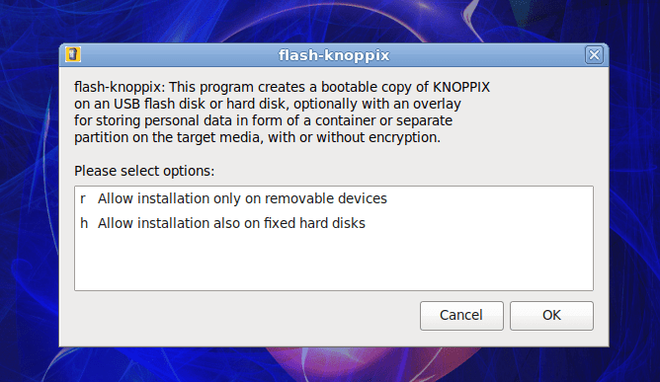
👁 ImageStep 11: Click the second option i.e "allow installation also on fixed hard disks" and hit ok.
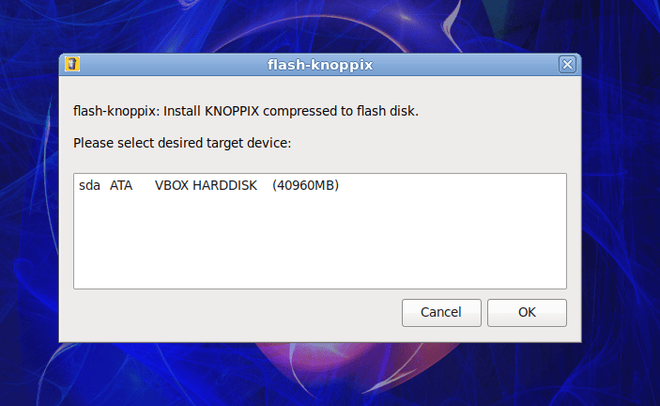
👁 ImageStep 12: The next step is to select a target device, select your VBOX HARDDISK one, and hit ok.
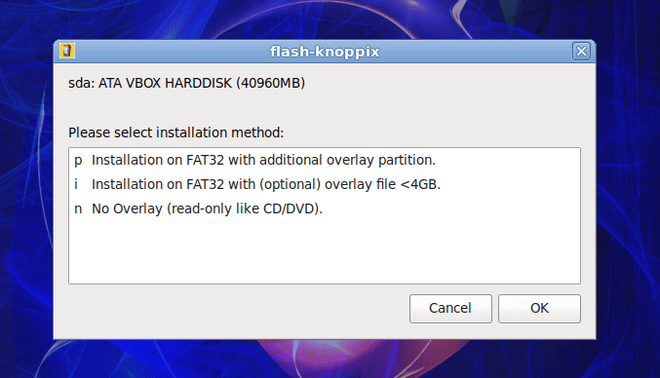
👁 ImageStep 13: Select the installation on FAT32 with an additional overlay partition and click on ok.
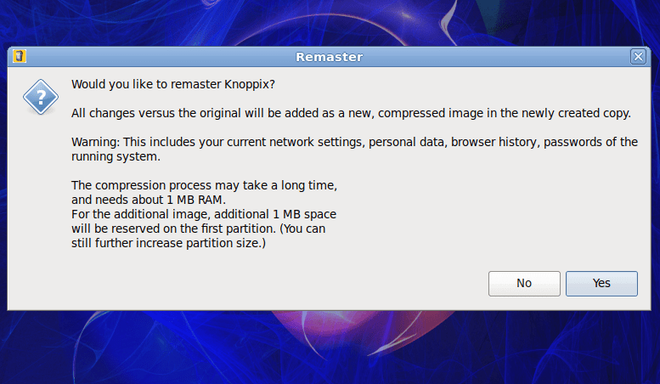
👁 ImageStep 14: Click on yes to remaster Knoppix.
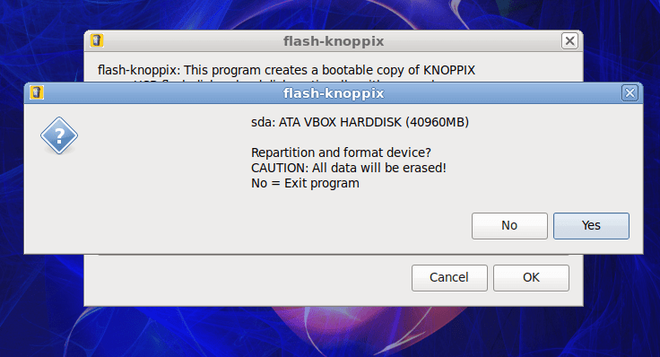
👁 ImageStep 15: Select yes to repartition and format the device.
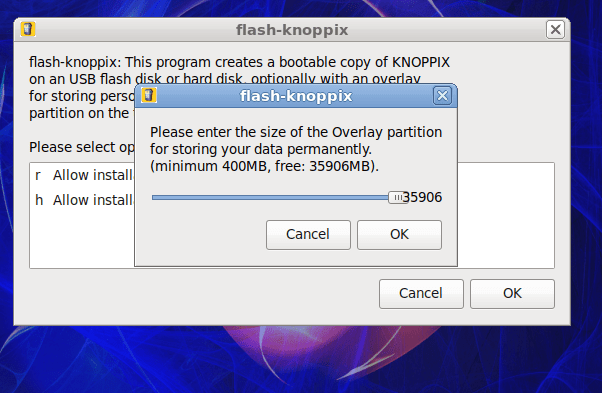
👁 ImageStep 16: Select the size of the overlay partition and hit ok.
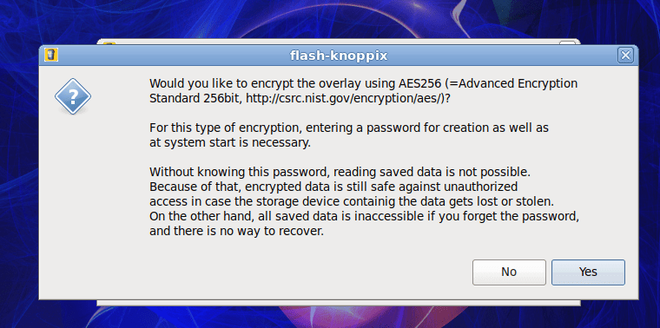
👁 ImageStep 17: Your Click on no as we don't want to encrypt the overlay using AE256.
👁 ImageBoom! there you have the Knoppix installed.
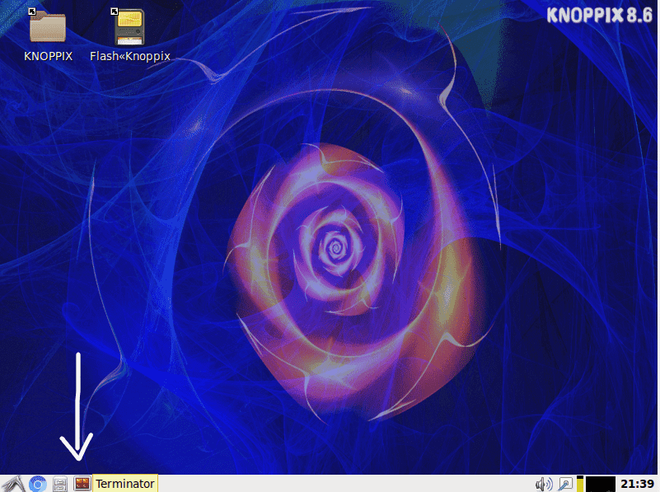
Step 18: Now click on the terminal to perform the commands to see if it's working or not.
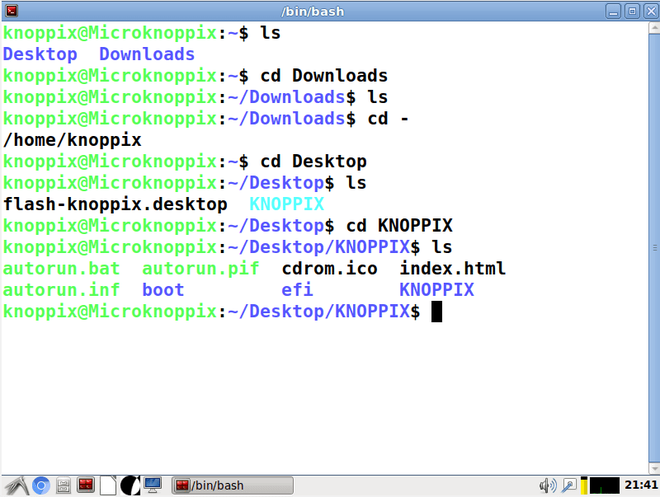
👁 ImageType commands like ls, cd, and whoami just like you would in any other distro.
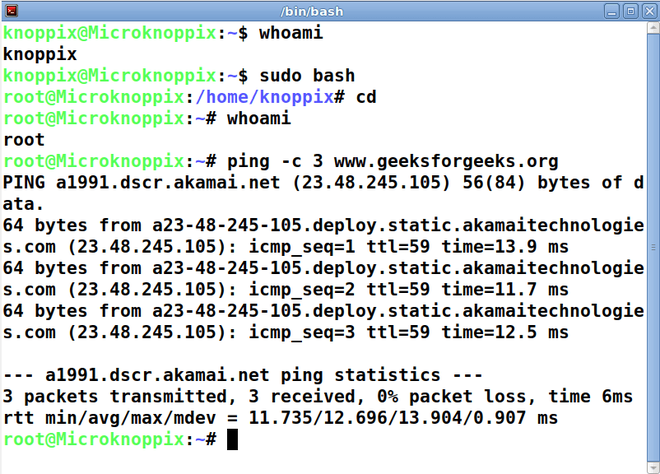
👁 Imageping geeksforgeeks.org
👁 Image