 |
VOOZH | about |
|
VOOZH | about |
NestJS is a progressive Node.js framework that leverages TypeScript and is built on top of Express.js. It’s designed to provide an application architecture out of the box, which helps to create highly testable, maintainable, and scalable applications. In this guide, we will walk through the steps to build a simple and scalable Web API using NestJS and TypeScript.
"Nest provides an out-of-the-box application architecture which allows developers and teams to create highly testable, scalable, loosely coupled, and easily maintainable applications. The architecture is heavily inspired by Angular."
Let's get started! We will try to keep this article short and easy. You can find my GitHub repository at the end of this Article. We will be creating a to-do web API to understand Nest.js.
Step 1: Installing Nest.JS is pretty simple. We will be using package managers to install Nest.
$ npm i -g @nestjs/cliStep 2: After installing Nest globally, we can create our project with the next command.
$ nest new task-apiStep 3: To start the application type the nest commands.
$ cd task-api
$ npm install
$ npm run start
Step 4: Find core files in the src/ directory. On successful Installation, you will find:
Note:
$ nest generate module TaskExample: Inside the task folder you will find a similar root module folder structure. Inside the 'task.module.ts' file you will find:
Nest.js automatically creates the required controller and service files for initial development.
Note: DTOs stand for data transfer objects. A DTO is necessary to validate the data in each request for this reason we use the class-validator library.
$ npm install class-validatorExample: Implementation to use class validator library
We will be storing tasks in an array, locally on the server to maintain the simplicity of the Article Services contain methods that implement business logic. Simple JavaScript functions are responsible to handle the transfer and manipulation of data.
A controller is a simple class with the decorator @Controller('task'), which indicates this will be listening the requests made at '/src/Task' endpoint. To handle the different HTTP requests methods NestJS provides us methods: @Get, @Post, @Put(), @Delete(), @Patch().
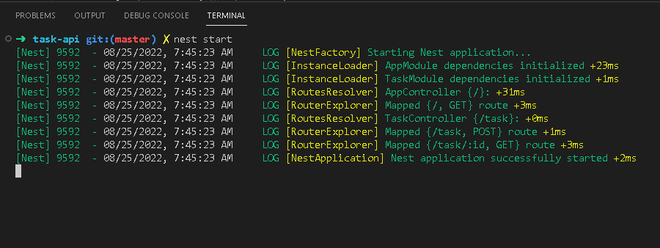
Steps to run the application: Now we are ready to run our NestJS web API on localhost/3000:
$ nest startOutput: We will be using Postman to test out Nest.JS Task Web API. You can test it using Postman or open the URL in Browser.
1. Make a POST request on endpoint 'http://localhost:3000/task' in Postman as shown below
2. Make a GET request on endpoint 'http://localhost:3000/task/1' in Postman as shown below:
Hope you enjoyed this article, you can check the code in the GitHub repository.