 |
VOOZH | about |
|
VOOZH | about |
Adding captions in Google Docs makes your documents clearer and more professional by providing context for images. You can add captions using inline text, tables, Google Drawings, add-ons, or footnotes, depending on your preferred layout and style.
There are many ways to add captions to pictures in Google Docs. You can use the inline property, Drawing, Table, or caption maker add-ons to add a caption to an image. We will discuss all the ways to add captions to images in Google Docs.
Using inline text for captions is a straightforward approach that integrates the caption directly within the text flow of the document, ensuring that the caption moves along with the image.
Insert the image in your document. Follow the above methods to learn how to insert the images.
Click on the Image, this will bring up some line options on the left side of the image.
Select the left corner option (in line option)
Now Type your Caption and Preview Image with Caption.
Adding captions using Google Drawings is a versatile method that allows you to create a cohesive image-caption unit. This ensures your caption remains attached to the image even when moved.
When you log in, you'll see templates and a '+' sign. Click the '+' and pick 'Blank Document' to begin a new one from scratch.
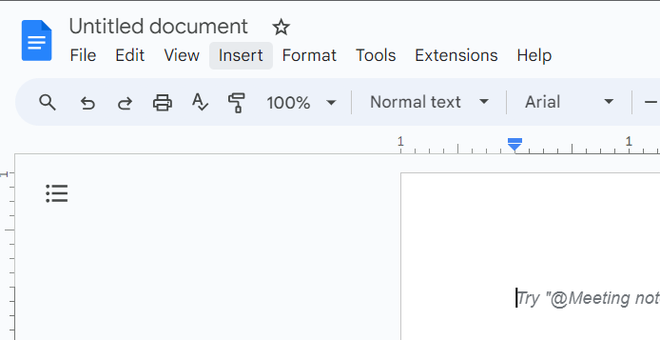
A fresh blank document will now appear on your screen. Just below where it says "Untitled document," you'll find a list of choices. c for the "Insert" option to add an image to your document.
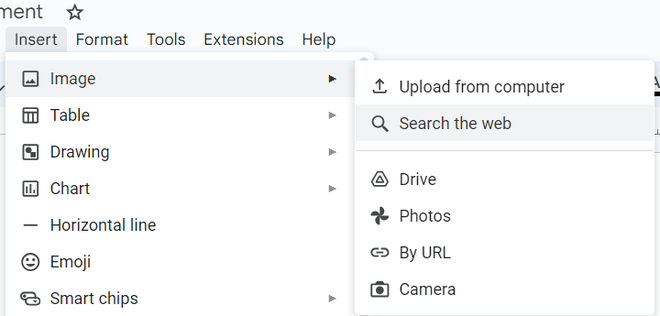
Now click on the Image option and then you will see a list of options to insert an image into your document. (Here we've chosen an image from the web and then typed the name of the image, selected it, and clicked on the Insert button.)
Click on the image you want to insert.
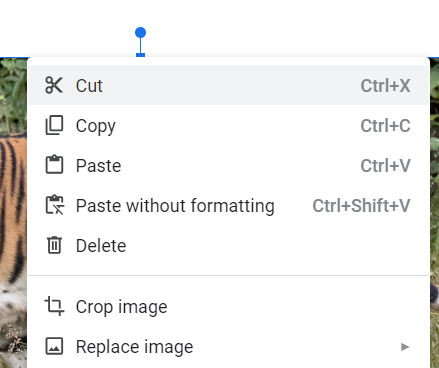
After the image has been inserted right-click on the image and select the Cut option to cut the image which will also copy the image from the document so that we can reuse the image later. We will use this image later in below mentioned steps.
Navigate to the "Insert" option once more, and this time, select "Drawing." We'll begin by inserting the image into the document, and then you can choose how to upload it to add a caption. For now, let's go with the "New" option to create a blank workspace for inserting the image.
Right Click on the Page wherever you want to paste the image and select the option Paste from the list.
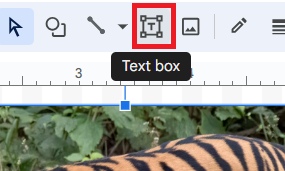
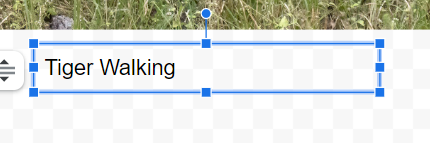
Click on the Text Box option to add a caption to your image. The text box option will allow us to insert a caption in it first and then from the Text Box itself we will place the caption in wherever position we want to add it.
Now you need to draw the size of the Text Box with the help of your mouse and place the text box wherever you want to place the caption in your image then click Enter and on the top right click on Save and Close button. You can insert the text box at any position you want according to your requirements.
Now the image will be inserted into your document with the caption and the final result will look like this :
The caption stays with the picture, and you can move it wherever you want. If you want to change the picture, just do the same thing: click "Insert," then "Drawing," then "New," and finally "Edit."
Using a table to add captions is an easy method that helps maintain the caption directly below the image. This technique is particularly useful for documents requiring consistent formatting.
Open the Google Docs in which you want to insert the table and caption it.
Select the "Insert" tab and then Select the Table with "1x2" table width ( that means one column and two rows).
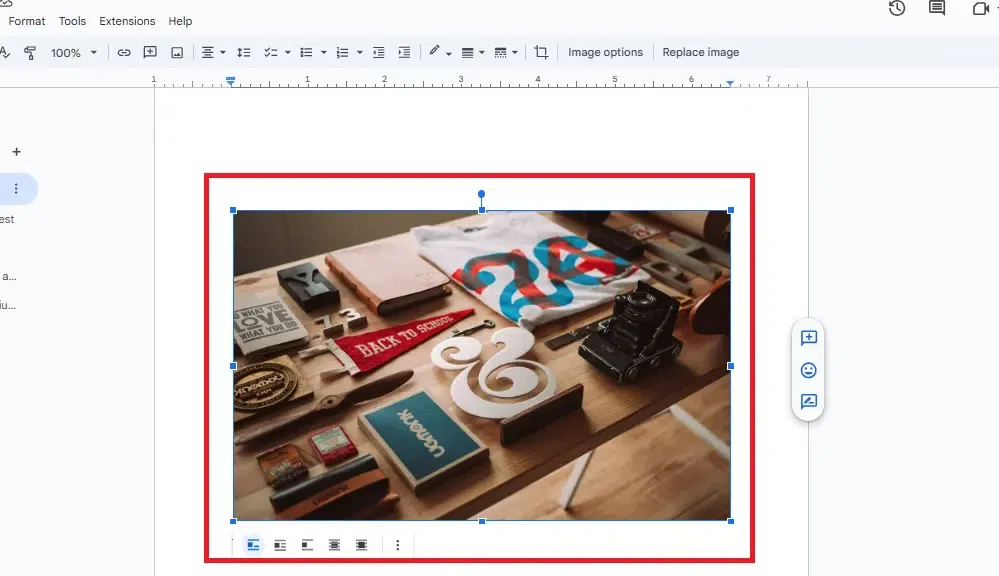
Place your image in the top row by either dragging and dropping it or inserting it. You can add the image by searching for it online or uploading it from your device. In the example below, we're using a web search to find the image.
Search for the image you want to insert and select that image then click on the "Insert" button at the bottom right corner.
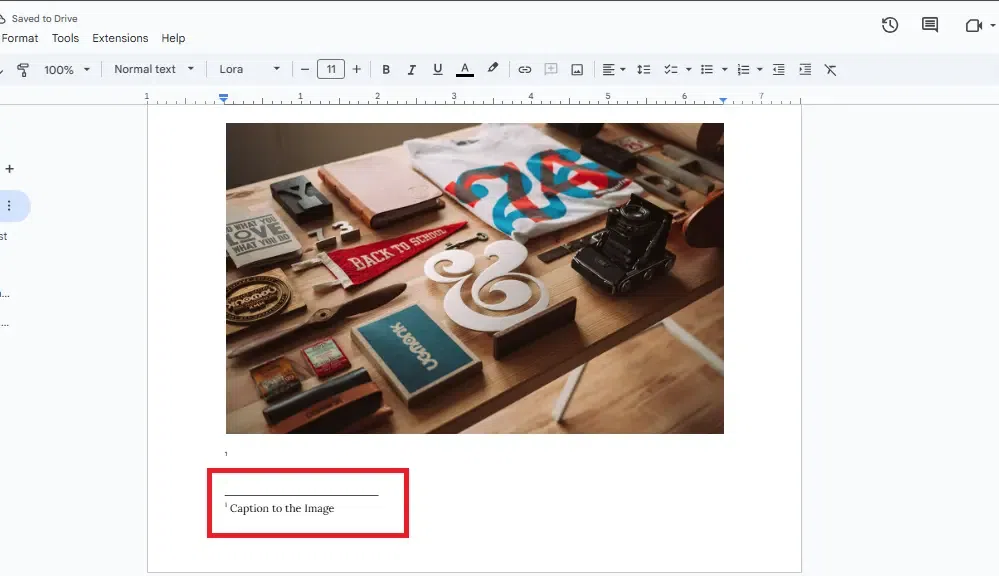
You can type your caption in the next row, you can also adjust the font and size as per your need.
To eliminate the table borders, simply right-click on the table and choose "Table properties." Adjust the table border to "0 pt" and then click "OK."
Your picture and caption will be united seamlessly, with no apparent lines between them. If you choose to shift the image, the caption will follow suit.
An alternative approach for adding captions to your document's images involves using a Google Docs add-on. One such add-on, known as Caption Maker, simplifies the process by enabling you to include captions for all your items simultaneously. This method is particularly convenient if you do not require unique text for each individual image.
Open the document where you want to add captions.
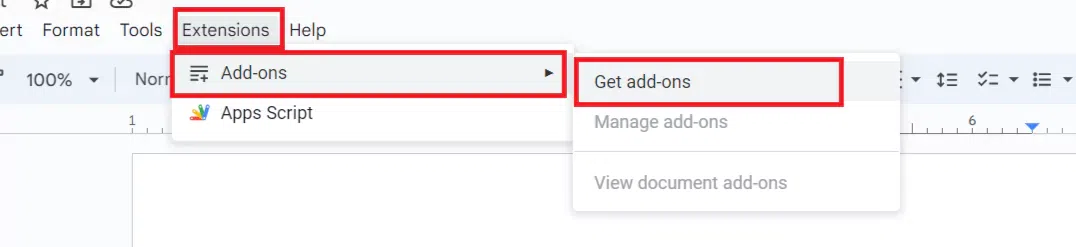
Click on the "Extensions" menu, select "Add-ons," and then click on "Get add-ons."
In the add-ons store, search for "Caption Maker."
Now you need to install the Add-on
Add the image to your document as previously explained.
Open the Caption Maker add-on by going to "Extensions," selecting "Caption Maker," and then clicking on "Start."
Write your caption in the format box.
Note: First you need to click on Show Option to Add caption to your image
You can change the font properties as per your need and click on Captionize after making all the Changes
View the image with the caption added.
Follow the steps given below to add captions to images by inserting a footnote in Google Docs:
Click on the image you want to add a caption to. Ensure it is highlighted.
Go to the menu at the top of the page, click on “Insert,” and then select “Footnote.” A small number will appear next to your image, indicating the footnote.
Scroll down to the bottom of the page where the footnote appears. Type your caption for the image in the footnote area.
.png)
.png)
.png)
.png)
-660.png)
.png)
.png)
.png)
.png)
.png)
.png)
.png)
.png)
.webp)
.webp)
-(2).webp)
.webp)
.webp)
-(1).webp)