 |
VOOZH | about |
|
VOOZH | about |
As teams scale containerized workloads, cloud bills grow — and so does the complexity of figuring out who’s actually responsible for what.
In this guide, we’ll walk through the challenges of Kubernetes cost allocation, what data you need to get it right, how to choose an allocation strategy, and how to operationalize reporting and accountability at scale.
Kubernetes gives engineering teams flexibility and control — but it complicates everything about cost accountability. Why?
In traditional cloud environments, you can map a resource (like an EC2 instance) directly to a team, project, or cost center using tags. But in Kubernetes:
This breaks the classic FinOps model of “tag and allocate.”
Pods scale in and out. Workloads move across zones or regions. Containers may live for minutes. This creates issues like:
| Metric Used for Allocation | Pros | Cons |
| Requests | Predictable billing, easy to apportion | Teams may under-request to avoid charges; unused capacity still billed |
| Actual Usage | More accurate to what was consumed | Doesn’t account for idle capacity or reserved but unused resources |
Besides compute, containerized workloads incur:
Most of these aren’t traceable to a specific pod or namespace in billing tools.
Now that we’ve covered why Kubernetes makes cost allocation difficult, let’s walk through what’s actually required to do it well. You need to bring together cloud billing data, cluster-level usage data, and metadata that maps workloads to teams, environments, or projects.
The AWS Cost and Usage Report is your billing source of truth. It shows what you’re being charged for—compute, EBS volumes, networking, EKS control plane, etc.—but only at the node level. It doesn’t know about your pods or namespaces. You’ll need to augment this data with in-cluster metadata to bridge that visibility gap.
Use hourly granularity and include resource IDs to enable more accurate mapping, especially for ephemeral workloads.
Kubernetes itself provides the usage data needed to allocate costs internally. Tools like Prometheus or metrics-server can track container CPU, memory, and uptime, as well as which pod ran on which node and when.
To assign node costs to pods, collect both resource requests and actual usage. This helps you apportion costs based on either guaranteed capacity or real-world consumption.
There are a few ways to gather this data in practice, each with tradeoffs:
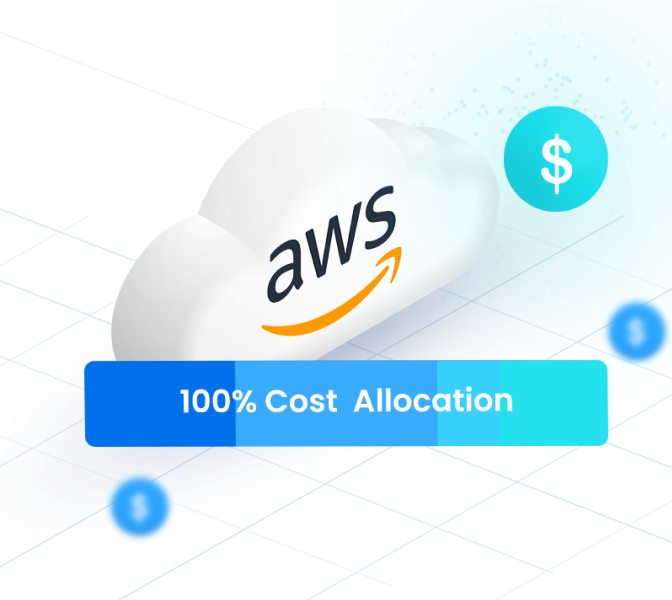
You can stitch together these tools and data sets, but doing so is operationally complex and resource-intensive. (Alternatively, nOps combines usage data, billing data (via CUR), and workload metadata automatically—providing 100% accurate, credit-adjusted cost allocation down to the pod level, with significantly lower overhead.)
Since you’re billed at the node level, the core task is to split node costs among the pods that ran on them. This step is essential to ensure fair distribution of compute, storage, and network costs across teams or services.
You can:
But to do this, you need both usage metrics and billing data. With AWS’s tools, this requires stitching together CUR, Prometheus/CloudWatch, and your own metadata—plus managing the infrastructure to store and process it all. It’s possible, but it’s time-consuming, error-prone, and expensive to maintain. (With nOps, this process is fully automated. It handles ingestion, correlation, reporting, and even credit and discount adjustments—so you get 100% accurate container-level cost allocation, right out of the box.)
To allocate costs to the right teams or business units, you need consistent metadata. Kubernetes labels like team, env, or app should be applied to every workload, and namespaces should reflect environments or business units.
For enforcement, use policy engines like Open Policy Agent (OPA) or Gatekeeper to ensure required labels are present and follow naming conventions. Aligning Kubernetes labels with cloud-level cost allocation tags improves traceability from billing data to workload ownership.
| Allocation Method | Description | Pros | Cons | Best For |
| Proportional by Resource Requests | Allocate based on CPU/memory requested by each workload | Simple to implement; aligns with reserved capacity | Overprovisioning inflates cost share; idle resources still billed | Most teams starting cost allocation |
| Actual Usage-Based | Allocate based on CPU/memory actually used over time | More accurate; encourages efficiency | Harder to track; penalizes safe over-provisioning | Teams with strong monitoring & discipline |
| Equal-Split or Fixed % | Divide costs evenly or with predefined splits across teams or projects | Simple; no metrics required | May feel arbitrary or unfair at scale | Early-stage programs or small teams |
| Custom Business Rules | Combine usage, labels, team ownership, and service type to drive allocation | Highly flexible; supports complex org structures | Requires enforcement, automation, and internal agreement | Mature FinOps teams with platform support |
Once you’ve allocated costs by pod, team, and service, the next step is turning that data into reporting that drives visibility, accountability, and optimization. This phase is where raw data becomes a FinOps practice.
To make cost data actionable, structure it around the dimensions teams care about:
Reports should support filtering by these dimensions and allow drilldowns from aggregate to pod-level cost detail.
To hold teams accountable, generate scoped reports filtered by label, namespace, or business unit. Deliver them to engineering or finance via:
These reports can power:
Use scoped reporting to surface shared costs (e.g., system pods, observability agents) and unallocated spend to drive better tagging.
Teams need to calculate cost per customer for internal and external customers to understand margins, make pricing decisions, etc.
There are typically two patterns here:
With nOps, this entire process is automated. The Business Unit Economics and COGS Planning features let you define cost attribution rules, allocate shared services, and track per-customer costs over time — without writing complex spreadsheet logic or relying on the finance team to manually stitch it together.
Once COGS is visible and scoped, you can use it to support margin analysis, pricing decisions, and cost optimization efforts across your customer base.
Visibility isn’t enough — FinOps practices require that teams act on cost data. Build cultural and process support by:
If you’re early in your journey, start with monthly team-level showback using resource requests. As maturity grows, layer in actual usage-based chargeback, anomaly detection, and unit economics.
Choosing the right tool to support Kubernetes cost allocation and reporting is just as important as choosing the right strategy. Want to see what you’re really paying to run Kubernetes? The all-in-one nOps feature set includes:
Hop on a call to find out how to get 100% accurate Kubernetes cost allocation set up in minutes.
nOps was recently ranked #1 with five stars in G2’s cloud cost management category, and we optimize $2 billion in cloud spend for our customers.
Last Updated: February 4, 2026,
Last Updated: February 4, 2026,
AI-powered rate optimization with risk-free guarantee