 |
VOOZH | about |
|
VOOZH | about |
The Text Widget allows you to add formatted text to your workflows.
Use it to provide context, instructions, or reminders that appear every time someone runs the workflow.
It’s ideal for guiding users through a process, highlighting critical steps, or embedding important information directly into tasks.
Users: Only Admins or a Builder who has been given ‘edit’ access can edit workflows.
To create or edit a text widget, you will need to be editing a workflow.
Start in your Library and click the three dots next to your workflow’s name to open the dropdown menu. Then click “Edit“.
Next, navigate to the task you want to edit and click or drag the “Text” button in the widget menu. You’re looking for the text widget in the content section at the top right of your screen.
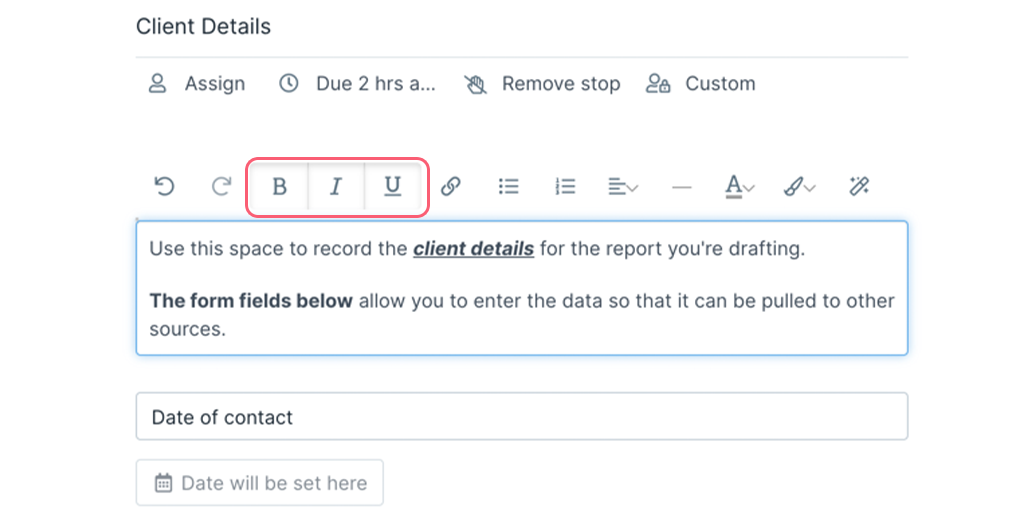
You can format your text with the buttons at the top of the widget in a number of ways.
To bold, italicize, or underline your text, simply select one of the appropriate buttons from the top of the widget, or press and hold your control key (command for Mac users) and ‘B’, ‘I’, or ‘U’ keys respectively.
Add hyperlinks to your text by first selecting the text you want to link, then click the link icon.
A box will pop-up that will allow you to customize your link. Paste the URL of the link into the ‘URL’ field and click OK to finish.
Optional: You can choose whether you want your link to open in the same window or a new one using the ‘Target’ dropdown, or give your link a ‘Title’ for when users hover over your link.
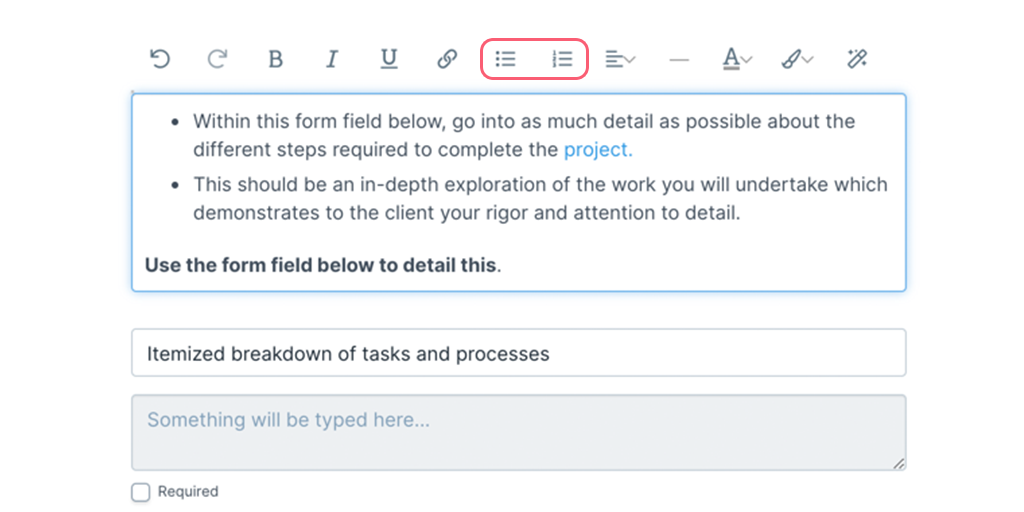
To break up your text, you may want to consider adding bullet points or numbered lists. You can do that by selecting one of the two icons to the right of the link icon, shown below:
Feeling centered? Sometimes it helps to position your text to one side of the widget or another, or maybe put it right in the middle. You can do all the above by using the text alignment options, shown below:
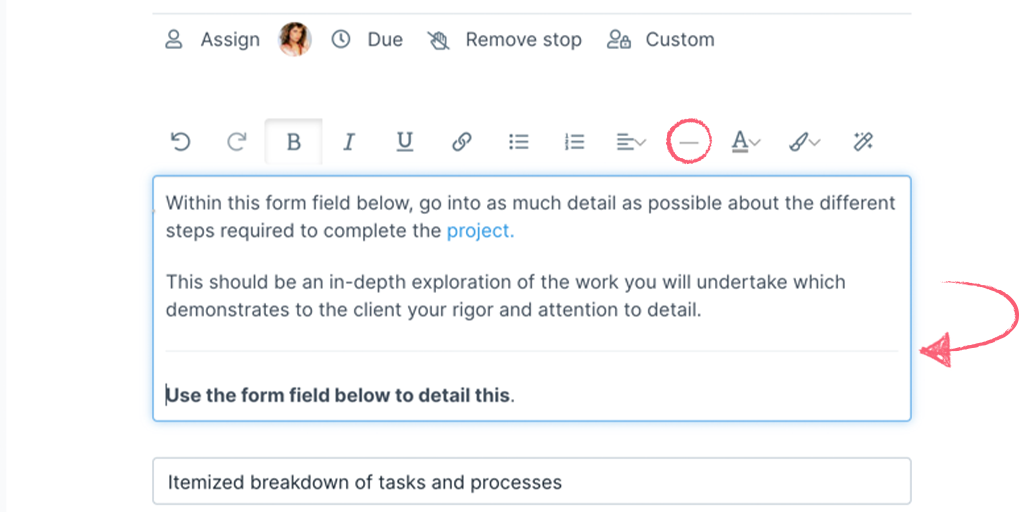
Sometimes you just need a break, a line break that is! You can separate your text with a line, by clicking the horizontal line icon shown below.
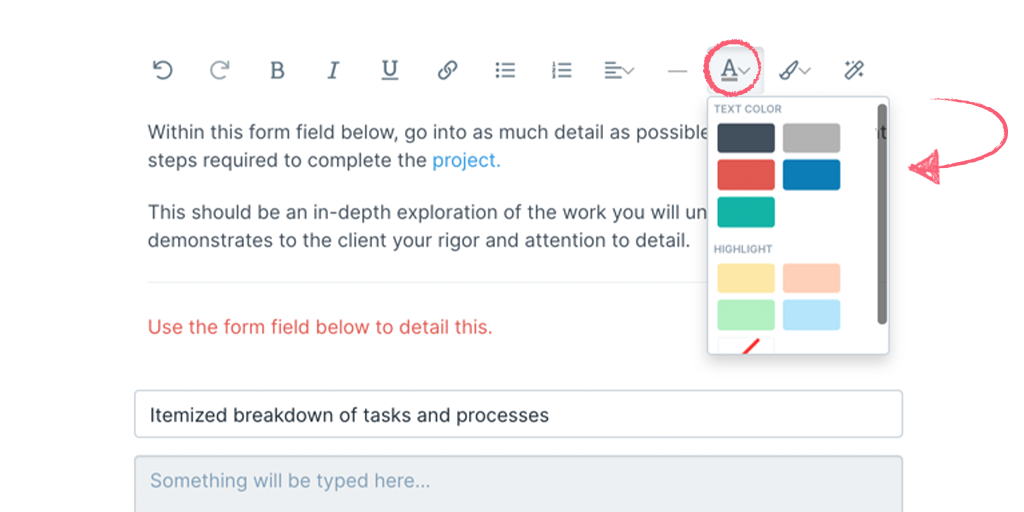
Nothing in life is simply black and white, so we’ve made sure that you can add some color to your text in a few different ways. You can choose from our text color options and even highlight the important stuff, by clicking on the icon with an underlined ‘A’.
If something is really important, you can use the different formatting options to make your text even bigger, or set your text inside of a large colored bubble. Access these by clicking the icon with a paintbrush on it, shown below:
You can use variables in text widgets to pull in information from other sources.
For example, if you have a form field set up for capturing a client’s email address, you can pull that email address straight into your text widget and save yourself the trouble of copying it over manually.
To insert a variable into a text widget, click the section of the widget where you want to put the variable. This is done because your variable will be inserted wherever your text cursor is at the time.
Next, click the magic wand (variables) icon in the top right of the text widget, near the other formatting options.
Then just click on the variable you want to have pushed in. Use the search bar to narrow down your options if have a lot of variables in the list.
Learn more about how the other widgets work:
Help us improve this help center.
Help us improve this article.
Please refresh the page and try again.