
How we consume media has come a long way over the last decade, with the advent of 4K, smart TVs, AirPlay, Chromecast, HDR, and plenty of other new technologies all playing a part. But for many of us, our 1080p LCDs from circa-2012 are mostly fine, and still in use in our households. When something works perfectly fine, the additional charge to add smart functionality to an often largely identical and perfectly functional product simply isn't worth it.
Building a Raspberry-Pi based AirPlay server can be a solution, adding music-streaming functionality to your old receivers or amplifiers, classic speakers or older TVs. Unfortunately, you won't be able to stream video to your Raspberry-Pi — but with minimal power usage, HDMI support, easy setup, and integration with your AirPlay-enabled devices, it's a great way to level up your audio game at home without splashing the cash on new devices.
What you'll need
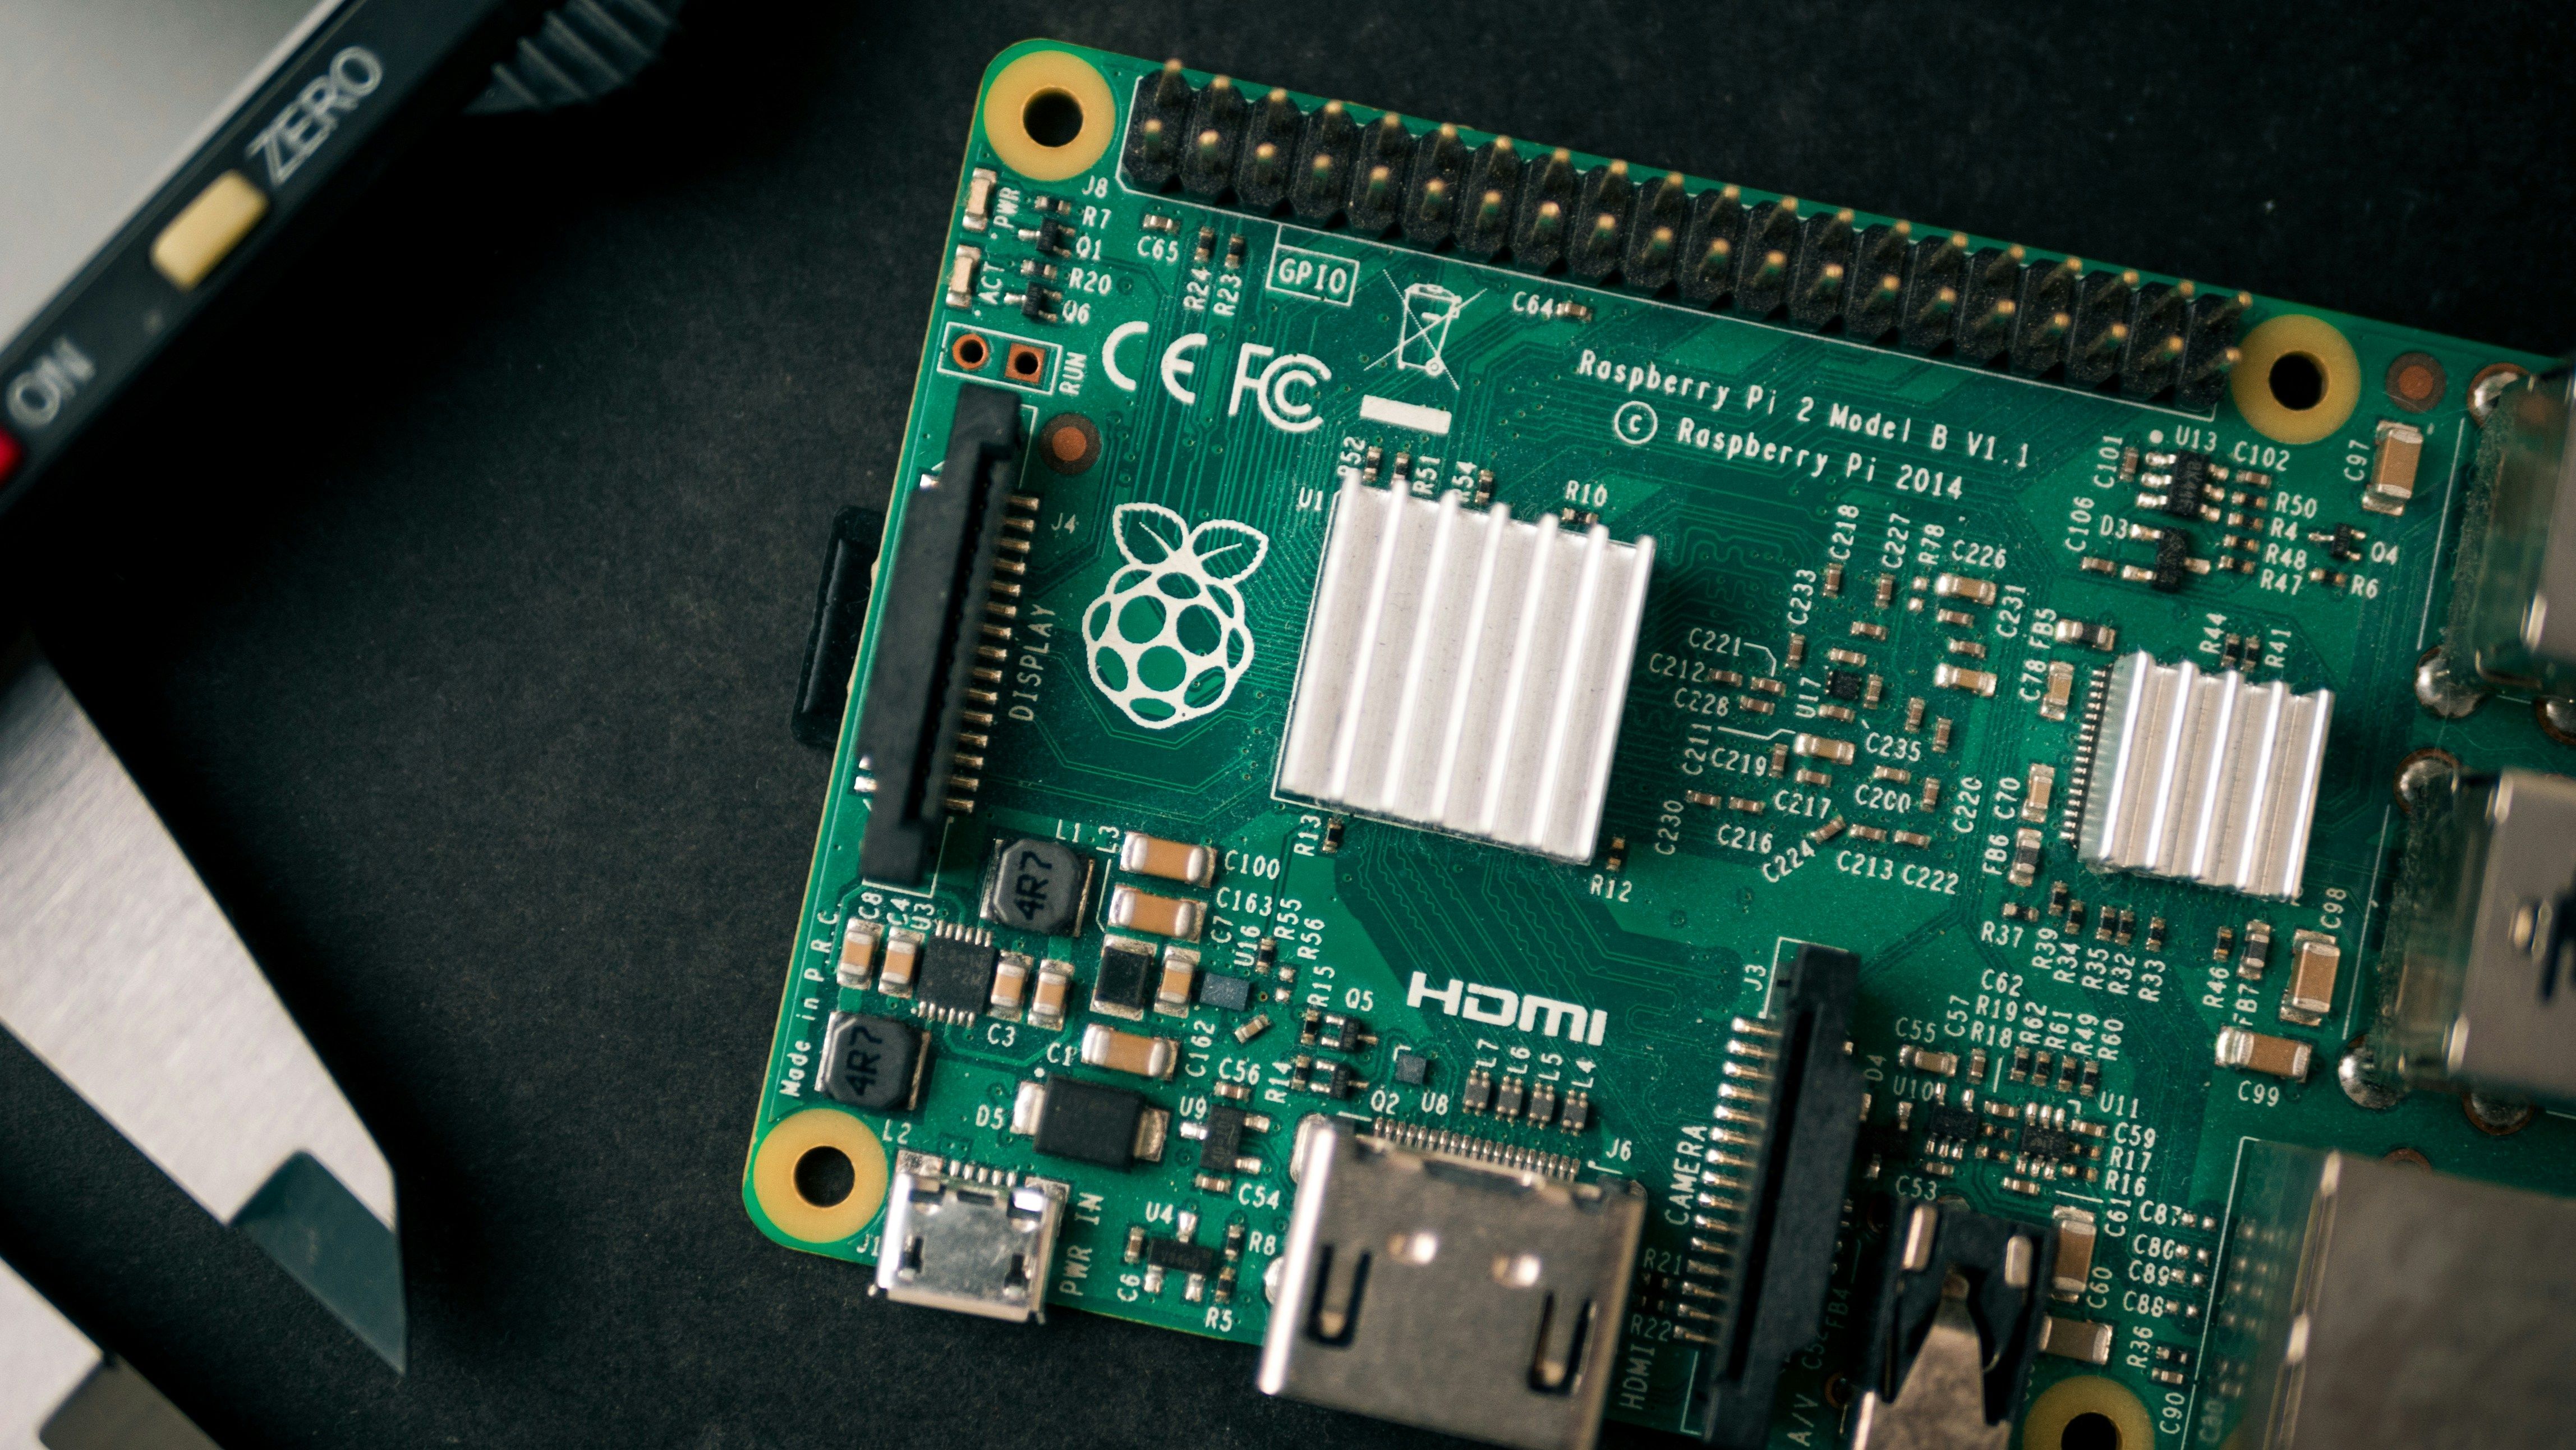
A Raspberry Pi 2 and up is recommended👁 Top-down image of a raspberry pi model 2.
We'll be using an open-source project called Shairport-Sync, a Linux and FreeBSD audio player which originally started supporting AirPlay 1 and now supports AirPlay 2. We're using a full-sized Raspberry Pi 3b here, but it should run well even on an older Raspberry Pi 2 or a Raspberry Pi Zero 2 W with a suitable USB or I2S card. We'll be using HDMI to connect to a TV, but if you're planning on connecting to a speaker or receiver without HDMI then you might want to consider an external DAC, as the inbuilt audio on the Pi isn't particularly good. Network performance for AirPlay isn't particularly important, so we're connecting to our Pi 3 using the inbuilt Wi-Fi.
Here's a full list of what we're using:
- Raspberry Pi 3 Model B
- 16GB MicroSD and SD adapter
- Wi-Fi connection
- Raspberry Pi power adapter
- A HDMI-enabled TV.
Shairport-sync has some more complex requirements, requiring that ports 319 and 320 are available to use. This can cause problems if you're turning an old Mac into a shairport-sync server, as these ports are already used by macOS. You also cannot host multiple shairport-sync servers on the same IP address, as this causes problems for AirPlay.
Installing Raspberry Pi OS
We'll be flashing Raspberry Pi OS (formerly known as Raspian) onto your Raspberry Pi. You'll need a microUSB adapter to connect to your PC. Beware that in flashing Pi OS your SD card will be wiped, so ensure you back up any files first. Previously you needed to use third-party tools like Etcher or the evergreen Rufus to flash images to your SD cards, but the Raspberry Pi Imager has made this process far easier. Follow the steps below to get started with it:
- Download and install the Raspberry Pi Imager for your platform. If you're using Linux, you can install it via your package manager.
- Insert your MicroSD Card. Depending on the filesystem and which platform you're using, you may need to flash the SD card for your operating system to recognize it correctly.
- Open the Raspberry Pi Imager and select your model. We're using the Pi 3, but you'll want to choose the one you have.
- Hit Choose OS and select your Pi's top (default) option. In our case, it's a 32-bit version of PiOS.
- Hit Storage and select your SD card.
- Double-check your settings.
You're now free to hit Next and continue the installation process. At this point, it's worth knowing some details that can save you time later. The imager will ask you if you want to use OS customization, which allows you to preconfigure some aspects of your operating system at the flash stage. This is extremely useful, as it lets you preset things like Hostnames, users, and SSH settings. We'd recommend you press Edit Settings and explore some available options. Most of the settings are self-explanatory: we'd suggest setting a hostname - mine is called raspberrypi - creating a user and password, and configuring Wi-Fi if you're not intending to connect via Ethernet. Note that Shairport-sync will automatically use the hostname of your device as your AirPlay device name, so it's good to choose something useful here.
We'd also suggest heading to the Services tab and enabling SSH, which will save you the trouble of connecting a mouse and keyboard to your Pi.
Once you've finished configuring your settings, close out the settings window and hit Yes in the original dialog. Your SD Card will now start to flash. Once your SD card is flashed, insert it into your Raspberry Pi and connect it to a power supply. It should quickly boot to the Raspberry Pi OS desktop.
How to turn your Raspberry Pi into a media server
With just a few tweaks, a Raspberry Pi can be added to your home theater setup as an all-in-one media server
Installing Shairport-Sync on your Pi
Installing Shairport-Sync has become much easier in the last few years. I did test out installing this through both the provided Docker images, and building from source, but if you don't need any specific build-flags (like enabling Pulse-Audio), the provided package is perfectly usable. I also had an easier time debugging problems and finding documentation for locally-installed versions versus running in Docker, but your mileage may vary. To get started, login to your Pi's terminal, either via SSH or via connecting a mouse and keyboard and opening Terminal — you can do this with just a keyboard by pressing CTRL + ALT + F2 on your Pi desktop. Once you're on a terminal prompt, follow these steps.
-
Start by ensuring your Raspberry Pi is up to date.
sudo apt-get update && sudo apt-get upgrade
-
Once complete, install shairport-sync
sudo apt-get install shairport-sync
-
Once installed, start shairport-sync with the following:
sudo systemctl start shairport sync
-
Check the status of the shairport-sync process with
sudo systemctl status shairport-sync
You should see an output similar to below. While we're here, we'll also enable the service, so it automatically restarts when the Pi is switched on or off. Do this with the following:sudo systemctl enable shairport-sync
-
Once the service is up and running, we'll need to change some default config values. This is where things get more complex. Start by listing out your available audio devices using:
aplay -l
Aplay is a command line sound recorder and player designed for ALSA, a part of the Linux Kernel designed to facilitate interfacing with sound cards. The -l flag prints out available devices. The output you see will depend on your Pi, and what audio devices are connected. For our Raspberry Pi 3b, we have two devices: the internal audio headphones and our HDMI output vc4-hdmi. Make a note of the name of the audio device you'll be using - you'll need it in the next step. We'd recommend you use the Pi's HDMI jack (at least to start with.) The Pi's default DAC isn't particularly good, and getting external USB DAC's running can be a pain. -
We'll be using the vchdmi output to play audio. To do this, open /etc/shairport-sync.conf using a text editor you're comfortable with. We're using Vi. Remember to open the file as root.
sudo vi /etc/shairport-sync.conf
-
Once opened, scroll down in shairport-sync.conf file to the section labeled alsa. There you'll find an option labeled output device. Remove the two comments from the start of the line (//) and replace the value default with hw:. You can drop any hyphens in the name, i.e.
output_device = "hw:vc4hdmi"
And then save and exit the file.The above instructions seem to be widely accepted, but wouldn't work on my Pi-3b. Following advice on this GitHub issue, I was able to get my Pi running by using
output_device = "hdmi:CARD=vc4hdmi,DEV=0". Your mileage may vary here though. -
Once that's done, restart the shairport-sync process using:
sudo systemctl restart shairport-sync
You'll want to check the logs for errors. You can do that using the below command, which will print the last 100 lines of logs.sudo journalctl -u shairport-sync --no-pager | tail -n 100
- You're done! Grab an AirPlay-enabled device and check out your available devices. You should see your Raspberry Pi available on the AirPlay menu. Shairport-Sync will automatically take the hostname of your Raspberry Pi - though you can change this under the general section of the same config file we modified earlier. Turn your TV on and you should be able to stream audio to your TV.
How to turn up audio on your Raspberry Pi
Now you've got streaming working - you may notice that your audio is extremely quiet. This is because the default level of audio on the Pi is set very low. We'd recommend you set the volume to 100%, and let either' your' phone's remote audio control or the TVs speakers handle the levels. Run this command to bump your Pi's audio to 100%.
sudo amixer sset PCM,0 100%
Limitations of Shairport-Sync
Not everything is implemented
Shairport-sync is an incomplete version of AirPlay-2 and has some limitations. Chiefly — you won't be able to stream video to your Pi, nor share photos. Shairport-sync operates as an audio-only AirPlay server, making it ideal for upgrading speakers or smart TVs to stream audio into your living room, but no video. In my testing, I was able to stream audio from a video, i.e. watching a video on another device and playing audio through my Pi, which is a nice trick - but no actual video will appear on the TV. There are some other limitations, as documented on the projects 'What works' page:
Shairport-Sync is great for old receivers, speakers or TVs
Shairport-sync isn't perfect — ideally, we'd be able to stream video as well - but it is very easy to run (so it could run alongside other software on a newer Pi), reliable once configured and quick to set up. When connected to a TV, it also has the benefit of being a background service that doesn't prevent you from using your Pi normally — so you could use the same Pi you're using for a Steam Link or even a tiny NAS. The Raspberry Pi has endless options for cool home projects, and we think this could be another great DIY addition to a self-hosted suite of services in your home - without the Sonos price tags.