
In the ever-changing programming world, graphics cards have become increasingly important, allowing programmers to compute data faster. Before this, great CPUs were the main component used in coding due to their innate ability to handle multiple commands at the same time. But GPUs have now evolved past the point of being simple video renderers. They can now be utilized in parallel computing.
This makes some of the best modern GPUs very powerful for running Python commands, allowing them to run certain commands better than most CPUs. If you want to use your GPU in Python, we'll show you what programs you'll need to get started.
The advantage of using a GPU when running code in Python
While CPUs may have a higher clock speed and more memory, they have fewer cores than a modern GPU. A CPU can have anywhere from 1-64 cores, depending on what model you're using, but a GPU has thousands of CUDA cores ready for you.
In addition, the way a GPU handles commands makes it better at running certain functions than CPUs. A CPU manages commands in series, performing the first command and then moving on to the next. A GPU handles functions in parallel, allowing it to run multiple calculations simultaneously, helping it process certain functions faster than a CPU.
With GPU-accelerated processing, graphics cards can run certain commands much faster than their CPU counterparts, making it advantageous for programmers to run multiple meticulous commands on their GPU and other commands one after the other on their CPU.
Using your GPU in Python
Before you start using your GPU to accelerate code in Python, you will need a few things. The GPU you are using is the most important part. GPU acceleration requires a CUDA-compatible graphics card. Unfortunately, this is only available on Nvidia graphics cards. This may change in the future, but for now, there is no way around this.
Next, you will need to install Python and a few necessary programs for Python to run code on the GPU. The most important is Anaconda (or Conda, which is the lite version), which is an environment and package manager for graphics cards. You also need Numba compiler, a compiler package that runs in Anaconda, and the CUDA Toolkit, which optimizes your graphics card for parallel computing and GPU acceleration in Python.
How to download and install Python
The first thing you’ll need to do is install Python on your computer. If you don't already have it, we will show you how to install it in a few easy steps.
- Use your web browser to go to the Python official website.
- Look for the latest version of Python and click Download.
- Open the installer and click Install Now (skip steps 4-5) or Custom Installation.
- In the Optional Features window, select Documentation, pip, td/tk and IDLE, and Python test suite. Click Next.
- In the Advanced Options window, tick the first four boxes. Then click Install.
- After the installation is finished, search for or click on the shortcut to open Python to verify that it has been installed.
How to download and install Anaconda
Anaconda is a version of Python that allows you to manage your environments and packages from a GPU interface instead of the CPU. Anaconda doesn't require you to download Python, but installing both is beneficial because you will need Python for non-GPU-related code.
- Search for the Anaconda official website.
- Once the installer has downloaded, open it and click Next.
- Agree to the Terms of Service, then Select Install for: Just Me and click Next.
- Select your Destination Folder and click on Next.
- In the Advanced Installation Options, you can choose how you want to install Anaconda. You can tick everything except the second box. You can also leave the options open and add them later on when you need them. Click Install.
- Let the program install. (This could take a while.) Once it's done, you can click on Finish.
How to download and install Cuda Toolkit
To run code on your GPU, you will need a CUDA-compatible graphics card, i.e., an Nvidia graphics card with CUDA cores. You can find a list of all compatible CUDA graphics cards here. But most Nvidia graphics cards have been CUDA-enabled since the mid-2000s, so even an outdated one will work.
- Go to the CUDA Toolkit page on the Nvidia website. Click Download now.
- Select your Operating System, Architecture (only x86 is compatible), Windows Version, and Installer Type. Then click on Download.
- Choose your Extraction path and click OK.
- The Nvidia Installer will check your system compatibility and select NEXT.
- Agree to the Terms of Service. Then, you will need to choose your Installation options.
- Select Express Installation and click NEXT.
- After the installation has finished, you can click on CLOSE.
How to install Numba if you're using Conda
You can install Numba using a command in Conda. In Anaconda, the Numba, Numpy, and llvmlite packages will already be installed by default, but in Conda, you must install them through the command prompt.
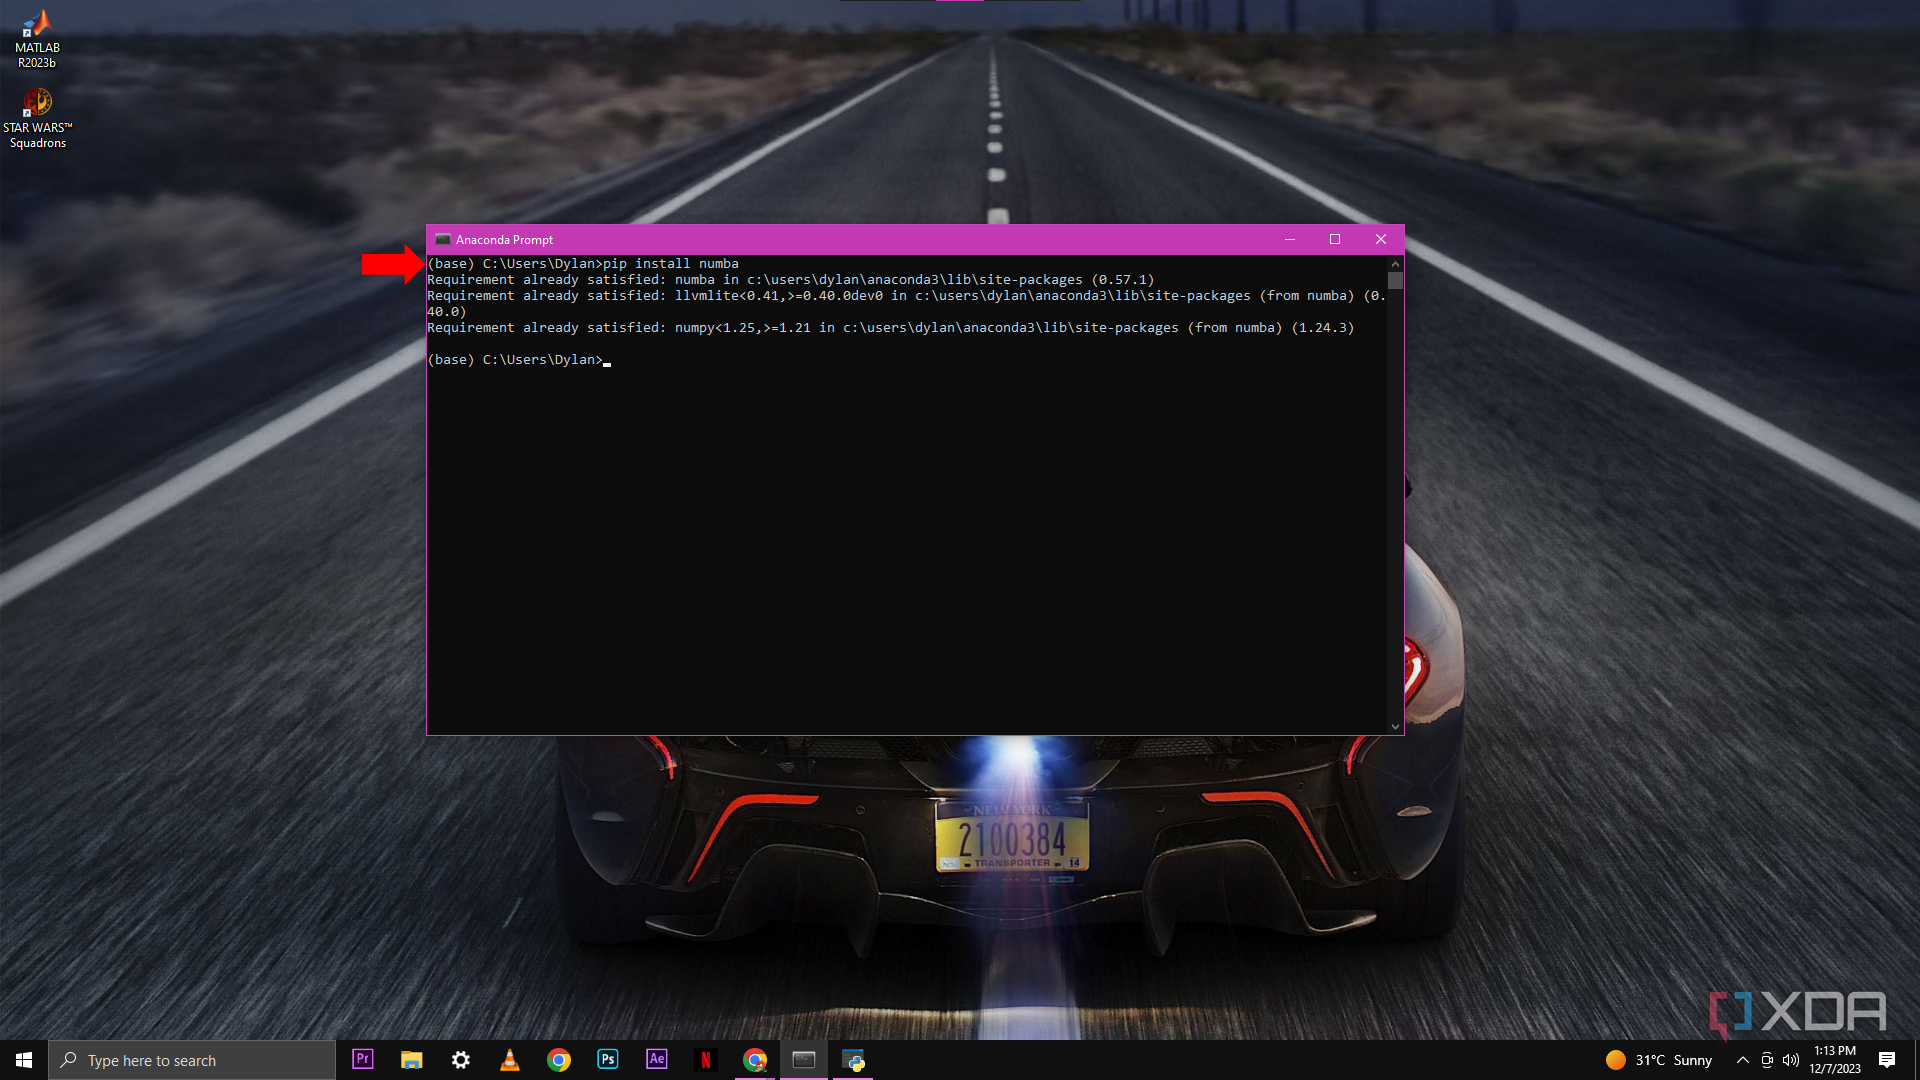
- Using the pip install numba command on Conda will install Numba and add relevant packages to the Conda directory. (I am using Anaconda, so these requirements are already satisfied.)
-
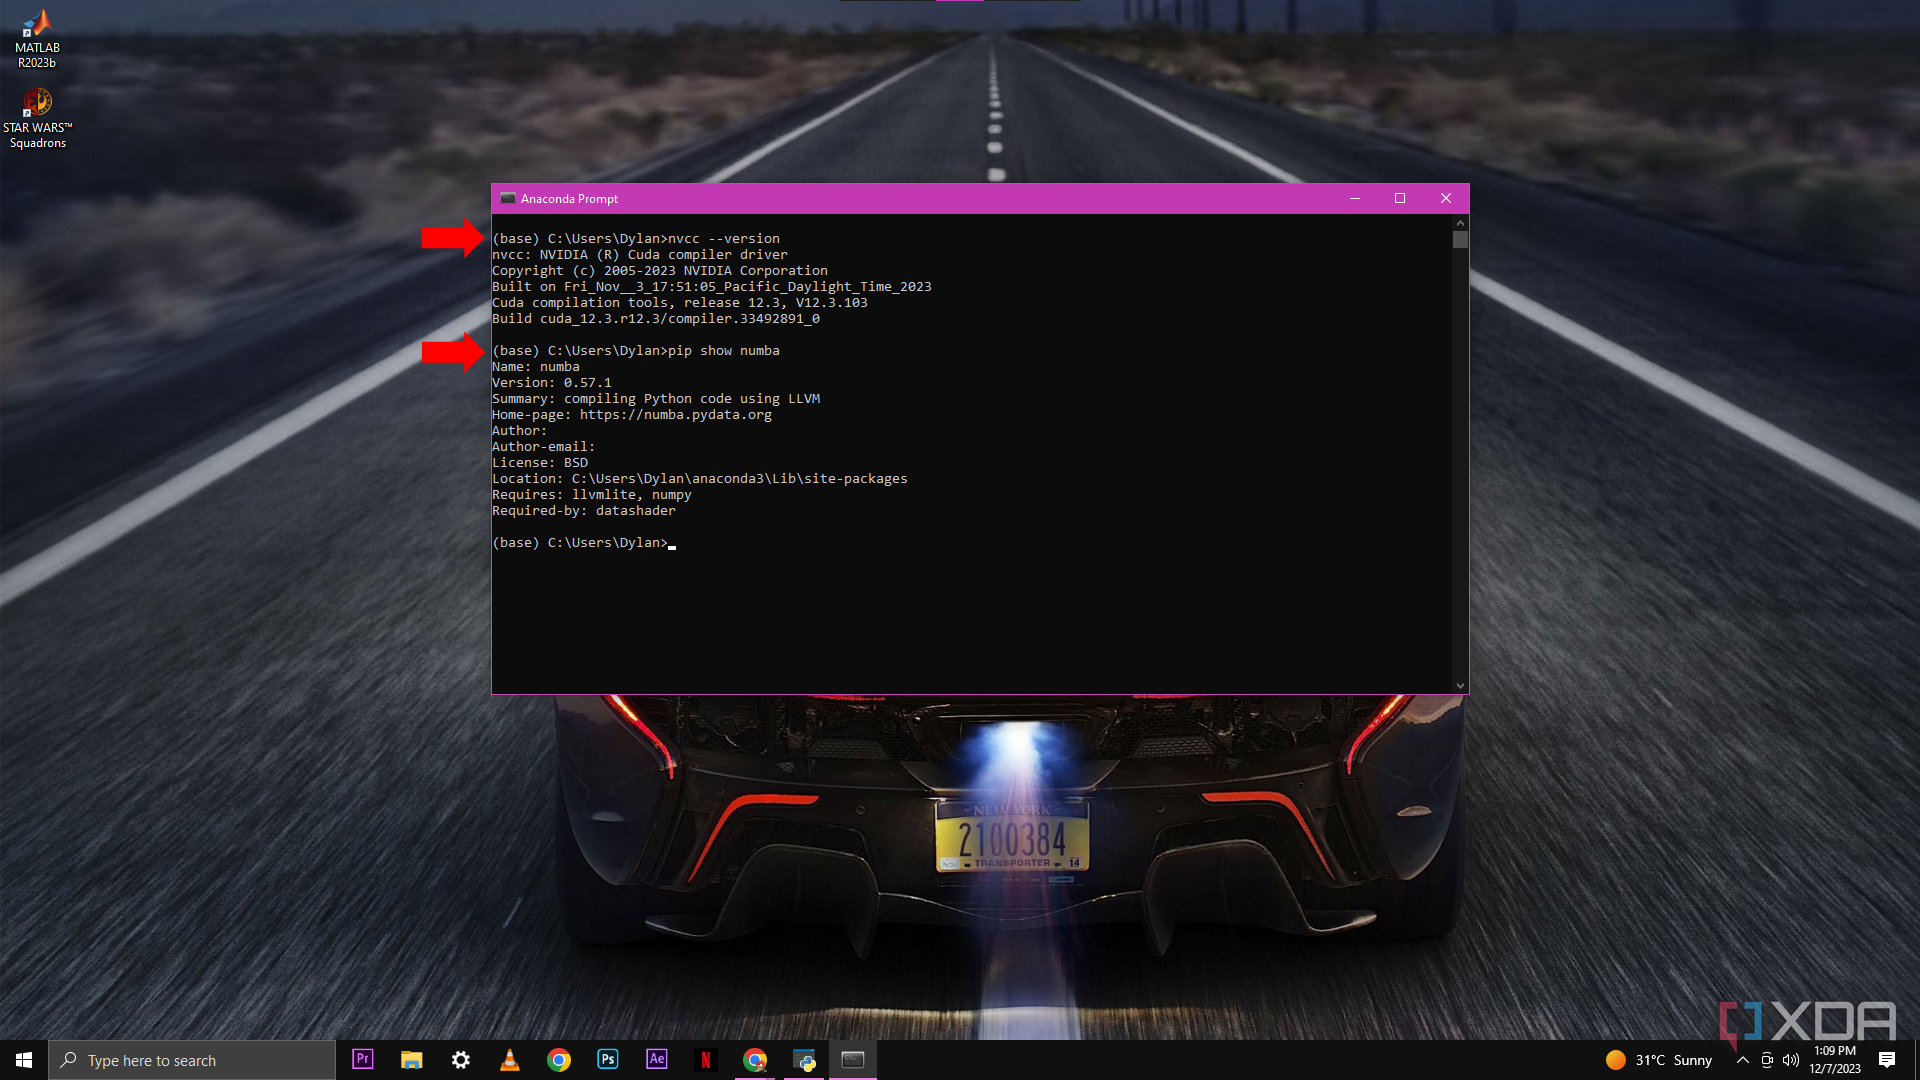
Using the nvcc --version command, you can verify the CUDA Toolkit installation. Using the pip show number command, you can verify the Numba installation.
👁 Image
👁 Image
Measuring performance on your CPU vs GPU
After you have installed all these programs, only then will you be able to use your GPU for parallel computing. To start, you will need to import a JIT function from Numba to CUDA. Essentially, you are transferring the command from your CPU to your GPU so that your GPU can run the function and send the result back to your CPU for analysis.
To measure the difference in performance between your CPU and GPU, you will need to run one of the JIT functions only on your CPU and then run the same JIT function on the GPU independently.
After you have run the commands, you will need to use a timer command to measure the time it takes for each to complete and then compare the two results side by side. In my case, my GPU was able to run the command eight times faster than my CPU was able to.
When to use GPU acceleration in Python
Now that you can run commands using your GPU, you may want to run everything through your GPU since it has more cores; this would be a mistake. GPUs and CPUs should be used for different tasks as each has its strengths and weaknesses.
Think of it like a knife and a fork. One is great at cutting things, and the other is great at picking things up. If you ordered a steak, you wouldn't want to eat it with only one utensil; you need both for it to be an efficient process.
Using your GPU to run code in Python works the same; it handles some functions well, but other more simple functions are probably still best left for your CPU to handle. Otherwise, you may make the whole process slower by continually transferring data between the CPU and GPU.