
If you're using Proxmox to run virtual machines, you've probably seen the Cloud-Init tab and just ignored it. I did the same for a long time. It sounds like one of those things made for enterprise use or huge cloud deployments, not something for someone spinning up a few VMs at home. But once I gave it a shot, it quickly became one of the first things I set up after installing Proxmox.
It’s a tool that automates the setup of your virtual machines when they boot up for the first time. You feed it a configuration file, and it takes care of everything: setting hostnames, creating user accounts, injecting SSH keys, assigning IP addresses, and much more. It's widely used in cloud platforms like AWS and Azure, but it works just as well in Proxmox with a few clicks.
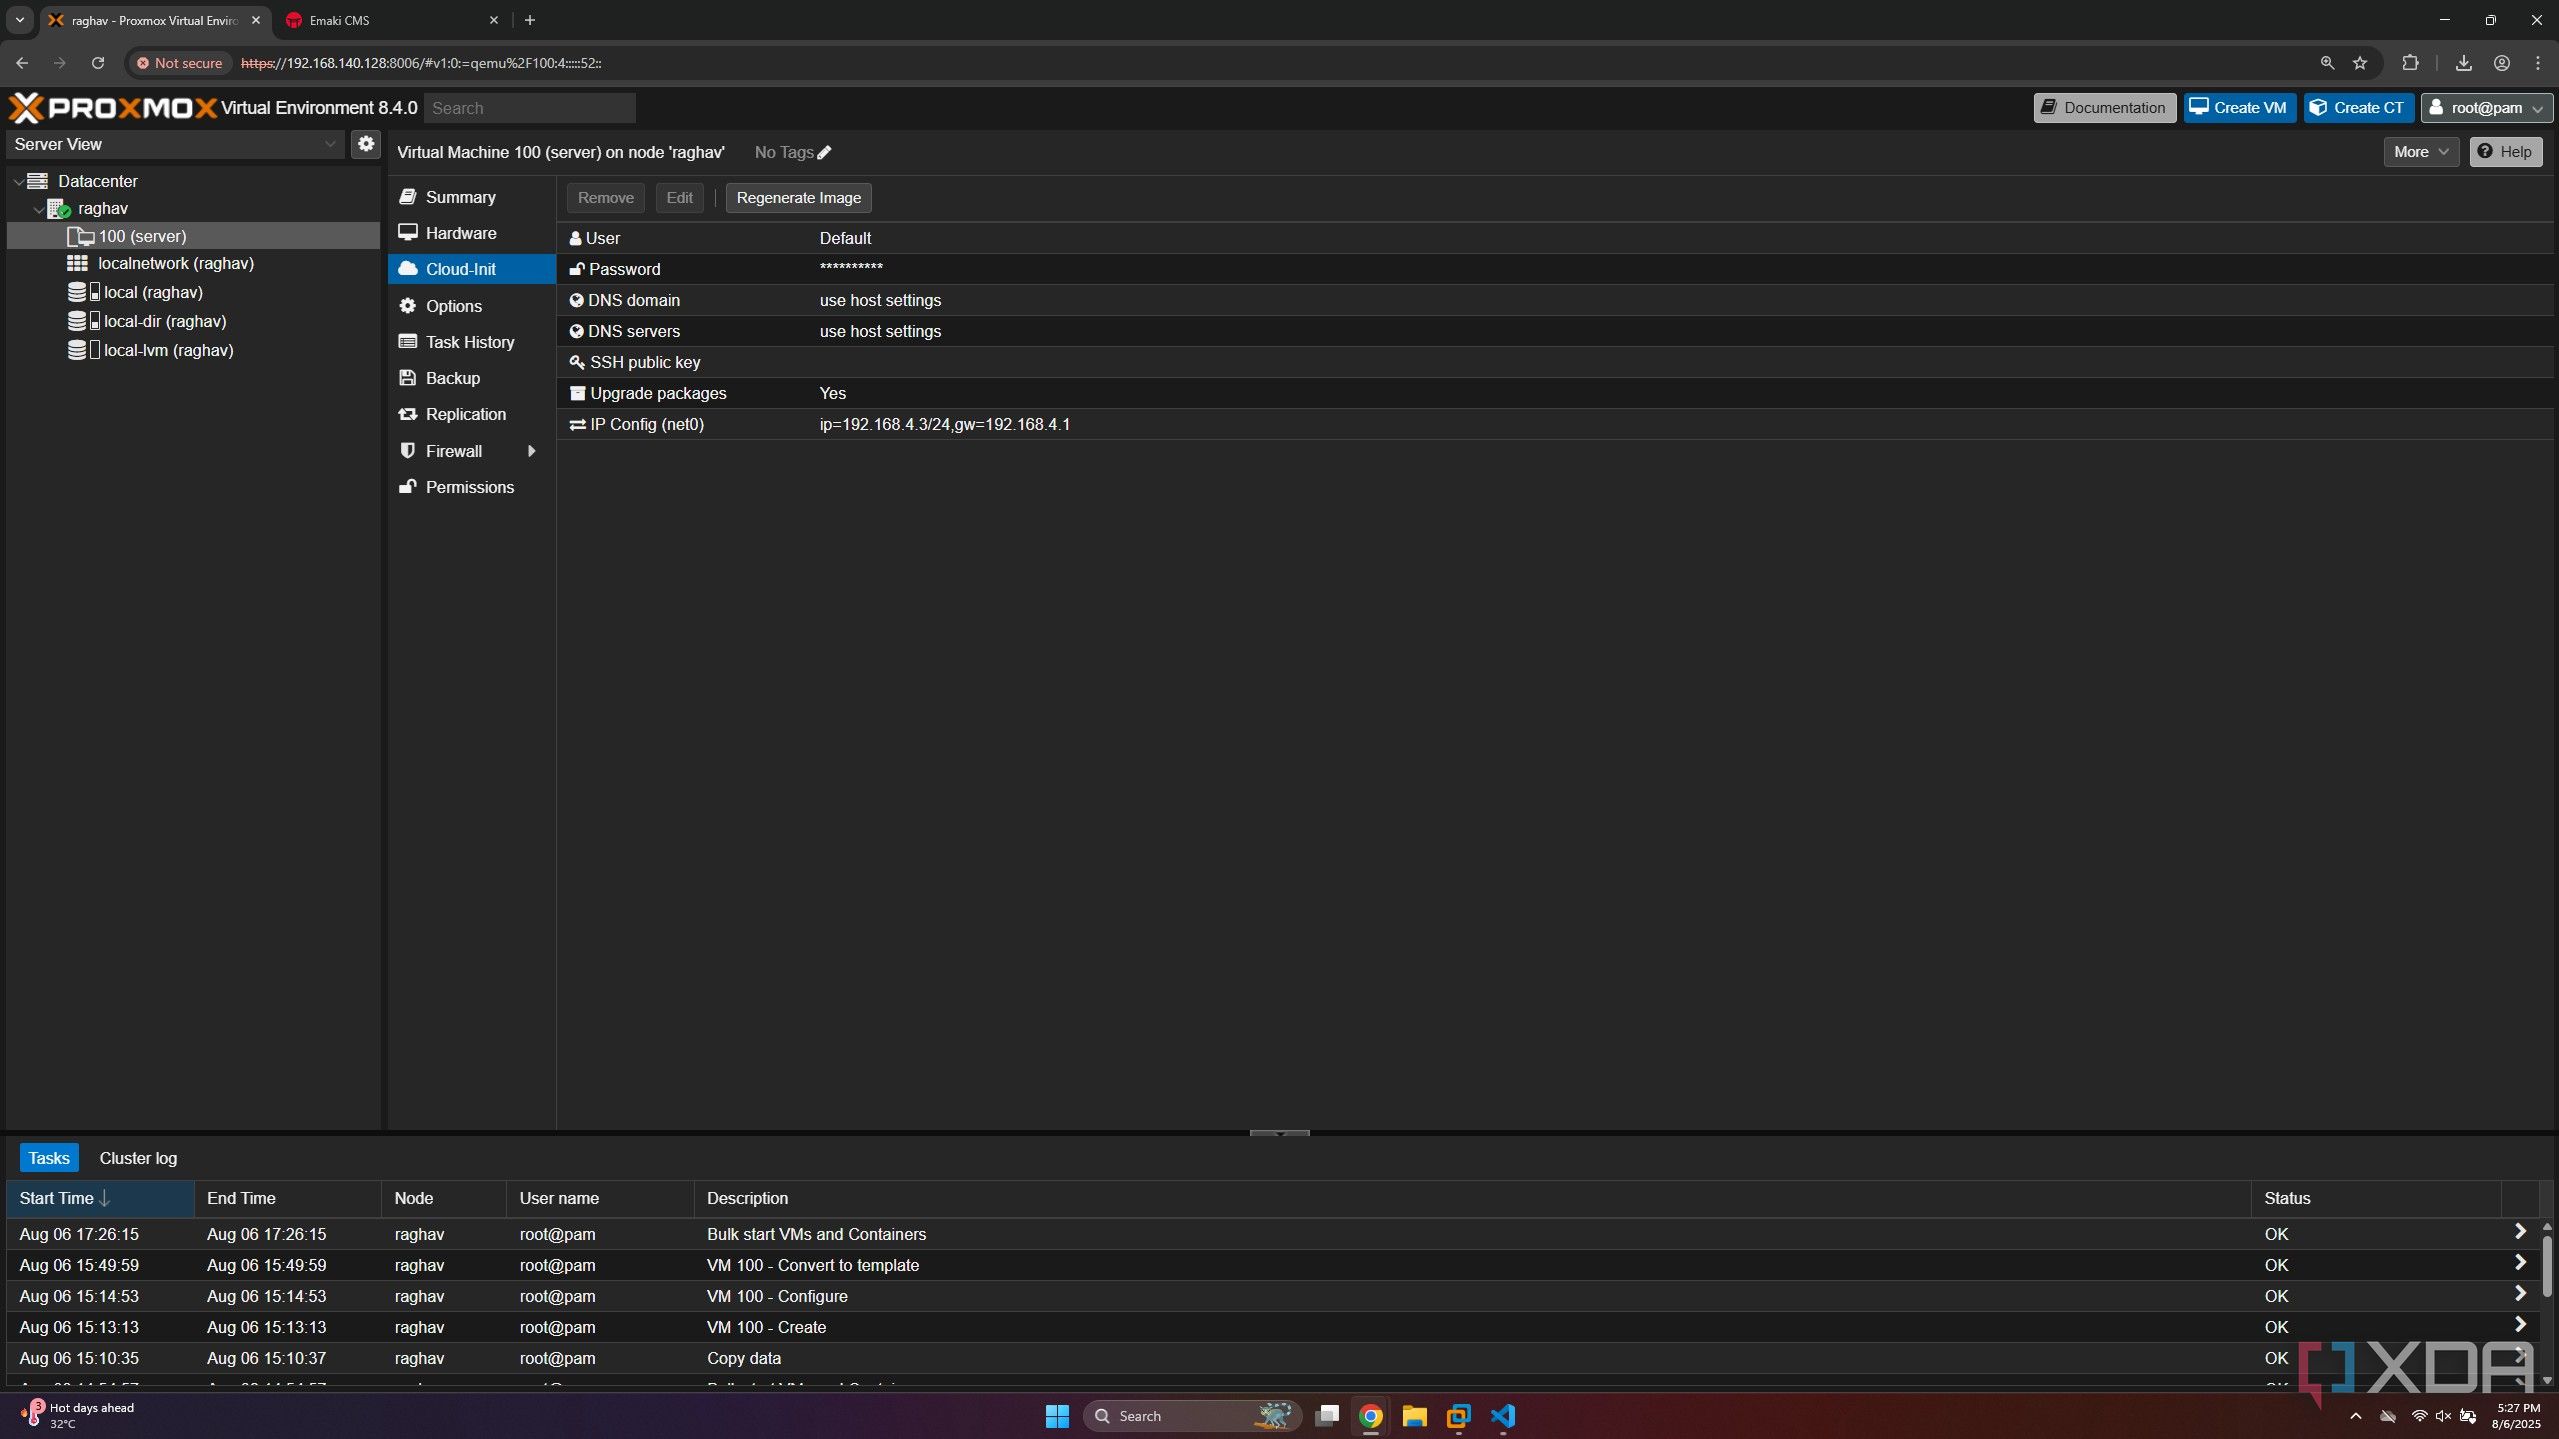
In Proxmox, using Cloud-Init is surprisingly simple. You create a template VM with a supported OS (Ubuntu Server works great), and you'll get a dedicated Cloud-Init tab where you can enter things like the default username, password, SSH key, and IP config. Once you hit start, the VM boots up with everything already in place, and it's great for a number of reasons.
You can spin up ready-to-go VMs in seconds
Less waiting, more doing
One of the biggest headaches with setting up new VMs is all the repetitive work that comes after the installation. You have to log in, set the hostname, configure users, drop in your SSH keys, assign a static IP, and maybe even set up DNS. It’s not hard, but it gets old quickly—especially when you’re doing it multiple times.
With Cloud-Init, all of that just happens automatically. You define the details once in the Cloud-Init tab and every new VM you spin up from that template will have everything ready right from the first boot. For example, I have a base Ubuntu Server template set up with Cloud-Init, and I can create a new dev box in less than 10 seconds. I just name it, choose the IP, paste in my SSH key, and it’s ready to go the moment it starts.
You’re no longer stuck waiting on SSH prompts or fiddling with networking on the command line. It just works, every single time.
You don’t need to touch the terminal unless you want to
No shell commands required
👁 Proxmox Web UI open with the Cloud-Init tab visible
Another thing I love about how Proxmox handles Cloud-Init is that you don’t need to do anything fancy to use it. Everything is built right into the web interface. If you’re just starting out with Proxmox, and are not super comfortable with the command line, that’s a huge deal.
You get a dedicated tab where you can enter the username, set a password or an SSH public key, choose the static IP address, and even set the DNS server. All of it is done through dropdowns and text fields. You don’t need to understand YAML syntax or read through any documentation just to get started.
Of course, if you do want to go deeper, you absolutely can. You can override the default config, upload your own config files, or script post-boot actions (more on that later). But the fact that it works so smoothly out of the box, with just a few clicks, makes it approachable to anyone.
It saves you from hours of silly mistakes
No more forgetting SSH keys or default passwords
We’ve all been there, when you spin up a fresh VM and something doesn’t work. Maybe you mistyped the hostname, forgot to copy over your SSH key, or set the wrong IP address. Then you spend the next 30 minutes debugging something that should have worked in the first place.
Cloud-Init saves you from all that. Since everything is predefined, you're mostly removing the human error from the equation. Your VM will always boot up with the correct settings, your key will always be in place, and your user will always have the right permissions. It’s one less thing to worry about with the help of templates.
I can’t tell you how many times I’ve wasted time troubleshooting a fresh VM just because I skipped a step or mistyped something. Now I just fill in the Cloud-Init fields once and never think about it again. When managing multiple VMs, this can be a huge time-saver and helps keep things consistent.
It can do way more than you think
You’re probably not using half of what it’s capable of
Most people use Cloud-Init for the basics: set the user, inject an SSH key, assign a static IP. And yes, those are the most common use cases. But Cloud-Init can do so much more if you’re willing to explore it a little.
I’ve used it to install basic tools like htop, set the timezone, and copy over some startup scripts, all without ever logging in manually. All from a single template and a YAML file, as shown in the snippet below.
config:
 cloud-init.user-data: |
 #cloud-config
 package_upgrade: true
 packages:
 - htop
 - git
This piece of code will automatically install htop and Git on your VM, but it can do a lot more as well. You can have it run shell scripts, create cron jobs, and more. You just drop the instructions into the configuration file, and it takes care of everything when the VM powers up. You can check out more examples on the documentation page.
I’ve used it to install basic tools like htop, set the timezone, and copy over some startup scripts, all without ever logging in manually. All from a single template and a small YAML snippet, as shown in the example below.
There are tons of amazing things you can do with Proxmox, and if you’re managing multiple VMs or just want a clean, repeatable way to spin up environments, Cloud-Init turns into a really powerful tool. It feels like having a mini sysadmin that shows up every time a machine boots and sets everything up exactly the way you want.