 |
VOOZH | about |
|
VOOZH | about |
Wireless communications are continuously undergoing developments and improvements, leading to more common, advanced features, like tap-to-pay with credit cards. Nowadays, at almost any merchant, you can pay instantly by just tapping your credit card on their machine.
👁 React Native Credit Card ScannerWe can use that same technology in our mobile phones so that we don’t have to manually type our credit card details into the payment system. NFC, or near field communication, allows us to read card details in a similar way. In this tutorial, we’ll learn how to collect card details by simply tapping the credit card on an NFC-enabled smartphone.
Note that at the time of writing, you cannot collect card details through NFC on Apple iPhone devices. Apple has restricted this functionality to Apple Pay, and you need approval whenever you intend to use NFC for functionalities other than payments. Therefore, you should try out this tutorial on any NFC-enabled Android device instead.
To follow along with this tutorial, you’ll need the following:
Once you’ve fulfilled these requirements, you’re all set to get started building the application!
NFC is a technology that uses radio waves to establish contact between two devices so that they can communicate and share information with each other.
NFC-enabled devices can also communicate using NFC tags. NFC tags have no power source, however, when brought near an NFC enabled device, NFC tags emit radio waves that allow the device to communicate with the NFC tag.
There are many real world applications for NFC tags. For example, when driving to another city, an NFC reader is used to detect the NFC tag attached to your vehicle, which will then charge you toll fees without you having to manually pay to the personnel.
The same is true for credit cards. Nowadays, credit card readers come with NFC readers, which can read the card details through NFC tags embedded into the credit card. Therefore, you can pay quickly and easily without any physical contact with the card reader.
To create a new React Native application, open the terminal, navigate to a safe directory, and run the following command:
npx react-native init <project-name>
You can replace <project-name> with any alphanumeric name, for example nfccardreader123. After running the command above, the React Native install tool will begin to download the templates and create your React Native app. Depending on your system and the speed of your internet connection, this might take some time.
After the app has finished installing, navigate to your project directory. Check your Gradle version by going into the Android directory and checking the build.gradle file. The Gradle version impacts the commands you’ll use to install the react-native-nfc-card-reader package, which will assist us in reading card details.
If you’re using Gradle ≤v7.0, run the following command:
npm install react-native-nfc-card-reader
If you’re using Gradle ≥7.0, run the command below:
npm install "https://github.com/jackbayliss/react-native-nfc-card-reader.git#gradle7.0" --save
You can find more information about the installation steps for different Gradle versions in the README.md file in this GitHub repository. This page is updated regularly in case any new command is needed for future Gradle versions.
Now, you need to add the mention to Android that you’ll use NFC with this application. To do so, navigate to android/app/src/main, open the AndroidManifest.xml file, and add the activity below:
<activity android:name="com.jackbayliss.nfcreader.NfcCardReaderActivity"/>
Your AndroidManifest.xml file should look something like the following code, however, the basic layout might change due to React Native updates:
<manifest xmlns:android="http://schemas.android.com/apk/res/android"
 package="com.e">
 <uses-permission android:name="android.permission.INTERNET" />
 <application
 android:name=".MainApplication"
 android:label="@string/app_name"
 android:icon="@mipmap/ic_launcher"
 android:roundIcon="@mipmap/ic_launcher_round"
 android:allowBackup="false"
 android:theme="@style/AppTheme">
 <activity
 android:name=".MainActivity"
 android:label="@string/app_name"
 android:configChanges="keyboard|keyboardHidden|orientation|screenLayout|screenSize|smallestScreenSize|uiMode"
 android:launchMode="singleTask"
 android:windowSoftInputMode="adjustResize"
 android:exported="true">
 <intent-filter>
 <action android:name="android.intent.action.MAIN" />
 <category android:name="android.intent.category.LAUNCHER" />
 </intent-filter>
 </activity>
 <activity android:name="com.jackbayliss.nfcreader.NfcCardReaderActivity"/>
 </application>
</manifest>
Now, run the app using the following command:
npx react-native run-android
Make sure your Android device is plugged in with USB debugging on. You can add this configuration in developer settings, and you should see the basic React Native boilerplate.
Go to App.js in the project root directory and create the following layout:
import React, {useState} from 'react';
import {
 Button,
 SafeAreaView,
 ScrollView,
 StatusBar,
 TextInput,
 useColorScheme,
 View,
} from 'react-native';
import {Colors} from 'react-native/Libraries/NewAppScreen';
const App = () => {
 const [cardNumber, setCardNumber] = useState('');
 const [expiry, setExpiry] = useState('');
 const [name, setName] = useState('');
 const isDarkMode = useColorScheme() === 'dark';
 const backgroundStyle = {
 backgroundColor: isDarkMode ? Colors.darker : Colors.lighter,
 };
 const scanCard = async () => {};
 return (
 <SafeAreaView style={backgroundStyle}>
 <StatusBar
 barStyle={isDarkMode ? 'light-content' : 'dark-content'}
 backgroundColor={backgroundStyle.backgroundColor}
 />
 <ScrollView
 contentInsetAdjustmentBehavior="automatic"
 style={backgroundStyle}>
 <View
 style={{
 flex: 1,
 }}>
 <TextInput
 style={{
 margin: 10,
 padding: 10,
 borderWidth: 1,
 borderColor: 'gray',
 }}
 placeholder="Card number"
 value={cardNumber}
 onChangeText={t => setCardNumber(t)}
 />
 <TextInput
 style={{
 margin: 10,
 padding: 10,
 borderWidth: 1,
 borderColor: 'gray',
 }}
 placeholder="Expiry"
 value={expiry}
 onChangeText={t => setExpiry(t)}
 />
 <TextInput
 style={{
 margin: 10,
 padding: 10,
 borderWidth: 1,
 borderColor: 'gray',
 }}
 placeholder="Name on card"
 value={name}
 onChangeText={t => setName(t)}
 />
 <Button title="Scan Card" onPress={scanCard} />
 </View>
 </ScrollView>
 </SafeAreaView>
 );
};
export default App;
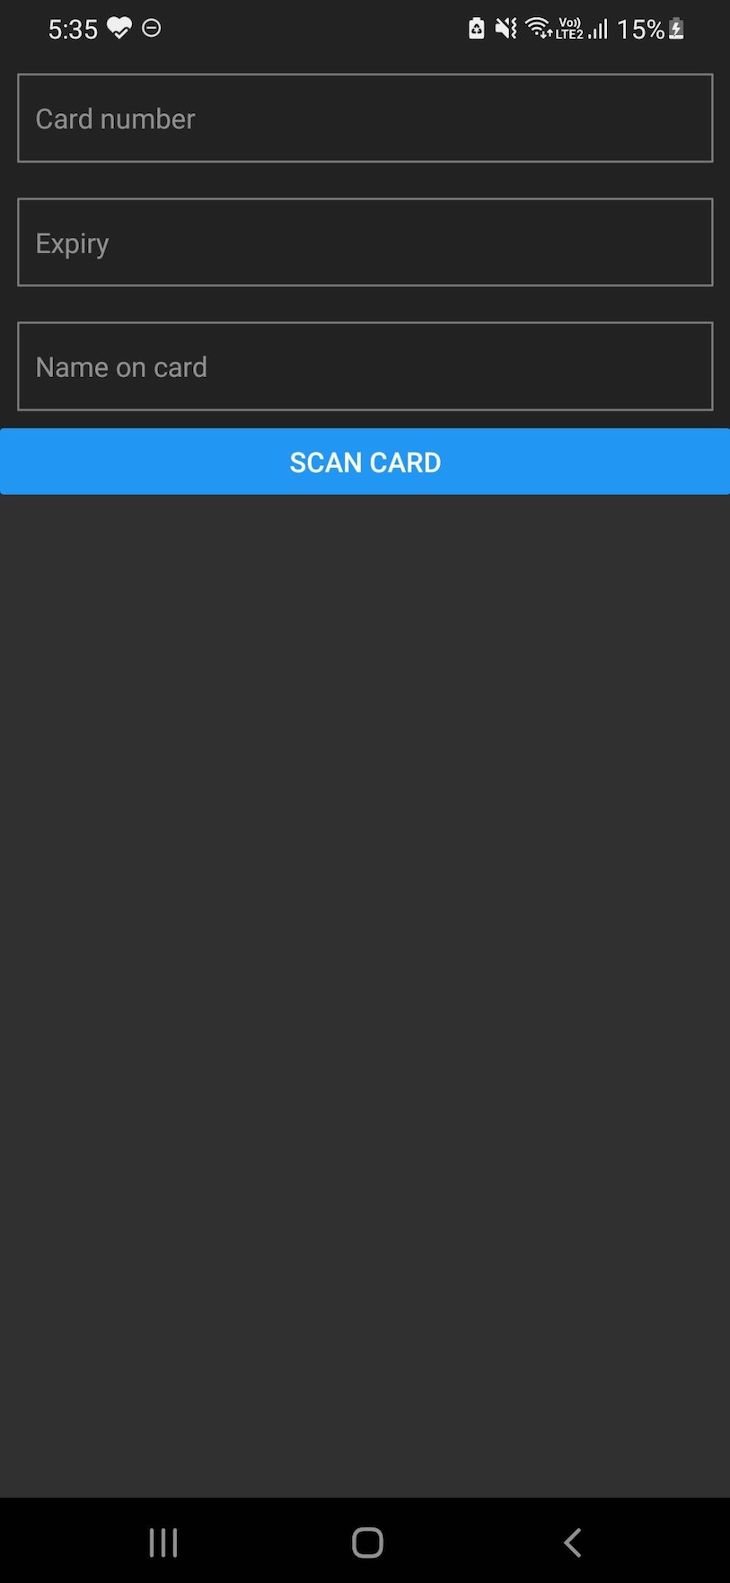
In the code block above, we’ve created the basic layout and mapped the inputs to a state so that we can alter them later on when we scan the card. We’ve also created an empty function called scanCard, which we’ll work on now. The layout you generate should look like the following image:
👁 React Native Card Scanner App Layout
Now, import react-native-nfc-card-reader on the top of this file:
import NfcCardReader from 'react-native-nfc-card-reader';
In the scanCard() function, we just need to call a function to invoke the device’s NFC reader so that we can read the card details:
NfcCardReader.startNfc(function(cardDetails){
 setCardNumber(cardDetails.cardNumber)
 setExpiry(cardDetails.expiryDate)
 setName(cardDetails.firstName + cardDetails.lastName)
 })
Doing so should map the state and show the data in the textbox. Now, your App.jsx file should look like the code below:
import React, {useState} from 'react';
import {
 Button,
 SafeAreaView,
 ScrollView,
 StatusBar,
 TextInput,
 useColorScheme,
 View,
} from 'react-native';
import {Colors} from 'react-native/Libraries/NewAppScreen';
import NfcCardReader from 'react-native-nfc-card-reader';
const App = () => {
 const [cardNumber, setCardNumber] = useState('');
 const [expiry, setExpiry] = useState('');
 const [name, setName] = useState('');
 const isDarkMode = useColorScheme() === 'dark';
 const backgroundStyle = {
 backgroundColor: isDarkMode ? Colors.darker : Colors.lighter,
 };
 const scanCard = () => {
 NfcCardReader.startNfc(function (cardDetails) {
 setCardNumber(cardDetails.cardNumber);
 setExpiry(cardDetails.expiryDate);
 setName(cardDetails.firstName + cardDetails.lastName);
 });
 };
 return (
 <SafeAreaView style={backgroundStyle}>
 <StatusBar
 barStyle={isDarkMode ? 'light-content' : 'dark-content'}
 backgroundColor={backgroundStyle.backgroundColor}
 />
 <ScrollView
 contentInsetAdjustmentBehavior="automatic"
 style={backgroundStyle}>
 <View
 style={{
 flex: 1,
 }}>
 <TextInput
 style={{
 margin: 10,
 padding: 10,
 borderWidth: 1,
 borderColor: 'gray',
 }}
 placeholder="Card number"
 value={cardNumber}
 onChangeText={t => setCardNumber(t)}
 />
 <TextInput
 style={{
 margin: 10,
 padding: 10,
 borderWidth: 1,
 borderColor: 'gray',
 }}
 placeholder="Expiry"
 value={expiry}
 onChangeText={t => setExpiry(t)}
 />
 <TextInput
 style={{
 margin: 10,
 padding: 10,
 borderWidth: 1,
 borderColor: 'gray',
 }}
 placeholder="Name on card"
 value={name}
 onChangeText={t => setName(t)}
 />
 <Button title="Scan Card" onPress={scanCard} />
 </View>
 </ScrollView>
 </SafeAreaView>
 );
};
export default App;
Now, we can start testing! Open the app on your phone, let React Native bundle JavaScript, and then click on scan card. You might not receive any alerts, but when you bring an NFC-embedded credit card near, you’ll see your card details automatically entered into the fields!
The opportunities that come with NFC are endless. In this tutorial, we learned how to implement a tap-to-pay feature in our Android devices using NFC. We explored how NFC tags work, then set up our React Native project to use NFC in our Android device.
In this tutorial, we didn’t see how to proceed with payments with the card details, but you can use any provider, for example, Stripe, for this purpose. I hope you enjoyed this tutorial, and be sure to leave a comment if you have any questions.
LogRocket's Galileo AI watches sessions for you and and surfaces the technical and usability issues holding back your React Native apps.
LogRocket also helps you increase conversion rates and product usage by showing you exactly how users are interacting with your app. LogRocket's product analytics features surface the reasons why users don't complete a particular flow or don't adopt a new feature.
Start proactively monitoring your React Native apps — try LogRocket for free.
We built the same app in TanStack Start RSC and Next.js RSC. TanStack shipped 40% less JS and built 4x faster — but Next.js is still the safer production bet.
From RSC vulnerabilities and the Vercel breach to TypeScript 7.0 Beta and AI agents — the nine frontend storylines that defined H1 2026, ranked.
AI tools generate working React code fast, but miss race conditions, empty states, debouncing, and accessibility. Here’s how to catch bugs before production.
Learn how to use Gemini CLI subagents to delegate frontend, backend, testing, and docs tasks to specialized agents with guardrails and clear ownership.
Would you be interested in joining LogRocket's developer community?
Join LogRocket’s Content Advisory Board. You’ll help inform the type of content we create and get access to exclusive meetups, social accreditation, and swag.
Sign up now