 |
VOOZH | about |
|
VOOZH | about |
Two-way data binding in Angular, traditionally achieved through @Input and @Output decorators to synchronize data between parent and child components, has taken a significant leap forward with the introduction of signals — a new reactive primitive in Angular’s ecosystem.
In this article, we’ll take a closer look at signals so that you can consider a more effective approach for future projects. First, we’ll examine the conventional way of achieving two-way data binding in Angular. Then we’ll explore just how and why signals, with their intuitive coding and brevity, are a stronger alternative to the traditional approach.
The Replay is a weekly newsletter for dev and engineering leaders.
Delivered once a week, it's your curated guide to the most important conversations around frontend dev, emerging AI tools, and the state of modern software.
@input and @output decoratorsEvery frontend framework has its own way of handling two-way data binding in Angular. The conventional approach is to use the @input and @output decorators to achieve a bi-directional data flow between parent and child components.
The @input decorator is responsible for passing data from parent to child components. In simpler words, it allows child components to receive and use data from parent components.
Meanwhile, the @output decorator emits events from a child component to its parent. This usually works through EventEmitter being sourced in the child component, which in turn enables the data to be emitted to the parent component.
The code snippets below demonstrate how to use the @input and @output decorators to achieve two-way data binding:
// counter.component.ts
import { Component, Input, Output, EventEmitter } from '@angular/core';

@Component({
 selector: 'app-counter',
 template: `
 <button (click)="decrement()">-</button>
 <span>{{ count }}</span>
 <button (click)="increment()">+</button>
 `
})

export class CounterComponent {
 @Input() count: number;
 @Output() countChange = new EventEmitter<number>();

 increment() {
 this.count++;
 this.countChange.emit(this.count);
 }

 decrement() {
 this.count--;
 this.countChange.emit(this.count);
 }
}
In the code snippet above, the CounterComponent receives an initial count value through @Input and emits changes through the countChange @Output.
We can use the component above in a parent component, as follows:
// app.component.ts
import { Component } from '@angular/core';
import { CounterComponent } from './counter/counter.component';
@Component({
 selector: 'app-root',
 standalone: true,
 imports: [CounterComponent],
 template: `
 <main>
 <app-counter [(count)]="parentCount"></app-counter>
 </main>
 `,
})
export class AppComponent {
 parentCount = 30;
}
One of the most significant changes to the Angular ecosystem is the introduction of signal-based inputs. This new method of data handling and reactivity has the potential to improve framework performance even more.
Signals are new primitives introduced as a means to achieve reactivity in Angular. Though they may appear similar to observables, there are some key differences:
import { signal } from '@angular/core';

// Create a signal
const count = signal(0);

// Read the value
console.log(count()); // Output: 0

// Update the value
count.set(5);
console.log(count()); // Output: 5

// Update based on previous value
count.update(value => value + 1);
console.log(count()); // Output: 6
Signals in components
In components, signals can be used to create reactive properties:
import { Component, signal } from '@angular/core';

@Component({
 selector: 'app-counter',
 template: `
 <button (click)="decrement()">-</button>
 <span>{{ count() }}</span>
 <button (click)="increment()">+</button>
 `
})
export class CounterComponent {
 count = signal(0);

 increment() {
 this.count.update(value => value + 1);
 }

 decrement() {
 this.count.update(value => value - 1);
 }
}
With Angular’s evolution across its development, signals have become the best choice for two-way data binding.
There are a couple of reasons why we should use signals over the traditional approach:
Signal-based inputs bring significant advantages in comparison to the synchronized approaches of the @Input and @Output decorators. Let’s examine some of these upsides.
One of the things developers appreciate most about signals is the improvement of performance they bring. Here are two ways that signals carry out this improvement:
// Traditional approach
@Component({
 selector: 'app-child',
 template: `<p>{{data}}</p>`
})
export class ChildComponent {
 @Input() data: string;
}
// Signal-based approach
@Component({
 selector: 'app-child',
 template: `<p>{{data()}}</p>`
})

export class ChildComponent {
 data = input<string>();
}
Signal-based inputs simplify component communication in two ways:
1. Easy declarations: With signals, there’s no need for separate @Input and @Output decorators for two-way binding
2. Better updates: Updating a signal is straightforward, without the need for EventEmitters
// Traditional approach
@Component({
selector: 'app-counter',
template: `
<button (click)="decrement()">-</button>
<span>{{count}}</span>
<button (click)="increment()">+</button>
`
})
export class CounterComponent {
@Input() count: number = 0;
@Output() countChange = new EventEmitter<number>();

increment() {
this.count++;
this.countChange.emit(this.count);
}

decrement() {
this.count--;
this.countChange.emit(this.count);
}
}
// Signal-based approach
@Component({
selector: 'app-counter',
template: `
<button (click)="decrement()">-</button>
<span>{{count()}}</span>
<button (click)="increment()">+</button>
`
})
export class CounterComponent {
count = input<number>(0);

increment() {
this.count.update(value => value + 1);
}

decrement() {
this.count.update(value => value - 1);
}
}
Signals provide improved type safety and inference:
Easier testing and debugging
Signal-based inputs simplify the testing and debugging process by allowing for:
@Input and @Output combinationsSignals also provide a more reactive programming model. They do this through:
effect() to react to signal changes more concisely than with traditional change detection// derived signal example
@Component({
selector: 'app-derived-example',
template: `<p>Double count: {{doubleCount()}}</p>`
})
export class DerivedExampleComponent {
count = signal(5);
doubleCount = computed(() => this.count() * 2);
}
@input/@output component to use signals:import { Component, Input, Output, EventEmitter, signal, computed, input } from '@angular/core';
// Traditional approach
@Component({
selector: 'app-counter',
template: `
<button (click)="decrement()">-</button>
<span>{{count}}</span>
<button (click)="increment()">+</button>
`
})
export class CounterComponent {
@Input() count: number = 0;
@Output() countChange = new EventEmitter<number>();
increment() {
this.count++;
this.countChange.emit(this.count);
}
decrement() {
this.count--;
this.countChange.emit(this.count);
}
}
import { Component, Input, Output, EventEmitter, signal, computed, input } from '@angular/core';
// Signal-based approach
@Component({
selector: 'app-counter',
template: `
<button (click)="decrement()">-</button>
<span>{{count()}}</span>
<button (click)="increment()">+</button>
`
})
export class CounterComponent {
count = input<number>(0);
increment() {
this.count.update(value => value + 1);
}
decrement() {
this.count.update(value => value - 1);
}
}
import { Component, signal } from '@angular/core';
import { CommonModule } from '@angular/common';

@Component({
 selector: 'app-root',
 standalone: true,
 imports: [CommonModule],
 template: `
 <div>
 <label for="name">Name:</label>
 <input id="name" type="text" [value]="name()" (input)="updateName($event)" />
 </div>

 <div>
 <label for="age">Age:</label>
 <input id="age" type="number" [value]="age()" (input)="updateAge($event)" />
 </div>

 <p>Your name is: {{ name() }}</p>
 <p>Your age is: {{ age() }}</p>
 `
})
export class TwoWayBindingComponent {
 // Define signals for name and age
 name = signal<string>('');
 age = signal<number | null>(null);

 // Update signals when user inputs data
 updateName(event: Event) {
 const inputElement = event.target as HTMLInputElement;
 this.name.set(inputElement.value);
 }

 updateAge(event: Event) {
 const inputElement = event.target as HTMLInputElement;
 this.age.set(Number(inputElement.value));
 }
}
//main.ts
import { ChildComponent } from "./counter.component"
import { Component, signal, computed } from '@angular/core';

@Component({
 selector: 'app-root',
 template: `
 <h2>Parent Component</h2>
 <p>Count: {{ count() }}</p>
 <p>Doubled Count: {{ doubledCount() }}</p>
 <button (click)="increment()">Increment</button>
 <app-child [parentCount]="count" (updateCount)="updateCount($event)"></app-child>
 `,
 standalone: true,
 imports: [ChildComponent]
})
export class ParentComponent {
 count = signal(0);
 doubledCount = computed(() => this.count() * 2);
 increment() {
 this.count.update(n => n + 1);
 }
 updateCount(newValue: number) {
 this.count.set(newValue);
 }
}


// child.component.ts
import { CommonModule } from '@angular/common';
import { Component, input, output } from '@angular/core';
import { type Signal } from '@angular/core';
@Component({
 selector: 'app-child',
 template: `
 <h3>Child Component</h3>
 <p>Parent Count: {{ parentCount() }}</p>
 <button (click)="multiplyByTwo()">Multiply by 2</button>
 `,
 standalone: true,
 imports: [CommonModule]
})
export class ChildComponent {
 parentCount = input.required<Signal<number>>();
 updateCount = output<number>();
 multiplyByTwo() {
 const currentValue = this.parentCount()();
 this.updateCount.emit(currentValue * 2);
 }
}
The examples above prove that signal-based inputs can be used in different cases, from simple components to more complex forms. Signals can be key to improving performance in cases with frequent updates.
In this article, we’ve looked at how two-way data binding in Angular has changed over time, moving from the conventional @Input and @Output decorators to the more recent signal-based method.
Let’s review our main ideas:
@Input and @Output decoratorsThese signal-based inputs are a major advancement in component communication and state management. Signals provide a convenient and developer-friendly alternative to the @Input/@Output technique, so keep them in mind as you start new projects or restructure existing ones.
Debugging Angular applications can be difficult, especially when users experience issues that are difficult to reproduce. If you’re interested in monitoring and tracking Angular state and actions for all of your users in production, try LogRocket.
👁 LogRocket Dashboard Free Trial BannerLogRocket lets you replay user sessions, eliminating guesswork by showing exactly what users experienced. It captures console logs, errors, network requests, and pixel-perfect DOM recordings—compatible with all frameworks.
With Galileo AI, you can instantly identify and explain user struggles with automated monitoring of your entire product experience.
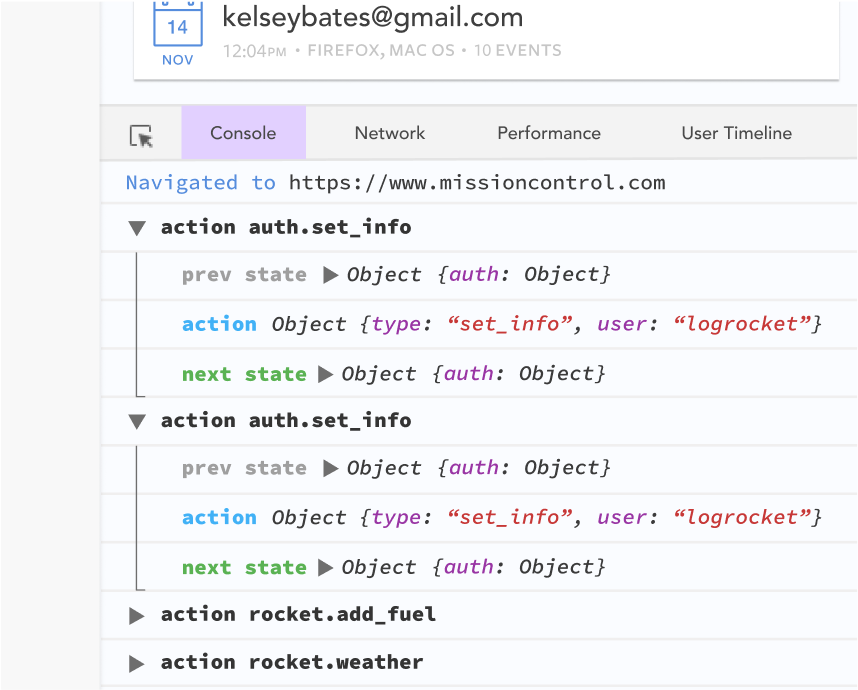
The LogRocket NgRx plugin logs Angular state and actions to the LogRocket console, giving you context around what led to an error, and what state the application was in when an issue occurred.
Modernize how you debug your Angular apps — start monitoring for free.
Learn how next-browser gives AI agents runtime context for debugging Next.js apps, including React props, hydration, PPR, forms, and performance.
Build dynamic LLM routing in Next.js with OpenRouter, TanStack AI, task classification, model fallbacks, and cost-aware routing.
TSRX adds first-class control flow, conditional hooks, and scoped styles to React via a TypeScript compiler extension — no new framework required.
Learn how to build a full React Native auth system using Better Auth and Expo — with email/password login, Google OAuth, session persistence, and protected routes.
Would you be interested in joining LogRocket's developer community?
Join LogRocket’s Content Advisory Board. You’ll help inform the type of content we create and get access to exclusive meetups, social accreditation, and swag.
Sign up now