 |
VOOZH | about |
|
VOOZH | about |
Building 3D graphics in a web browser has never been more straightforward. Join me on this journey as we show you how to create a basic scene using Babylon.js.
👁 Getting Started BabylonjsThe Replay is a weekly newsletter for dev and engineering leaders.
Delivered once a week, it's your curated guide to the most important conversations around frontend dev, emerging AI tools, and the state of modern software.
This article aims to guide you on how to:
This article is a beginner-friendly tutorial as little hassle as possible. I would, however, suggest that you have a strong understanding of JavaScript to do this.
To begin, we will need Vue3 in our workspace. To do so, we type in the command below in our terminal:
npm install -g @vue/cli
(Note: you are required to have Node.js installed as you will need the node package manager as we move forward)
Within the terminal, we use the command below to create a new project with the folder name bb101:
vue create bb101
After creating the project folder, we are prompted with a few choices to pick from. Do the following:
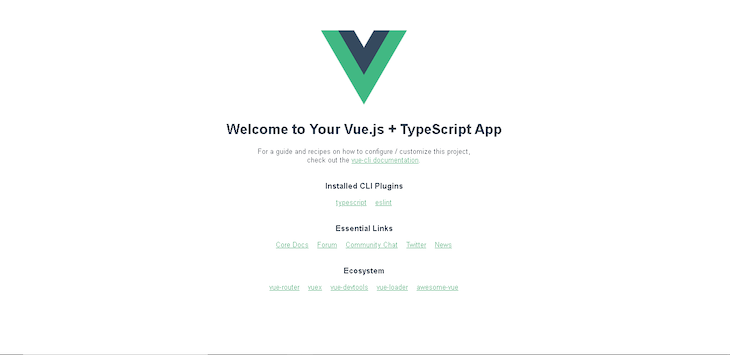
Now, we wait for a few moments to have these processes installed. Next, we change the directory in our terminal to that of the project we are working on using the command cd bb101, and we use npm run serve to run our Vue application. Once it compiles, we will have a localhost server to open in our browser.
👁 Localhost Server Compiled Example
We need to install the Babylon package into our project. We will utilize several Babylon packages during this project, but for now, let’s start with the core package of Babylon. To do this, we use the following command in our terminal:
npm install @babylonjs/core
The command above will install babylon.js into the node module folder of our project. After the installation, we can proceed to the next step.
We begin by modifying the default helloworld.vue file in the component folder. We want to reuse the component but with the name BabylonOne rather than HelloWorld.
In our newly named BabylonOne.vue file, we will clear out the default content in our HTML section (everything within the starting and closing div) and make a little change to the both the HTML section and script tag’s section by replacing them with the following:
<template>
<div>
 <h3>BabylonOne</h3>
 <canvas></canvas>
</div>
</template>
<script lang="ts">
import { defineComponent } from 'vue';
export default defineComponent({
name: 'BabylonOne',
mounted(){ //lifecycle hook
const canvas = document.querySelector("canvas")
 }
});
</script>
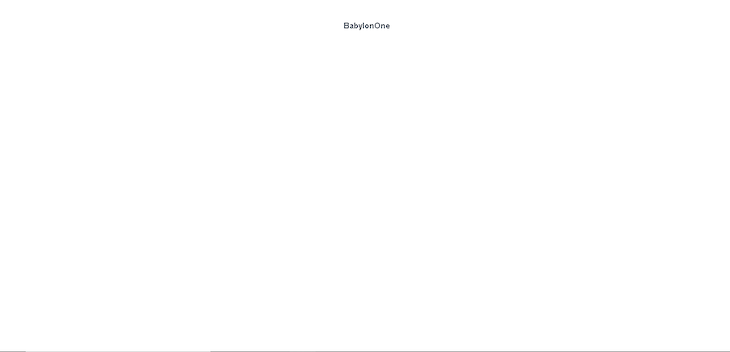
Changing the initial file name will trigger a warning as HelloWorld was the name used in the App.vue file. In the App.vue file, we will clear the content in the template tag and change the previous component name to BabylonOne (do this in every line HelloWorld is in). After we run the App in our terminal using npm run serve and within our browser, the result should be as below:
In this section, we want to create a TypeScript class for Babylon. To do this, we will create a subfolder in the src folder called BabylonOne.
In this folder, we will create a new TypeScript file called BabylonScene. Within this file, we will import Scene and Engine from our Babylon core package, and we will create a class called BabylonScene.
Within this class, we will create a scene and engine variable and a constructor that we automatically call when creating an instance of the class. We need the constructor to grab the canvas element created in our Vue component.
In our scene variable, we specify the type as Scene and engine variable of the type as Engine. Next, we add the engine variable to our constructor and set anti-aliasing to True.
We will create a separate method outside the constructor and assign it to the scene variable for the Scene variable. Finally, we want to render our scene simultaneously as the engine runs. Thus, we will use runRenderLoop to do this. Below is an implementation of the above:
import { Scene, Engine } from "@babylonjs/core"
export class BabylonScene {
 scene: Scene;
 engine: Engine;
 constructor(private canvas: HTMLCanvasElement) {
 this.engine = new Engine(this.canvas, true);
 this.scene = this.CreateScene();
 this.engine.runRenderLoop(() => {
 this.scene.render();
 });
 }
 CreateScene(): Scene {
 const scene = new Scene(this.engine);
 return scene;
 }
}
To do this, we head back to the BabylonOne file and import the BabylonScene class from BabylonScene.ts file. Within the mounted, we call the BabylonScene class with the parameter “canvas”. Here is how the script tag looks at the moment:
<script lang="ts">
import { defineComponent } from 'vue';
import { BabylonScene } from '@/BabylonOne/BabylonScene';
export default defineComponent({
 name: 'BabylonOne',
 mounted(){ //lifecycle hook
 const canvas = document.querySelector("canvas")!;
 new BabylonScene(canvas)
 }
});
</script>
(Note: Add a single exclamation behind the closing bracket in the canvas variable)
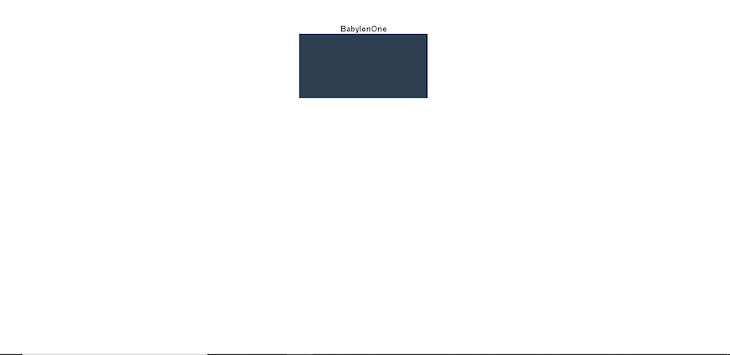
Once completed, we will test it in our terminal, and our result is as below:
We want the canvas size to be about 70–80 percent of the screen size. We want to create a canvas CSS with a width and height of 70 percent. Once we implement the above, our canvas will be as below:
Now, we want to see things in our canvas — thus, we will add a camera, a light, and some 3D objects (a ground and a sphere ball). To do this, we add the code below to our CreateScene Method in the BabylonScene.ts file:
const Camera = new FreeCamera("camera", new Vector3(0,1,-5), this.scene);
Camera.attachControl();
const light = new HemisphericLight("light", new Vector3(0,1,0), this.scene);
light.intensity = 0.5;
//3D Object
const ground = MeshBuilder.CreateGround("ground", {width: 10, height:10}, this.scene);
const sphereball = MeshBuilder.CreateSphere("sphereball", {diameter:1}, this.scene);
sphereball.position = new Vector3(0,1,0)
When creating a camera variable, we assign its value as FreeCamera and define its name, starting position, and scene as camera, new Vector3(0,1,-5), this.scene, respectively. To control the camera with our mouse, we use the attachControl method.
For the camera to work, we need to add light to see the object in our environment. To achieve this, we will create a light variable and assign its value as HemisphericLight. We will add a name, starting position, and scene similar to the camera variable.
Finally, we will add the intensity to adjust the brightness of the HemisphericLight (note that by default, the intensity is set to one, making the environment too bright).
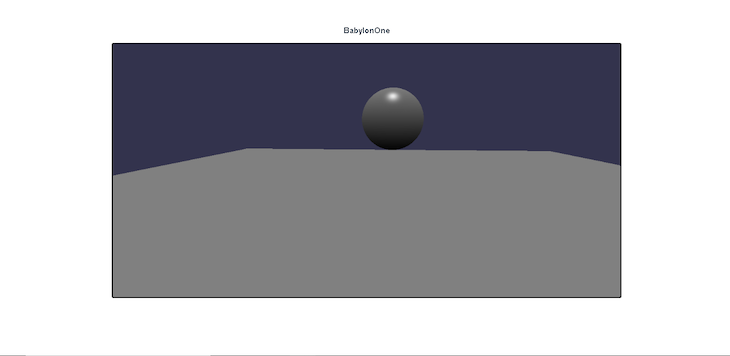
For the 3D object, we will create a ground and a sphere to represent a 3D object in our environment. To create a ground, we create a ground variable and assign the value MeshBuilder.CreateGround while setting the name, width and height, and scene.
We also use the Meshbuilder method to create a spherical ball while setting the name, diameter, and scene. To modify the ball’s position, we will use the position method and assign it to a starting position.
After implementing the code above, we should have the result as below:
Babylon.js is a versatile 3D JavaScript library capable of doing anything imaginable with 3D.
Babylon.js is a perfect 3D library with its only significant drawback being its package size.
In this tutorial, we have shown you how to create a Vue component, a Babylon class, render a scene on a canvas and create a 3D mesh
Thanks for reading and happy coding!
Debugging Vue.js applications can be difficult, especially when users experience issues that are difficult to reproduce. If you’re interested in monitoring and tracking Vue mutations and actions for all of your users in production, try LogRocket.
👁 LogRocket Dashboard Free Trial BannerLogRocket lets you replay user sessions, eliminating guesswork by showing exactly what users experienced. It captures console logs, errors, network requests, and pixel-perfect DOM recordings — compatible with all frameworks.
With Galileo AI, you can instantly identify and explain user struggles with automated monitoring of your entire product experience.
Modernize how you debug your Vue apps — start monitoring for free.
Learn how next-browser gives AI agents runtime context for debugging Next.js apps, including React props, hydration, PPR, forms, and performance.
Build dynamic LLM routing in Next.js with OpenRouter, TanStack AI, task classification, model fallbacks, and cost-aware routing.
TSRX adds first-class control flow, conditional hooks, and scoped styles to React via a TypeScript compiler extension — no new framework required.
Learn how to build a full React Native auth system using Better Auth and Expo — with email/password login, Google OAuth, session persistence, and protected routes.
Hey there, want to help make our blog better?
Join LogRocket’s Content Advisory Board. You’ll help inform the type of content we create and get access to exclusive meetups, social accreditation, and swag.
Sign up now