 |
VOOZH | about |
|
VOOZH | about |
Editor’s note: This React Router DOM tutorial was last reviewed on 10 July 2024 by Emmanuel John and updated to include information related to the newest React Router version, demonstrate some more advanced ways to handle routing such as code splitting and lazy loading, and more. The final example code was also updated with a new CodeSandbox demo; if you’re looking for the older demo, check it out on CodeSandbox or find the code on GitHub. As React Router is frequently updated, this article may still contain information that is out of date.
👁 React Router Dom: How To Handle Routing In Web Apps — Tutorial With ExamplesWe’ve covered React Router extensively, including how to use Hooks alongside and instead of React Router, how to use React Router with Redux, and other advanced use cases. But if you’re just starting out with React Router, all that might be too much to wrap your head around.
Not to worry. In this post, I’ll get you started with the basics of the web version, React Router DOM. We’ll cover the general concept of a router, walk through how to set up and install React Router, review the essential components of the framework, and demonstrate how to build routes with parameters, like /messages/10.
To demonstrate how React Router DOM works, we’ll create an example React app. You can find an updated interactive demo and the final example code on CodeSandbox.
The Replay is a weekly newsletter for dev and engineering leaders.
Delivered once a week, it's your curated guide to the most important conversations around frontend dev, emerging AI tools, and the state of modern software.
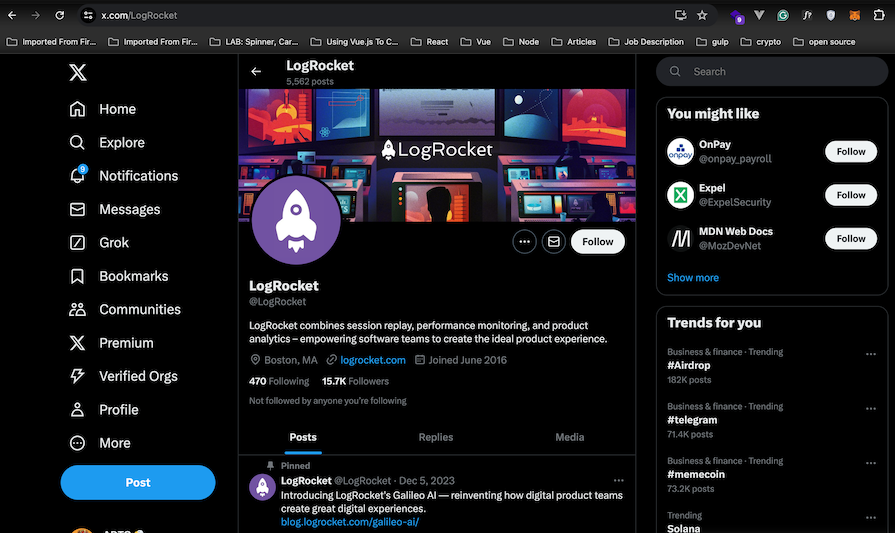
Single-page applications (SPAs) rewrite sections of a page rather than loading entire new pages from a server. Twitter is a good example of this type of application. When you click on a tweet, only the tweet’s information is fetched from the server. The page does not fully reload:
👁 React Router Dom On X, Formerly Twitter, App
These applications are easy to deploy and greatly improve the user experience. However, they also bring challenges. One such challenge is browser history: because the application is contained in a single page, it can’t rely on the browser’s forward or back buttons, per se.
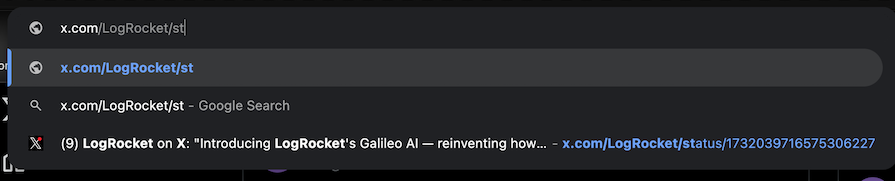
Instead, an SPA needs something else — something that, according to the application’s state, changes the URL to push or replace URL history events within the browser. At the same time, it also needs to rebuild the application state from information contained within the URL.
On Twitter, for example, notice how the URL changes when a tweet is clicked:
👁 Demo Of Url Changing When A Tweet Is Clicked
And how a history entry is generated:
👁 Demo Of History Entry Generated By X, Formerly Twitter, After Clicking A Tweet
This is the job of a router.
A router allows your application to navigate between different components, changing the browser URL, modifying the browser history, and keeping the UI state in sync.
React is a popular library for building SPAs. However, as React focuses only on building user interfaces, it doesn’t have a built-in solution for routing.
React Router is the most popular routing library for React. It allows you define routes in the same declarative style:
<Route path="/home" component={Home} />
But let’s not get ahead of ourselves. Let’s start by creating a sample project and setting up React Router. I’m going to use Create React App to create a React app. You can install (or update) it with:
npm install -g create-react-app
You just need to have Node.js version 12 or newer installed.
Next, execute the following command:
create-react-app react-router-example
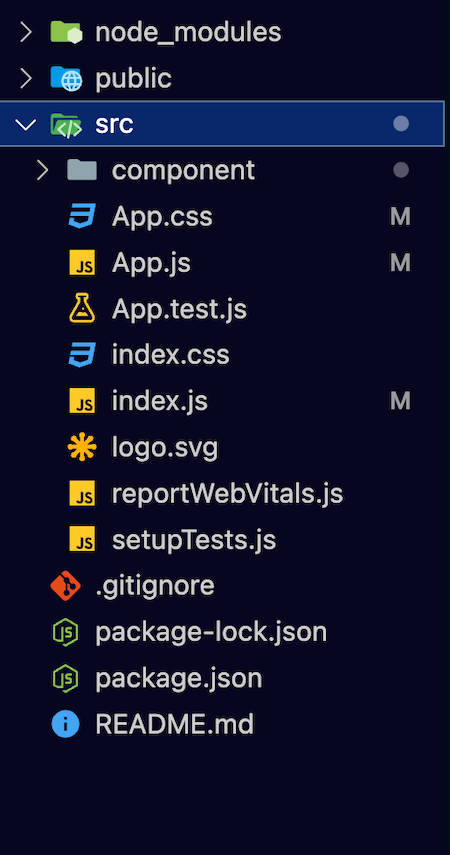
In this case, the directory react-router-example will be created. If you cd into it, you should see a structure similar to the following:
👁 Structure Of React Router Example Directory
React Router includes three main packages:
react-router, the core package for the routerreact-router-dom, which contains the DOM bindings for React Router — in other words, the router components for websitesreact-router-native, which contains the React Native bindings for React Router — in other words, the router components for an app development environment using React NativeReact Router DOM enables you to implement dynamic routing in a web app. Unlike the traditional routing architecture in which the routing is handled in a configuration outside of a running app, React Router DOM facilitates component-based routing according to the needs of the app and platform.
React Router DOM is the most appropriate choice if you’re writing a React application that will run in the browser.
React Router is the core package for the router. React Router DOM contains DOM bindings and gives you access to React Router by default.
In other words, you don’t need to use React Router and React Router DOM together. If you find yourself using both, it’s OK to get rid of React Router since you already have it installed as a dependency within React Router DOM.
Note, however, that React Router DOM is only available on the browser, so you can only use it for web applications.
The react-router-native package enables you to use React Router in React Native apps. The package contains the React Native bindings for React Router.
Because React Router DOM is only for apps that run in a web browser, it is not an appropriate package to use in React Native apps. You would use react-router-native instead.
Because we are creating a web app, let’s install react-router-dom:
npm install — save react-router-dom
At this point, you can execute the following command:
npm start
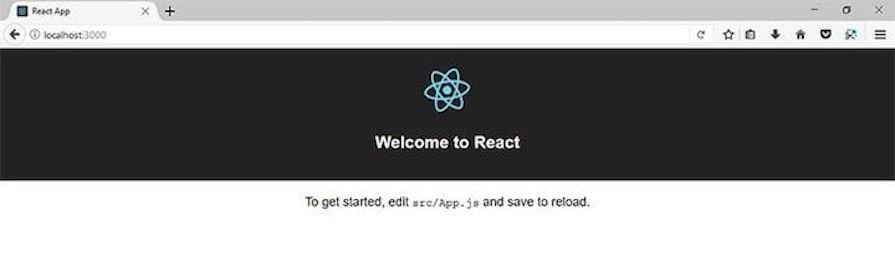
A browser window will open at http://localhost:3000/, where you should see something like this:
👁 Browser Window Open To Show Basic React Router Dom Output
Now, let’s create a simple SPA with React and React Router.
<Router>, <Link>, and <Route>The React Router API is based on three components:
<Router>: The router that keeps the UI in sync with the URL<Link>: Renders a navigation link<Route>: Renders a UI component depending on the URLLet’s take a closer look at each of these.
<Router> componentYou’ll only have to use the <Router> component directly in some special cases — for example, when working with Redux. So, the first thing you have to do is to choose a router implementation.
In a web application, you have four options:
createBrowserRouter: The recommended router for all React Router web projects. It uses the DOM History API to update the URL and manage the history stackcreateHashRouter: Uses the hash portion of the URL (window.location.hash)createMemoryRouter: Manages its own history stack in memory. It’s primarily useful for testing and component development tools like Storybook, but can also be used for running React Router in any non-browser environmentcreateStaticRouter is used when you want to leverage a data router for rendering on your serverIf you’re going to target older browsers that don’t support the HTML History API, you should stick with <HashRouter>, which creates URLs with the following format:
http://localhost:3000/#/route/subroute
Otherwise, you can use <BrowserRouter>, which creates URLs with the following format:
http://localhost:3000/route/subroute
I’ll use <createBrowserRouter>, so in src/index.js, I’m going to import createBrowserRouter and RouterProvider from react-router-dom and use it set up routing in the entire application:
import {
 createBrowserRouter,
 RouterProvider,
} from "react-router-dom";

const router = createBrowserRouter([
 {
 path: "/",
 element: <App />,
 },
]);

ReactDOM.createRoot(document.getElementById("root")).render(
 <RouterProvider router={router} />
);
The main job of createBrowserRouter is to create a history object to keep track of the location, or the URL. When the location changes because of a navigation action, the corresponding component — in this case <App/> — is re-rendered.
Most of the time, you’ll use a <Link> component to change the location.
<Link> componentLet’s create a navigation menu. Open src/App.css to add the following styles:
ul {
 list-style-type: none;
 padding: 0;
}

.menu ul {
 background-color: #222;
 margin: 0;
}

.menu li {
 font-family: sans-serif;
 font-size: 1.2em;
 line-height: 40px;
 height: 40px;
 border-bottom: 1px solid #888;
}

.menu a {
 text-decoration: none;
 color: #fff;
 display: block;
}
In the scr/App.js file, replace the last <p> element in the render() function so it looks like this:
render() {
 return (
 <div className="App">
 <header className="App-header">
 <img src={logo} className="App-logo" alt="logo" />
 <h1 className="App-title">Welcome to React</h1>
 </header>
 <div className="menu">
 <ul>
 <li> <Link to="/">Home</Link> </li>
 <li> <Link to="/messages">Messages</Link> </li>
 <li> <Link to="/about">About</Link> </li>
 </ul>
 </div>
 </div>
 );
}
Don’t forget to import the <Link> component at the top of the file:
import {
Link
} from 'react-router-dom'
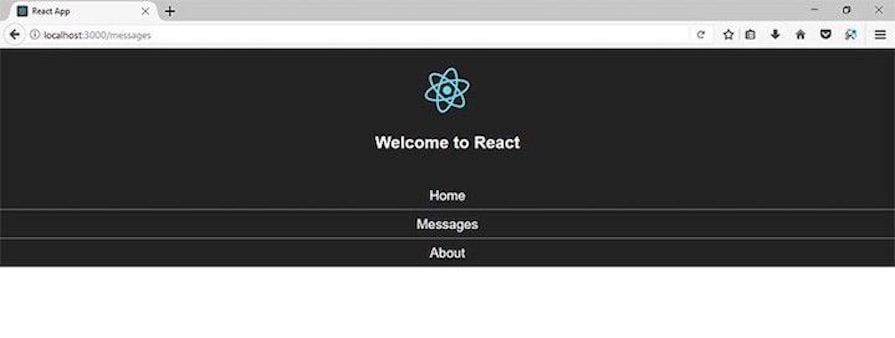
In the browser, you should see something like this:
👁 Updated Output In Browser Window Showing React Router Dom Link Srcset
As you can see, this JSX code:
<ul>
<li> <Link to="/">Home</Link> </li>
<li> <Link to="/messages">Messages</Link> </li>
<li> <Link to="/about">About</Link> </li>
</ul>
Generates the following HTML code:
<ul>
<li> <a href="/">Home</a> </li>
<li> <a href="/messages">Messages</a> </li>
<li> <a href="/about">About</a> </li>
</ul>
However, those aren’t regular anchor elements. They change the URL without refreshing the page. Test it.
And now add a <a> element to the JSX code and test one more time:
<ul>
<li> <Link to="/">Home</Link> </li>
<li> <Link to="/messages">Messages</Link> </li>
<li> <Link to="/about">About</Link> </li>
<li>
 <a href="/messages">Messages (with a regular anchor element)</a>
 </li>
</ul>
Do you notice the difference?
<Route> objectRight now, the URL changes when a link is clicked, but not the UI. Let’s fix that.
I’m going to create three components for each route. First, src/component/Home.js for the route /:
import React from 'react';

const Home = () => (
 <div>
 <h2>Home</h2>
 My Home page!
 </div>
);

export default Home;
Then, src/component/Messages.js for the route /messages:
import React from 'react';

const Messages = () => (
 <div>
 <h2>Messages</h2>
 Messages
 </div>
);

export default Messages;
And finally, src/component/About.js for the route /about:
import React from 'react';

const About = () => (
 <div>
 <h2>About</h2>
 This example shows how to use React Router!
 </div>
);

export default About;
To specify the URL that corresponds to each component, you use the Route object in the following way:
const router = createBrowserRouter([
 {
 element: <App />,
 path: "/",
 children: [
 {
 path: "/messages",
 element: <Messages />,
 },
 {
 path: "/about",
 element: <About />,
 },
 {
 path: "/",
 element: <Home />,
 },
 ],
 },
]);
With other router libraries (and even in previous versions of React Router), you have to define these routes in a special file, or at least, outside your application.
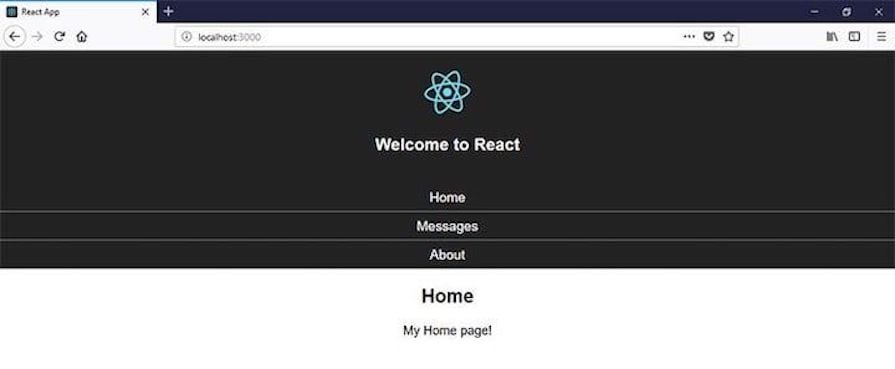
In the browser, you should see something like this:
👁 Updated Output In Browser Window Showing React Router Dom Route Srcset
Routes are the most important concept in React Router. Let’s talk about routes in the next section.
The matching logic of the <Route> component is delegated to the Path-to-RegExp library. I encourage you to check all the options and modifiers of this library and test it live with the Express Route Tester.
In React Router v5, since the /message and /about paths also contain the / character, they are also be matched and rendered. With this behavior, you can display different components just by declaring that they belong to the same (or a similar) path.
React Router v6 introduces a Routes component that is kind of like Switch in v5, but a lot more powerful. Routes are chosen based on the best match instead of being traversed in order:
<Routes>
 <Route path="/" element={<App />}/>
 <Route path="messages" element={<Messages />}/>
 <Route path="home" element={<Home />} />
 <Route path="about" element={<About />} />
</Routes>
With the Routes component, you can implement route nesting as follows:
<Routes>
 <Route path="/" element={<App />}>
 <Route
 path="messages"
 element={<Messages />}
 />
 <Route path="home" element={<Home />} />
 <Route path="about" element={<About />} />
 </Route>
</Routes>
Note that when using a data router like createBrowserRouter, it’s uncommon to use the Routes component because routes defined within a descendant <Routes> tree can’t utilize the data APIs available to RouterProvider applications. Instead, you should use this component within your RouterProvider application to take full advantage of these APIs.
Using the exact property to render the component only if the defined path matches the URL path exactly is removed in React Router v6. Instead, routes with descendant routes (defined in other components) use a trailing * in their path to indicate they match deeply:
<Routes path="*" />
</Routes>
Now, let’s cover something a little more advanced: nested routes.
A nested route is something like /about/react.
Let’s say that for the messages section, we want to display a list of messages. Each one in the form of a link like /messages/1, /messages/2, and so on, that will lead you to a detail page.
You can start by modifying the Messages component to generate links for five sample messages in this way:
import React from 'react';

import {
 Link
} from 'react-router-dom';

const Messages = () => (
 <div>
 <ul>
 {
 [...Array(5).keys()].map(n => {
 return <li key={n}>
 <Link to={`/messages/${n+1}`}>
 Message {n+1}
 </Link>
 </li>;
 })
 }
 </ul>
 </div>
);

export default Messages;
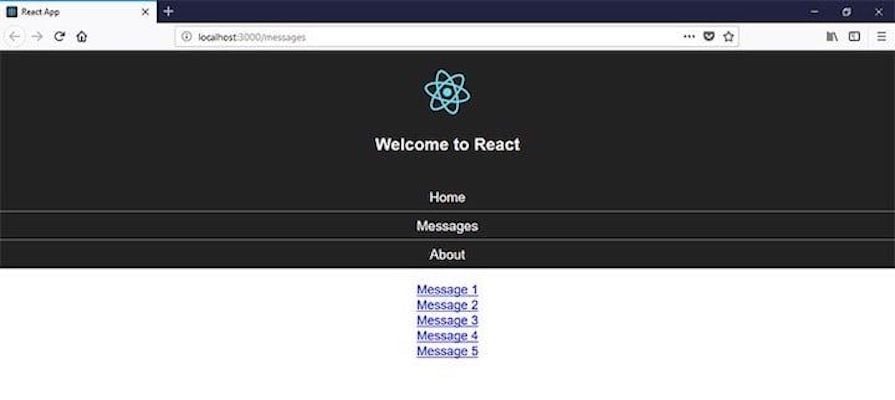
This should be displayed in the browser:
👁 Nested Routes Example In React Router Dom
If you’d like to perform some action whenever the current location changes, the useLocation Hook allows you to accomplish that with the current location object:
const Messages = () => {
let { pathname } = useLocation();
 return <div>
 ...
 </div>
}
Replace /messages with the path name of the current location object so that you’re covered if the path ever changes:
const Messages = () => {
let { pathname } = useLocation();
 <div>
 <ul>
 {
 [...Array(5).keys()].map(n => {
 return <li key={n}>
 <Link to={`${pathname}/${n+1}`}>
 Message {n+1}
 </Link>
 </li>;
 })
 }
 </ul>
 </div>
};
After the message list, declare an <Outlet> component with a parameter to capture the message identifier:
import Message from './Message';
//…

const Messages = () => {
 <div>
 <ul>
 ...
 </ul>
 <Outlet/>
 </div>
};
In addition, you can enforce a numerical ID in this way:
const router = createBrowserRouter([
 {
 element: <App />,
 path: "/",
 children: [
 {
 path: "/messages",
 element: <Messages />,
 children: [
 {
 path: "/messages/:id",
 element: <Message />,
 }
 ]
 },
 ]
}
If there’s a match, the Message component will be rendered. Here’s its definition:
import React from 'react';
const Message = () => {
 const params = useParams()
 return <h3>Message with ID {params.id}</h3>
}
export default Message;
In this component, the ID of the message is displayed. Notice how the ID is extracted from the useParams object using the same name that it’s defined in the path.
If you open the browser, you should see something similar to the following:
You can define what is rendered by using one of the following properties of <Route>:
component to render a componentrender, a function that returns the element or component to be renderedchildren, a function that also returns the element or component to be rendered. However, the returned element is rendered regardless of whether the path is matched or not<useRoutes> HookThe useRoutes Hook in React Router provides a functional alternative to the <Routes> and <Route> elements, which rely on JSX syntax for route definitions. With useRoutes, you can create route configurations programmatically, leveraging the same properties that you would normally use in <Route> elements, but without needing to write JSX:
import * as React from "react";
import { useRoutes } from "react-router-dom";

function AppRoutes() {
 let routes = useRoutes([
 {
 path: "/",
 element: <App />,
 children: [
 {
 path: "messages",
 element: <Messages />,
 },
 { path: "home", element: <Home /> },
 ],
 },
 { path: "about", element: <About /> },
 ]);

 return routes;
}
You can use the defined routes in your app as follows:
import React from 'react';
import { BrowserRouter as Router } from 'react-router-dom';
import Navigation from './Navigation';

function App() {
 return (
 <Router>
 <Navigation />
 <AppRoutes />
 </Router>
 );
}
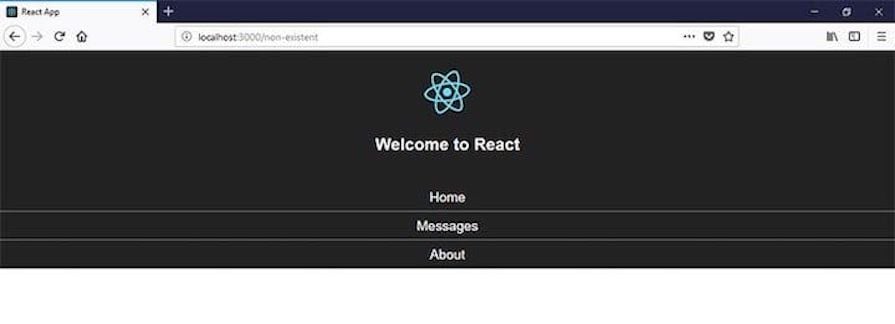
Let’s say we encounter a nonexistent route or path in our app. Instead of letting the browser show an error, we can customize a 404 page to tell our users with a neat UI that the page they are requesting is not available.
But what happens when a nonexistent path is entered? Let’s put in an example nonexistent path and see:
👁 Example Of React Router Dom Route Navigating To A Nonexistent Path
This will display the default 404 error from React Router.
React Router v6 allows you to specify errorElement property in the router object to handle non existing routes:
const router = createBrowserRouter([
 {
 element: <App />,
 path: "/",
 errorElement: <NotFound/>
 },
]);
This displays the NotFound component when no other routes match the requested path.
*To set up a default page in React Router, pass an asterisk * to the Route‘s path prop:
<Routes>
 <Route path="/" component={Home} />
 <Route path="/messages" component={Messages} />
 <Route path="/about" component={About} />
 <Route
 path="*"
 element={<Navigate to="/" />}
 />
</Routes>
This <Route path="*" element={<Navigate to="/"/>} /> handles nonexistent routes in a special way. The asterisk at the path prop causes the route to be called when a nonexistent path is hit. It then displays the Home component.
Home is now set as the default page. If we navigate to localhost:3000/planets, the Home component will be displayed under the localhost:3000/planets URL. The path does not exist in our routing configuration, so React Router displays our default page, the Home page.
RedirectWe can use another technique to set default page in React Router:
<Switch>
 <Route exact path="/" component={Home} />
 <Route path="/messages" component={Messages} />
 <Route path="/about" component={About} />
 <Redirect to="/" />
</Switch>
This method redirects the URL to / when a nonexistent path is hit in our application and sets the route / and Home as our default page.
So if we navigate to localhost:3000/planets in our browser, React Router will redirect to localhost:3000 and display the Home component because the route localhost:3000/planets does not exist in our routing config.
Router with no path propsWe did this earlier, but this time we will do away with the Notfound page and set the Route to call our default component:
<Switch>
 <Route exact path="/" component={Home} />
 <Route path="/messages" component={Messages} />
 <Route path="/about" component={About} />
 <Route component={Home} />
</Switch>
We want the Home component to be our default component. The <Route component={Home} /> is run when no route is matched and the Home component is displayed instead.
React Router supports code splitting and lazy loading routes, which allows you to keep your application bundles small and also improve your app’s performance. Keep in mind that this feature only works if you use a data router.
Here is an example implementation of lazy loading and code splitting:
let routes = createRoutesFromElements(
 <Routes path="/" element={<Layout />}>
 <Route path="/about" lazy={() => import("./About")} />
 <Route path="/home" lazy={() => import("./Home")} />
 </Routes>
);
Each lazy function will typically return the result of a dynamic import.
For a more granular code splitting, you could split your loader and component into different files for parallel downloading:
let route = {
 path: "projects",
 async loader({ request, params }) {
 let { loader } = await import("./projects-loader");
 return loader({ request, params });
 },
 lazy: () => import("./projects-component"),
};
Rather than waiting for all the data to load before moving to the next page, you can use defer to switch the UI to the next screen immediately, showing a placeholder UI from the Suspense fallback while the data loads. The defer function also enables Suspense for promises that haven’t been resolved:
<Route
 path="post/:postID"
 element={<Post />}
 loader={async ({ params }) => {
 const comments = fake.getComments(params.postID);

 const likes = await fake.getLikes(params.postID);

 return defer({ likes, comments });
 }}
/>;
The comments variable is a promise, but it’s not awaited:
function Post() {
 const { likes, comments } = useLoaderData();
 return (
 <div>
 <Suspense fallback={<LikesSkeleton />}>
 <Await resolve={likes}>
 {(resolvedLikes) => (
 <LikesComponent likes={resolvedLikes} />
 )}
 </Await>
 </Suspense>

 <Suspense fallback={<CommentsSkeleton />}>
 <Await resolve={comments}>
 <CommentsComponent />
 </Await>
 </Suspense>
 </div>
 );
}
The <Await> component manages the deferred data (promise) while the callback function executes when the data is resolved. Suspense provides the placeholder fallback.
In a few words, a router keeps your application UI and the URL in sync.
React Router is the most popular router library for React. Since version 4, React Router declarative defines routes with components in the same style as React.
In this post, you have learned how to set up React Router, its most important components, how routes work, and how to build dynamic nested routes with path parameters.
But there’s still a lot of more to learn. For example, there’s a <NavLink> component that is a special version of the <Link> component that adds the properties activeClassName and activeStyle to give you styling options when the link matches the location URL.
The official documentation covers some basic examples as well as more advanced, interactive use cases.
Install LogRocket via npm or script tag. LogRocket.init() must be called client-side, not
server-side
$ npm i --save logrocket

// Code:

import LogRocket from 'logrocket';
LogRocket.init('app/id');
// Add to your HTML:

<script src="https://cdn.lr-ingest.com/LogRocket.min.js"></script>
<script>window.LogRocket && window.LogRocket.init('app/id');</script>
Learn how next-browser gives AI agents runtime context for debugging Next.js apps, including React props, hydration, PPR, forms, and performance.
Build dynamic LLM routing in Next.js with OpenRouter, TanStack AI, task classification, model fallbacks, and cost-aware routing.
TSRX adds first-class control flow, conditional hooks, and scoped styles to React via a TypeScript compiler extension — no new framework required.
Learn how to build a full React Native auth system using Better Auth and Expo — with email/password login, Google OAuth, session persistence, and protected routes.
Hey there, want to help make our blog better?
Join LogRocket’s Content Advisory Board. You’ll help inform the type of content we create and get access to exclusive meetups, social accreditation, and swag.
Sign up now