 |
VOOZH | about |
|
VOOZH | about |
Managing form state in React has never been the most fun part of building apps. Between tracking input values, handling async submissions, showing loading spinners, and dealing with errors, things can get messy fast. You usually end up juggling useState, useEffect, and a bunch of extra logic just to make a simple form work smoothly.
That’s where useActionState comes in. It’s a handy little Hook from React that makes it way easier to handle user actions, especially things like form submissions and async state changes. Instead of writing tons of boilerplate, you get a cleaner, more predictable way to manage it all.
In this guide, we’ll walk through how useActionState works, when to use it, and share a bunch of examples so you can see it in action.
Let’s dive in and make your favorite app (and your life) much simpler.
useActionState?At a high level, useActionState is a React Hook that ties a user action (like submitting a form) to a piece of state. It takes care of updating that state based on what happens when the action runs.
Here’s what the basic usage looks like:
const [state, formAction, isPending] = useActionState(actionFn, initialState);
Here’s how the arguments work:
actionFn — Your function that runs when the user submits the form or clicks on the button. It receives the current state as the first argument, followed by the usual form data. This makes it easy to perform stateful updates based on previous resultsinitialState — Sets the starting state before any submissions. This can be any serializable value, like an object, string, or numberWhat useActionState returns:
state — The current state returned from your action. Initially, it uses initialState, and then updates with the result of each form submissionformAction — Passed directly to your <form action={formAction}>. This is what ties your form to the logic inside actionFnisPending — A boolean that’s true while the action is running. It’s perfect for showing loading spinners or disabling buttons during submissionThis Hook is especially handy for forms, where you often need to juggle a lot—submitting data, validating inputs, showing feedback messages, and handling errors. Instead of wiring up all of that manually, useActionState gives you a cleaner, more streamlined way to manage it.
useActionStateuseEffect HooksuseActionState: Practical examplesLet’s start with something basic — a counter app. Normally, you’d reach for useState to manage the count, but useActionState offers a cleaner path, especially when your updates involve async behavior (like writing to a server or database).
Here’s a minimal example to illustrate how it works:
"use client";

import { useActionState } from 'react';

async function increment(prevCount) {
 await new Promise(resolve => setTimeout(resolve, 1000)); // Simulate async delay
 return prevCount + 1;
}

function CounterApp() {
 const [count, formAction, isPending] = useActionState(increment, 0);

 return (
 <form action={formAction}>
 <p>Count: {count}</p>
 <button disabled={isPending}>
 {isPending ? 'Incrementing...' : 'Increment'}
 </button>
 </form>
 );
}

export default CounterApp;
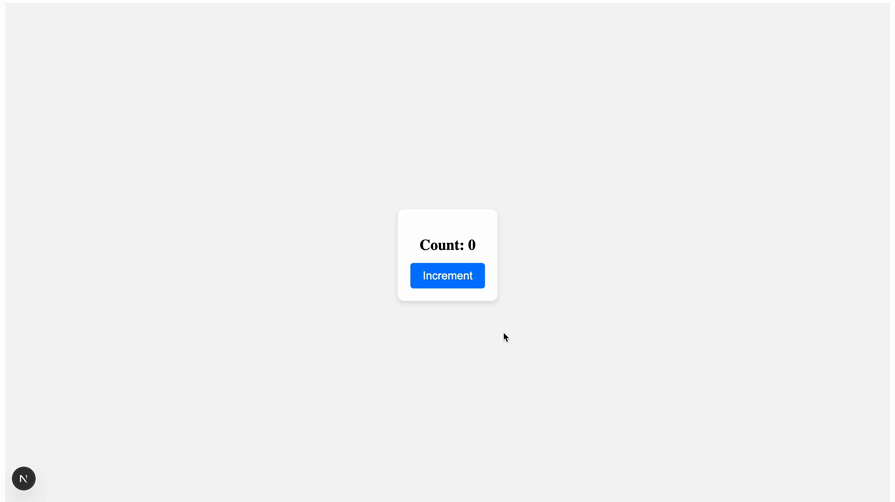
👁 use action state counter app example
In this example, useActionState handles the entire state update process for the counter. The increment function simulates an async operation, like fetching new data or updating a value on the server, and returns the updated count.
Inside the component, we get three values from the Hook: count to display, formAction to plug into the <form>, and isPending to disable the button while the update is in progress.
What’s great is that we don’t need to manually manage loading state or write extra logic to track updates. useActionState takes care of it for us. It keeps the component simple even when working with async operations.
Now let’s take it a step further. Beyond simple counters, useActionState really shines in real-world scenarios like handling form submissions. In real-world apps, form submissions often involve async operations like API calls, along with loading states and user feedback. useActionState lets us manage all of that in a clean, declarative way.
In the example below, we simulate a form submission with a delay and display a success message when it’s done—all without any extra state or effects:
"use client";

import { useActionState } from "react";

// submit form action
async function submitForm(prevState, formData) {
 await new Promise((resolve) => setTimeout(resolve, 1500));
 const email = formData.get("email");
 if (!email || !email.includes("@")) {
 return { success: false, message: "Please enter a valid email address." };
 }
 return { success: true, message: "Form submitted successfully!" };
}

function FormApp() {
 const [state, formAction, isPending] = useActionState(submitForm, {
 success: null,
 message: "",
 });

 return (
 <div className="form-container">
 <div className="form-card">
 <form action={formAction}>
 <input
 className="form-input"
 type="text"
 name="name"
 placeholder="Name"
 />
 <input
 className="form-input"
 type="email"
 name="email"
 placeholder="Email"
 />
 <button className="form-button" disabled={isPending}>
 {isPending ? "Submitting..." : "Submit"}
 </button>
 {state.message && (
 <p
 className={`form-message ${state.success ? "success" : "error"}`}
 >
 {state.message}
 </p>
 )}
 </form>
 </div>
 </div>
 );
}

export default FormApp;
👁 submission form example
In this case, we’re dealing with a classic form submission — something every app needs. But instead of juggling multiple state variables for loading, success, and error handling, useActionState simplifies it into a single Hook. The result is a cleaner, more readable form component with less boilerplate to maintain.
In this example, we’ll see how to pair Server Functions with useActionState to build a like button component without any local state management or effect Hooks:
"use client";

import { useActionState } from "react";
import { toggleLike } from "../actions";

function LikeButton({ initialLiked }) {
 const [liked, formAction] = useActionState(toggleLike, false);
 return (
 <form action={formAction} className="like-container">
 <button className="like-button">{liked ? "❤️ Liked" : "♡ Like"}</button>
 </form>
 );
}

export default LikeButton;


// actions.ts

"use server";
// Simulate DB update or external call
export async function toggleLike(prevLiked) {
 await new Promise((resolve) => setTimeout(resolve, 1000));
 return !prevLiked;
}
The toggleLike function runs on the server and simply flips the like state. On the client side, useActionState helps us wire it up neatly by handling the async interaction and re-rendering based on the latest state:
It’s a small UI pattern, but this example shows how powerful the combo of Server Functions and useActionState can be — clean, minimal, and no extra boilerplate.
useActionState HooksSo far, we’ve seen how useActionState can simplify a single interaction, like submitting a form or toggling a like button. But what happens when you have multiple independent actions on the same component?
Let’s look at a real-world example: a social post UI where users can both like and follow. Each action has its own async logic, but with useActionState, managing them side by side is simple and clean — no messy state or loading flags scattered all over:
"use client";

import { useActionState } from "react";

import { toggleLike, toggleFollow } from "../actions";

function SocialActions() {
 const [liked, likeAction] = useActionState(toggleLike, false);
 const [following, followAction] = useActionState(toggleFollow, false);

 return (
 <div className="social-actions">
 <form action={likeAction}>
 <button className="like-button">
 {liked ? "❤️ Liked" : "♡ Like"}
 </button>
 </form>

 <form action={followAction}>
 <button className="follow-button">
 {following ? "✔ Following" : "+ Follow"}
 </button>
 </form>
 </div>
 );
}

export default SocialActions;


// actions.ts

"use server";

export async function toggleLike(prevLiked: boolean) {
 await new Promise((res) => setTimeout(res, 800));
 return !prevLiked;
}

export async function toggleFollow(prevFollowing: boolean) {
 await new Promise((res) => setTimeout(res, 1000));
 return !prevFollowing;
}
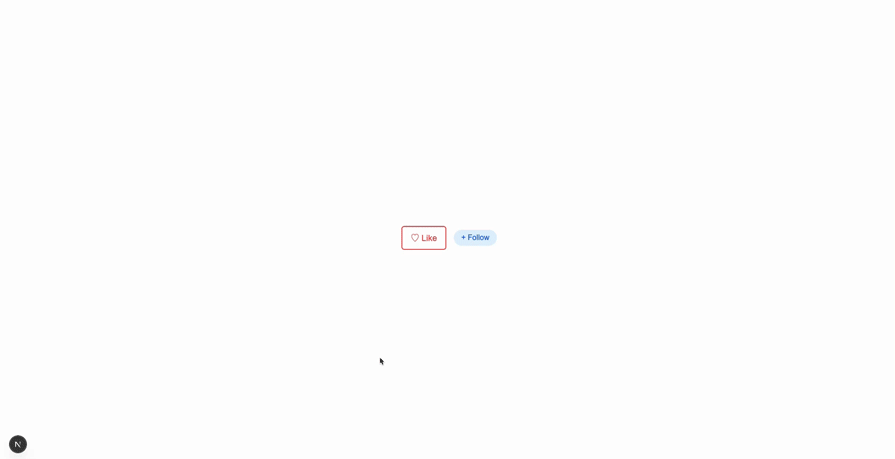
👁 multiple use action state hooks
Each button in this example is wired to its own Server Function and keeps its state isolated. There’s no need to juggle useState or track loading states manually — useActionState handles it all in a neat, declarative way.
useActionState is one of those Hooks that quietly makes your UI logic easier, especially when you’re dealing with async flows like form submissions or server interactions. It also lets you pair state updates directly with Server Actions, so you don’t need to juggle multiple useState, useEffect, or loading/error flags.
If you’ve ever felt like you’re writing too much code to manage state transitions or loading indicators, give this Hook a try. It’s a small shift in mindset, but one that can make your codebase cleaner, more maintainable, and more fun to work with.
Happy coding!
Install LogRocket via npm or script tag. LogRocket.init() must be called client-side, not
server-side
$ npm i --save logrocket

// Code:

import LogRocket from 'logrocket';
LogRocket.init('app/id');
// Add to your HTML:

<script src="https://cdn.lr-ingest.com/LogRocket.min.js"></script>
<script>window.LogRocket && window.LogRocket.init('app/id');</script>
We built the same app in TanStack Start RSC and Next.js RSC. TanStack shipped 40% less JS and built 4x faster — but Next.js is still the safer production bet.
From RSC vulnerabilities and the Vercel breach to TypeScript 7.0 Beta and AI agents — the nine frontend storylines that defined H1 2026, ranked.
AI tools generate working React code fast, but miss race conditions, empty states, debouncing, and accessibility. Here’s how to catch bugs before production.
Learn how to use Gemini CLI subagents to delegate frontend, backend, testing, and docs tasks to specialized agents with guardrails and clear ownership.
Hey there, want to help make our blog better?
Join LogRocket’s Content Advisory Board. You’ll help inform the type of content we create and get access to exclusive meetups, social accreditation, and swag.
Sign up now