 |
VOOZH | about |
|
VOOZH | about |
This article was published as a part of the Data Science Blogathon.
See that image above?
Amazing, isn’t it?
Looks like an oil painting in melancholic postcard style, right? You bet!
I used AI and some of the same words from the previous sentence to create it in a few minutes.
And we will see how in this article!
If you are someone who has been keeping track of the latest trends in text-to-image AI, you have surely heard of Stable Diffusion.
It is the latest cutting-edge model, similar to Dall-E 2 and Mid journey.
The interesting part about Stable Diffusion, unlike the other tools, is — it is open-sourced!
This means anyone can use it for free or even create applications from it!
As we speak, people are already joining in using the Google Colab notebooks.
Let us see what sound diffusion is, the steps on how to create your first notebook and your AI-generated images, and see some stunning images I generated using it (along with the prompts)!
Stable Diffusion is a text-to-image model created by a collaboration between engineers and researchers from CompVis, Stability AI, and LAION.
It is based on a model called Latent Diffusion (High-Resolution Image Synthesis with Latent Diffusion Models). The theoretical details are beyond the scope of this article. Perhaps I will cover them in another post.
We need to know that it is one of the most anticipated models to be released recently!
Why?
Because the generated images are a close contest to Open AIs Dall-E 2, perhaps even better, and only a few days back, they open-sourced it, with the code and all the model weights.
That means you can use it for free!
Stable Diffusion Public Release — Stability.Ai
So let’s see how to use it!
There are a few simple steps to set up.
Step 1: Sign-up or log in
Sign up or log in to Hugging Face: Hugging Face – The AI community building the future. They create the model you are about to use, and they have given access to their Google Colab notebook.
Once you sign up, accept the terms and conditions of using the model.
Step 2: Getting the access token
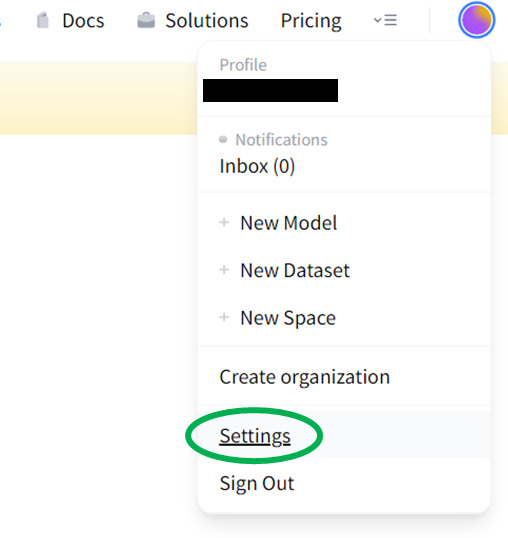
Now that you are logged in, you need to get the access token you will use later. For this, go to the settings in the account options in the top right corner.
In settings, you will see the option called Access Tokens. Create a new token.
Give your token a suitable name and select the read role.
Copy the generated token to the clipboard; you will need it later in the Jupyter notebook.
Step 3: The notebook
Here you will need to log in to your Google Colab. Once there, access the Stable Diffusion notebook from this link:
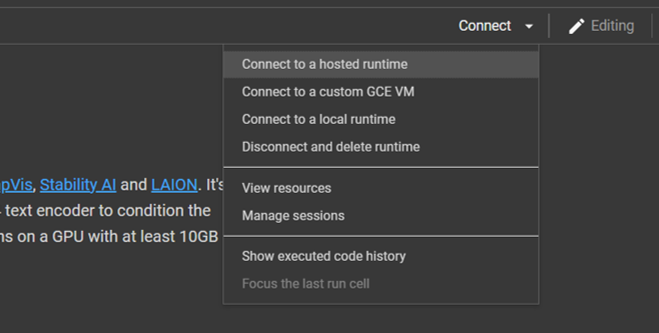
Your PC may not have enough capacity to run this model, so connecting it to the hosted runtime is better.
Once it s connected, you are ready to go! Go to the runtime option in the ribbon and Run all cells. You may get a warning saying Google does not author the notebook. Simply click yes and go ahead.
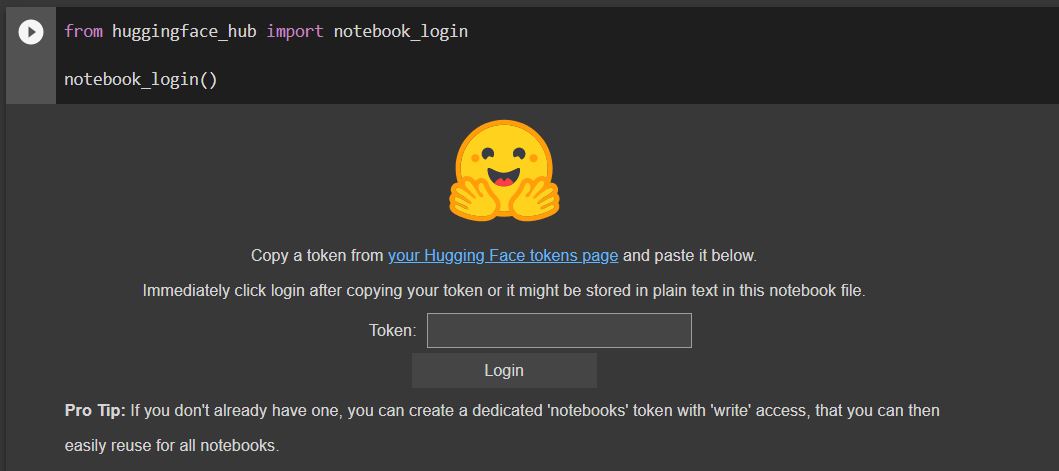
When you reach the 4th cell, you will get the option to enter the access token.
Enter the access token you copied in the previous step. Wait for the Login Successful message.
That is it! You are ready to use the model! The notebook is pretty self-explanatory so that you can try various prompts directly.
Here is the first example they have only with 4 lines of code and the prompt “a photograph of an astronaut riding a horse“.
This gives the resulting image:
Amazing, isn’t it?
From here on, you are only limited by your imagination. Try various combinations of prompts, art styles, and even artist names. AI can generate them well!
That brings me to the next part.
Even though everything seems simple until now, you will soon understand when trying to give detailed prompts that it is difficult and time-consuming, to say the least!
You can never arrive at a perfect prompt without much trial and error. The AI will not generate the same images with the same prompt each time.
Additionally, you need to know a lot about the art world, the artists, and the different styles used to be able to give good prompts.
True art is knowing how to tell the computer to draw!
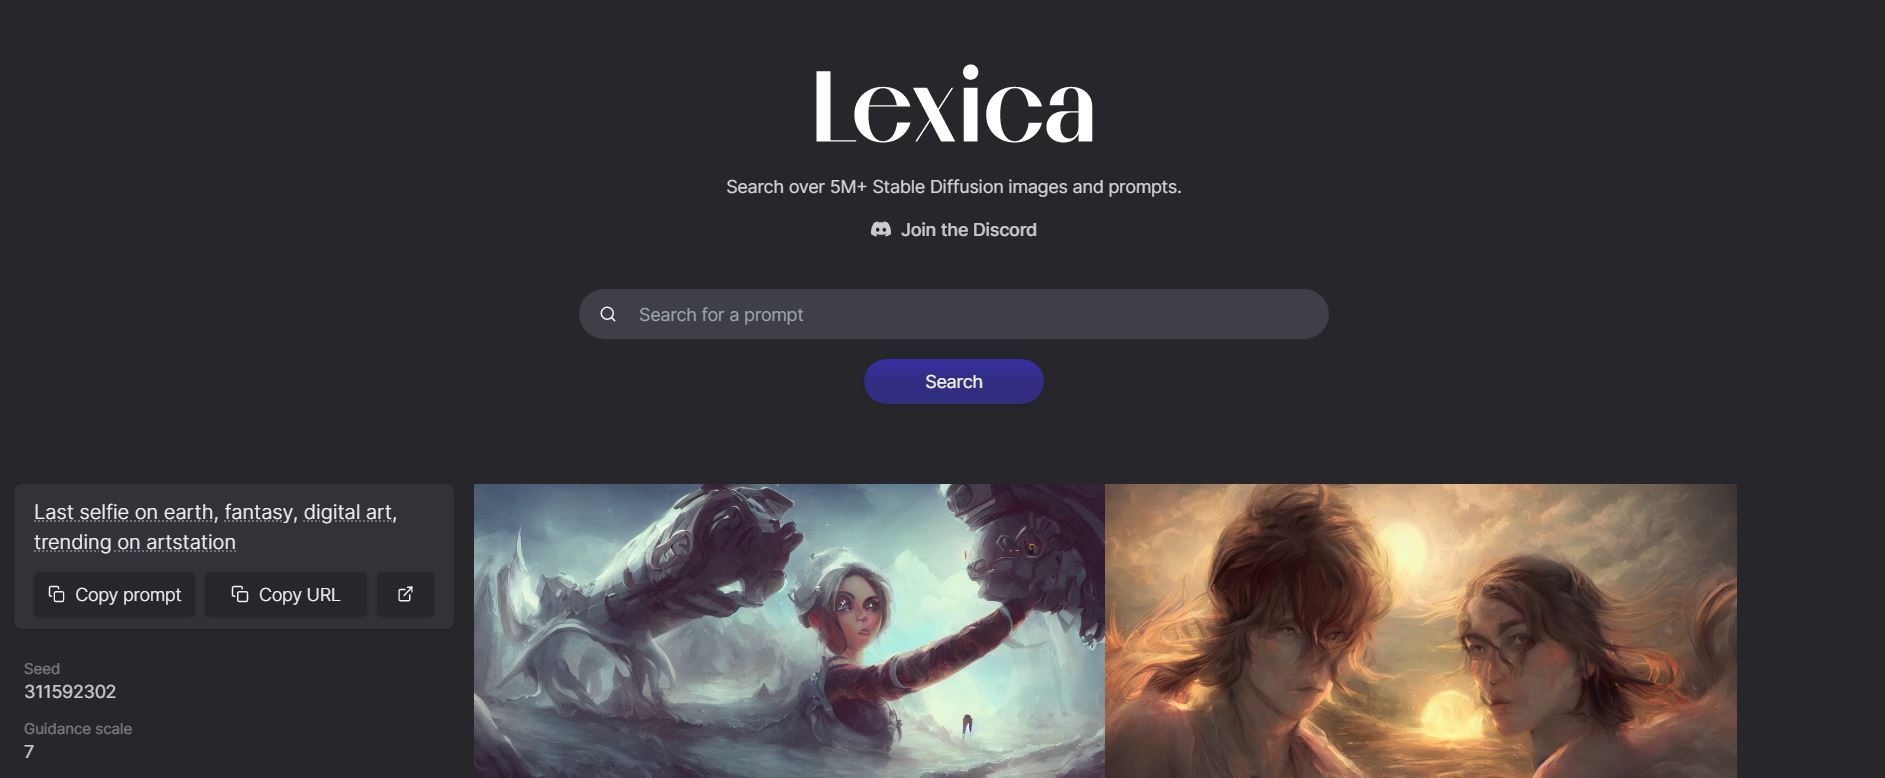
Fortunately, there are a host of resources to understand that. There is an entire database of prompts called Lexica, where you can access the community-generated images and their prompts. Here is the link: Lexica
I spent hours trying several prompts and observed the corresponding generated images. Here are a few insights that I learned:
1. Start from the overall idea and then drill down further into the details. For example, you can start the prompt as “a black table in the middle of a grass field” and then give further details like table shape, grass colour, weather, etc.
2. Use several adjectives like intricate, surreal, and otherworldly, to intensify the image details
3. You can give style terms like baroque, medieval style, Deviantart, or even artists like Leonardo da Vinci, Picasso, etc. The AI can understand and even cross-pollinate several styles and artists!
4. Give details such as 4K, 8K image quality, HD, and so on for a detailed image.
5. Specify lighting conditions like natural lighting, dark atmosphere, dystopian sky, etc., to give a greater feel to the image.
6. Be sure not to give adult-oriented or NSFW prompts; in this case, it will flag your content as NSFW and generate a black image.
I generated some images by creating prompts from what I learned (the author generates all images below).
A concept car in a futuristic city
“Concept art by Greg Rutkowski, futuristic car, high tech city, scary, dystopian atmosphere, frightening and creepy, sci-fi, highly detailed, digital painting, art stations, concept art, smooth, sharp focus illustration, artstation HQ”
Ancient Indian University of Nalanda
“Low angle wide shot, the ancient city of Nalanda, library, oasis, temple covered with moss, meadows, sub-tropical, illustration, summer, night time, starry sky, perfectly shaded, soft painting, art by Krenz Cushart and Wenjun lin”
A complex mechanical contraption
“Mechanical concept sketch, Grandfather clock, intricate mechanism, complex dial with the planetary system, Mitchell mohrhauser, 8 k photorealistic, cinematic lighting, hd, high details, dramatic, dark atmosphere, trending on artstation”
A horrifying alien landscape
“fantastic, horrifying exoplanet landscape hyperdetailed 3 d matte painting photo art by Moebius by Zdzisław Beksinski by Jakub Rozalski by Nekro”
I hope you got a lot of material to learn from this post. To summarise, this article shows:
As concluding thoughts, there are a few important takeaways from using text-to-image generators:
Thank you for reading till the end! I hope you loved the article on stable diffusion AI as much as I loved creating it for you.
So, do you like the images?
Are you inspired now to try your hand at image-generating AI? Would you like more details about how such an AI works?
I would love to hear your views!
The media shown in this article is not owned by Analytics Vidhya and is used at the Author’s discretion.
GPT-4 vs. Llama 3.1 – Which Model is Better?
Llama-3.1-Storm-8B: The 8B LLM Powerhouse Surpa...
A Comprehensive Guide to Building Agentic RAG S...
Top 10 Machine Learning Algorithms in 2026
45 Questions to Test a Data Scientist on Basics...
90+ Python Interview Questions and Answers (202...
8 Easy Ways to Access ChatGPT for Free
Prompt Engineering: Definition, Examples, Tips ...
What is LangChain?
What is Retrieval-Augmented Generation (RAG)?
Edit
Resend OTP
Resend OTP in 45s
.png)
.png)
.png)
.png)
.png)
.png)
.png)
.png)