 |
VOOZH | about |
|
VOOZH | about |
Setting up Apache Kafka on the Google Cloud Stage (GCP) includes a few steps, including making a GCP project, designing organization and firewall settings, provisioning virtual machines (VMs), and installing and designing Kafka.
This guide will take you through the whole process step by step.
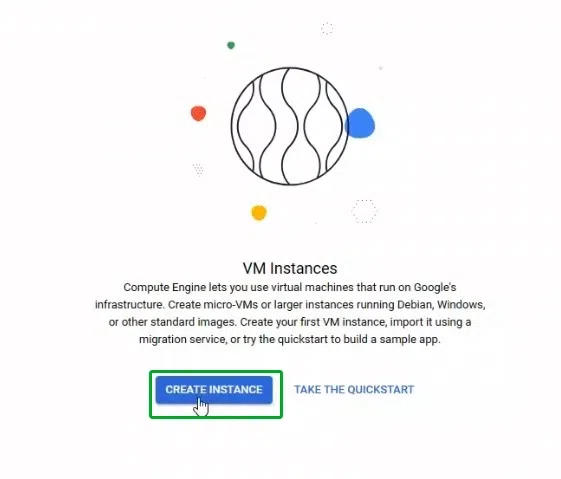
Create a virtual machine instance, for this, open the Google Cloud website cloud.google.com and click on the Create Instance button.
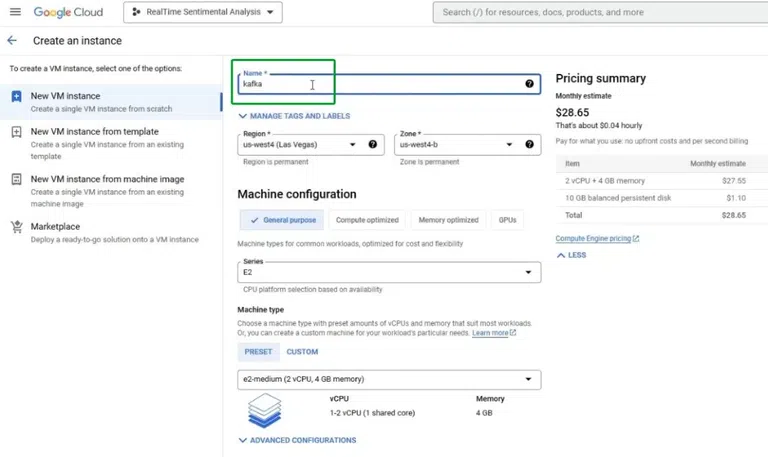
The next step is to add the name of the project and other machine configurations, it is also described in the image below.
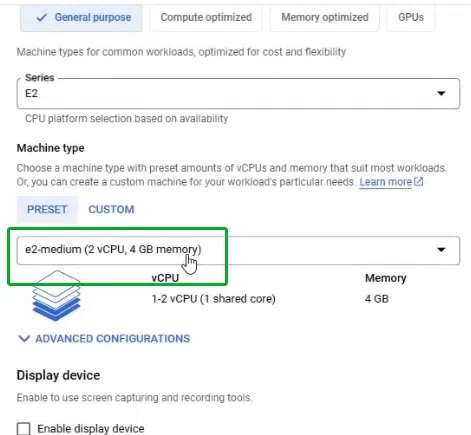
Next step is to select the machine type, there are two types either choosing a preset or using a custom and configuring the requirements of the CPU, RAM etc. on your own request, you can also choose to do advanced configurations as well.
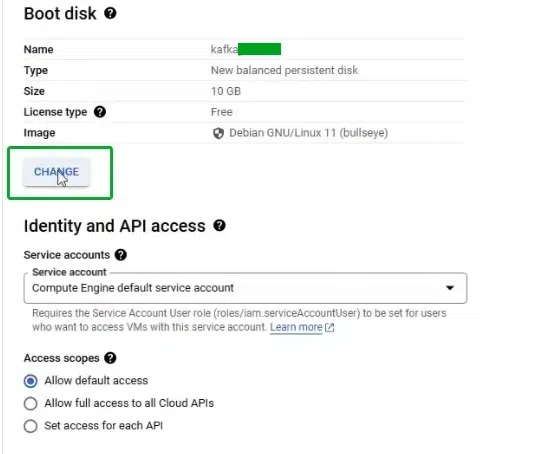
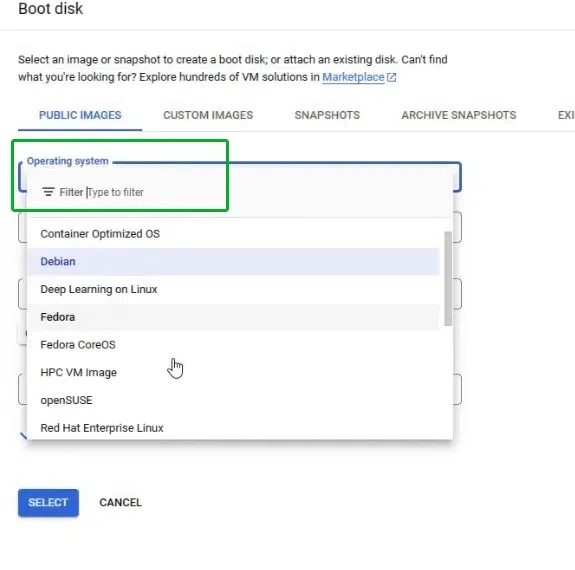
Next step is to change the boot disk and select different settings and configurations for the boot disk, so click on the "change" button and it will open up a new window.
Next step is to select the operating system, after completing the above step, it will automatically ask for the operating system with a dropdown menu from which we can select one of the operating system of our choice such as ubuntu, linux, fedora etc.
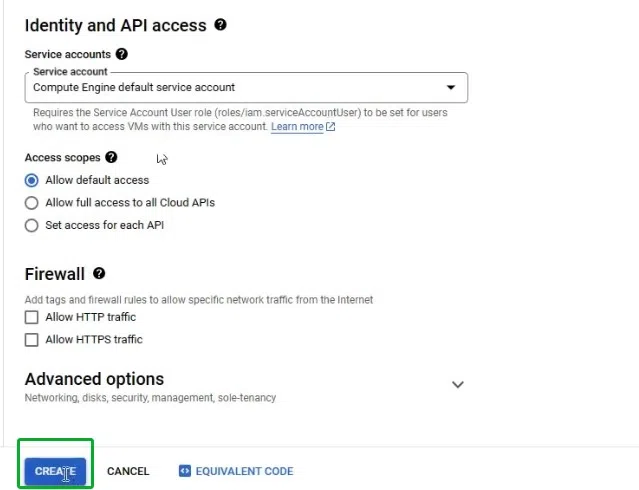
After the above step, select the service account which offers the various types of account user roles to be set for the users who are going to use it to access the virtual machine, also select firewall for HTTP and HTTPS traffic according to your requirement and click on create button.
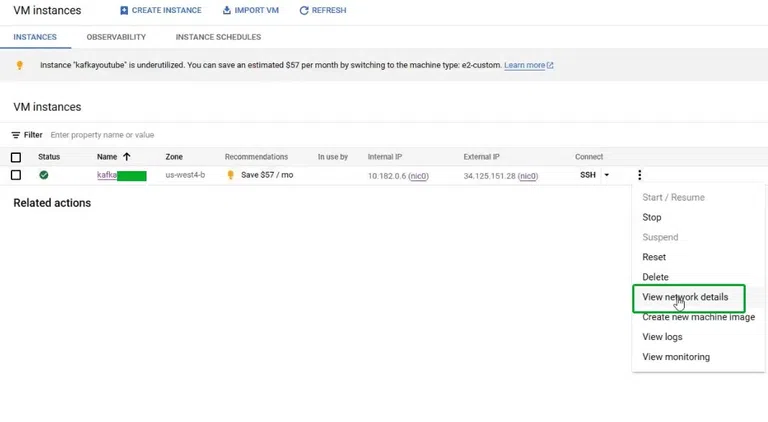
After the above step, the virtual machine will be created and the website will automatically be redirected to the VM instances where the name of the VM instance that we have created will be displayed. from here click on three dots and then click on the "View network details" option.
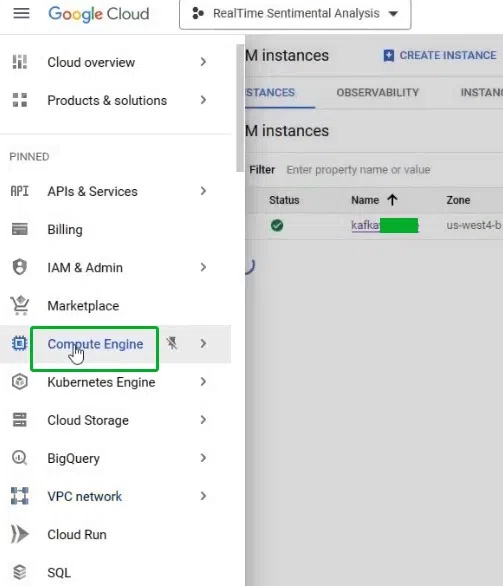
After clicking on the view network details option, the side menu will appear and from here you will have to click on the compute engine button to open the settings to edit the configuration further.
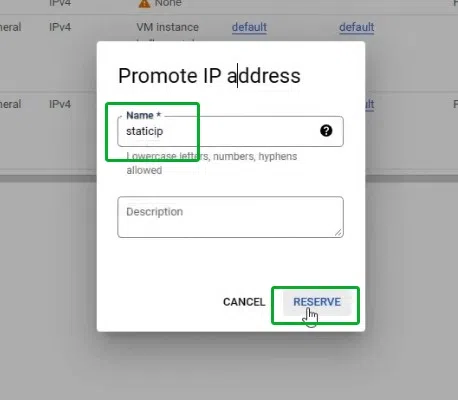
Once the compute engine is opened, click on the name and enter the name as "staticip" and simply click on the reserve button.
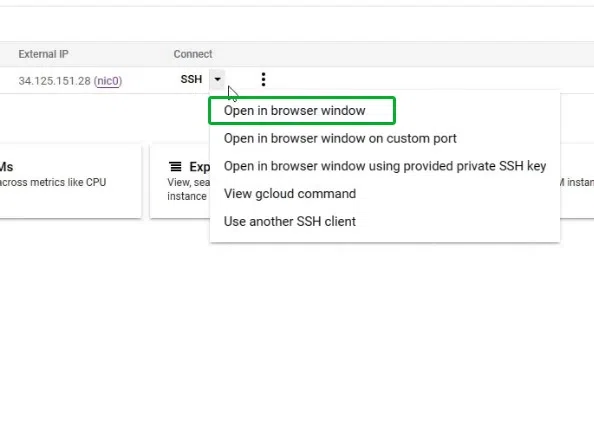
After going through all of the above steps, next step will be to open the SSH terminal in the browser window, for this click on the top option as SSH and select the first open that says "open in browser window"
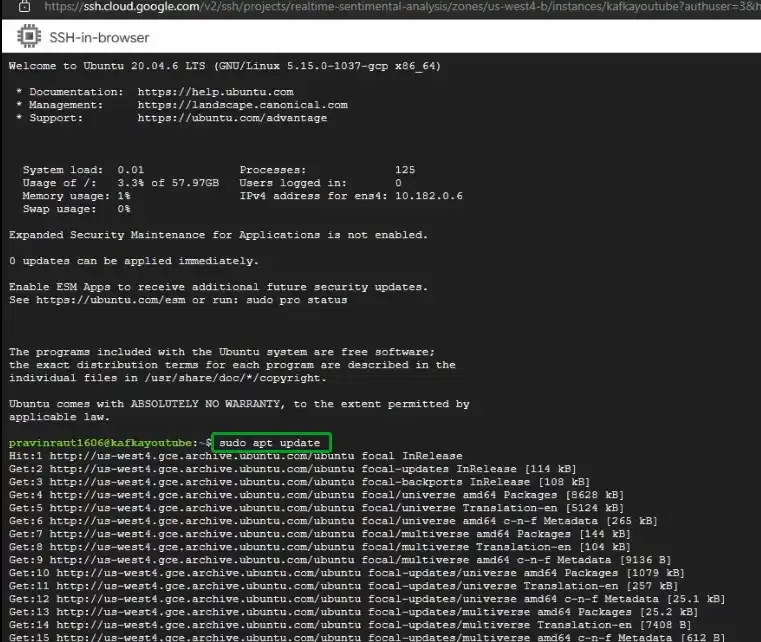
After the above steps, run the following command in the SSH terminal which will update the packages available inside the virtual machine.
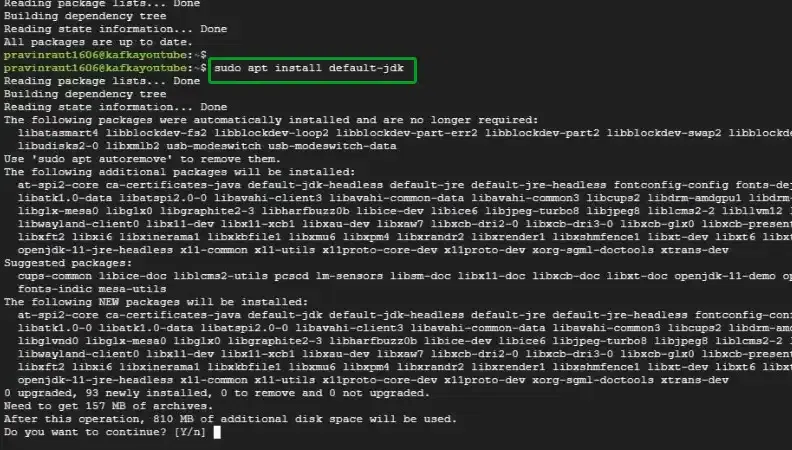
sudo apt updateAfter updating the packages, we will have to install the default jdk, it is important for the setup of kafka, for this we will run the following command:
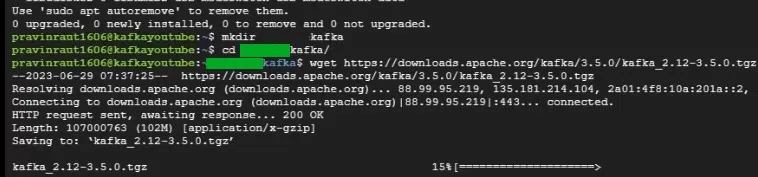
sudo apt install default-jdkNow we will have to create a virtual machine which will store the kafka files after download, for this first create a folder using following command:
mkdir directory_nameafter this use the following wget command to download the kafka, you can also use the website and get a latest version.
wget https://downloads.apache.org/kafka/3.5.0/kafka_2.12-3.5.0.tgzAfter completing the above step, next step is to export the downloaded kafka file which is in a zip format, for this use the following command:
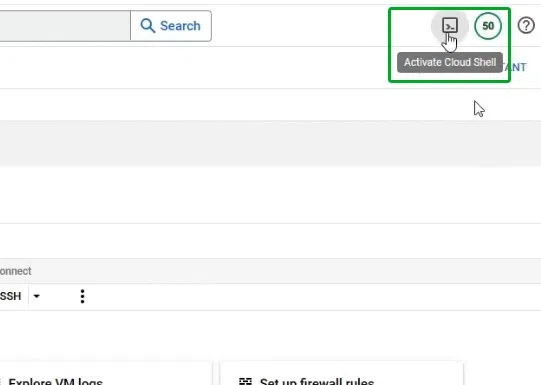
export KAFKA_HOME=/home/username/directoryname/kafka_2.12-3.5.0After exporting the kafka to the specified location next step is to launch the cloud shell, for this click on the top right corner that says activate cloud shell.
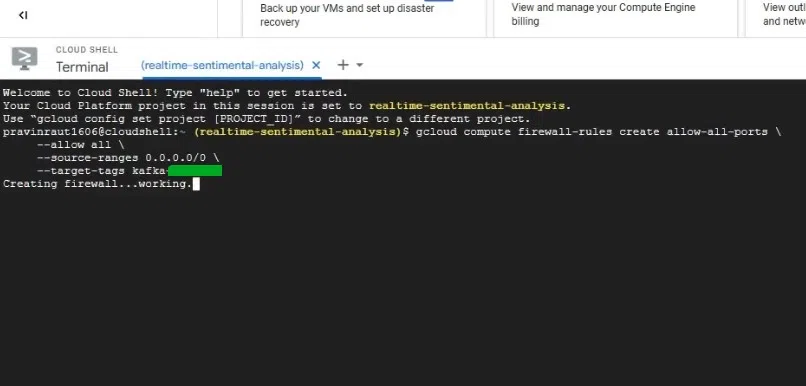
After opening the cloud shell we can check whether the kafka is working or not, if it is working it will show a success message similar to the one below.
You have now set up a fundamental Kafka cluster on GCP. This process allows making a GCP project, designing organization and firewall settings, while providing VMs, introducing and arranging Zookeeper and Kafka, and confirming the setup. you can additionally enhance and secure your Kafka cluster by carrying out further developed configurations and monitoring solutions.
.webp)