Well, we assume that at this stage you were aware of AI and LLM and how it works but do you know that you can download and run the LLMs locally on your desktop? This lets you work offline and keep full control over your data. In this guide, you’ll learn how to run open-source LLMs (such as models from DeepSeek and others) locally, step by step.
Note: Throughout the article we are using DeepSeek-R1 Model locally for interaction.
Advantages of Running LLMs Locally
Running LLM locally offers several advantages, especially for users concerned with performance, privacy, and control. Here’s a breakdown of the key benefits:
Advantage
Description
Data Privacy & Security
Full control over your data, ensuring sensitive information remains on your machine without third-party access.
Offline Functionality
Operate without an internet connection, reducing dependency on cloud services and ensuring availability in remote areas.
Customization & Flexibility
Ability to fine-tune the model, customize settings and integrate with local applications or workflows.
Performance & Speed
Faster response times due to reduced latency and full utilization of local CPU/GPU resources.
Cost Efficiency
Avoid cloud subscription fees and API usage costs; scale workloads without additional expenses.
Experimentation & Development
Freedom to experiment, iterate quickly and maintain version control without external restrictions.
Enhanced Security for Sensitive Applications
Ideal for industries with strict regulatory requirements (e.g., healthcare, finance) by running in secure, controlled environments.
Prerequisites to Install LLM Locally
1. Operating System Required:
macOS (Intel or Apple Silicon)
Linux (x86_64 or ARM64) | Ubuntu 24.04
Windows (via Windows Subsystem for Linux [WSL 2])
2. Hardware Required:
Minimum 8GB but 16GB+ RAM (recommended for optimal performance).
10GB+ free storage space.
A compatible GPU (optional but recommended for faster inference).
3. Softwares Required:
Terminal access (Command Prompt/PowerShell for Windows via WSL).
Basic Tools: Python 3.10+, pip and git.
Types of DeepSeek Installation
Users can install any LLM locally using three methods for free. Here you will explore the easiest method, like LM Studio, where you just need to download and install the LLM model. Along with this, you can explore the GPT4All and Ollama methods too.
Installation Method
Ease of Installation
Hardware
Customization
LM Studio
⭐⭐⭐⭐⭐
GPU/CPU
Low
GPT4All
⭐⭐⭐⭐⭐
GPU/CPU
Medium
Ollama
⭐⭐⭐⭐
GPU/CPU
Low
How to Run LLM Locally Via LM Studio (Easiest Method)
LM Studio is available as one of the easiest methods to install LLM models locally. This software gives you a variety of features as well as the ability to choose your choice of LLM models from their library.
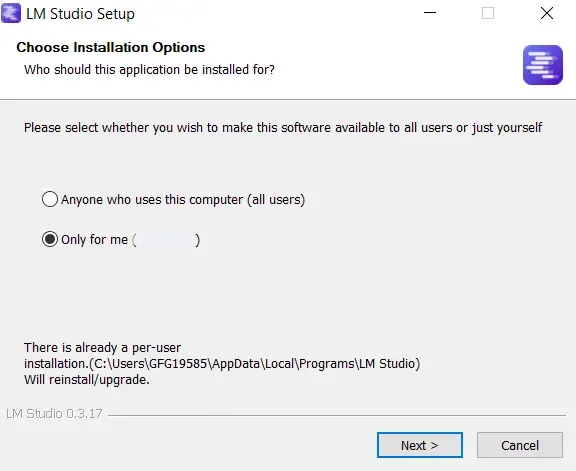
Step 1: Download LM Studio
To install DeepSeek R1 locally first go to the LM Studio from its official website. To download go to: LM Studio.
Note: If you are using ARM64 Snapdragon, then LM Studio also provide the download option.
Mac: To install on Mac is the same as on Windows just open and install the .dmg file.
Note: LM Studio only available for M series if your Mac machine running on Intel then, you can not use LM Studio.
Linux: To install LM Studio on a Linux system open x64.AppImage and follow the steps.
Note: For the Linux test we have use the Ubuntu 22.04 version and work fine on this version.
Step 3: Open the LM Studio
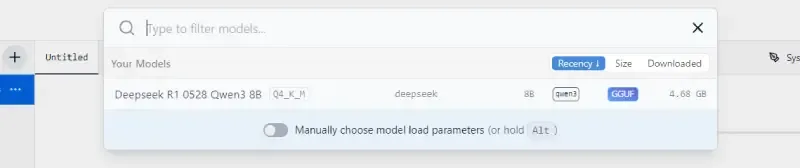
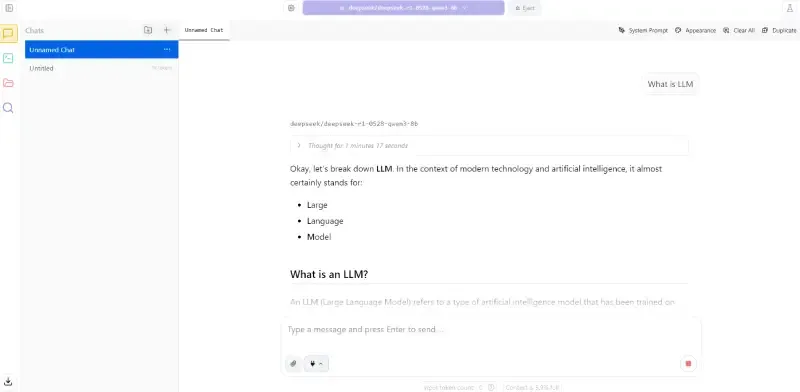
After the installation open the LM Studio and go to the Search bar to search LLM models. In our case we we'll download DeekSeek.
Step 4: Download the LLM Model
There are multiple DeepSeek model available from 1.5 billion parameters to 671 billion parameters. Now keep in mind bigger DeepSeek model needs bigger hardware. So choose the model as per your system hardware and click on the Download button.
Once the model is downloaded make sure you have selected the right DeepSeek model. Now, start giving the prompt to use the DeepSeek R1 model locally on Mac, Windows and Linux.
In LM studio we can customize the model and launch the API server with one click.
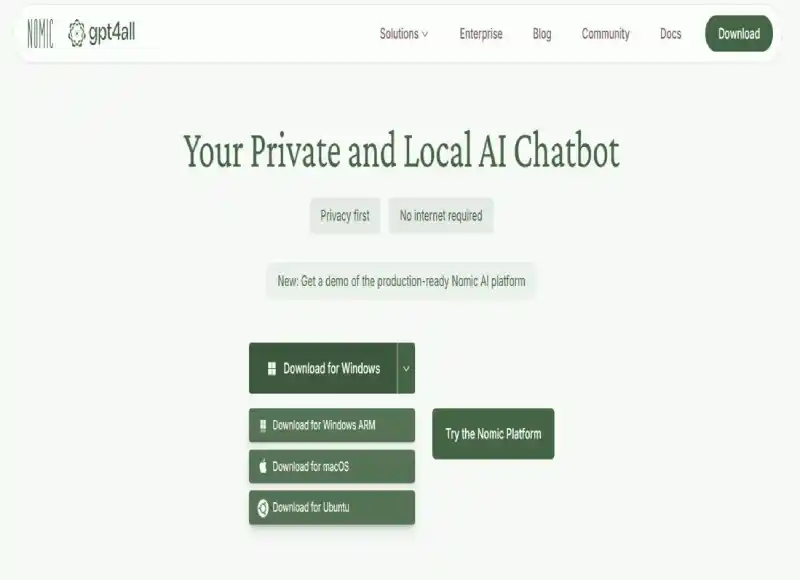
How to Install GPT4All Locally
GPT4All is an open-source platform that allows you to run large language models locally with a simple interface. It supports various models, including DeepSeek, LLaMA and others and is available for Mac, Windows and Linux. This section provides a step-by-step guide to installing and running GPT4All to use models like DeepSeek-R1 locally.
Step 1: Download GPT4All
Visit the official GPT4All website to download the installer:
Windows: Open via the Start menu or desktop shortcut.
Mac: Open from the Applications folder.
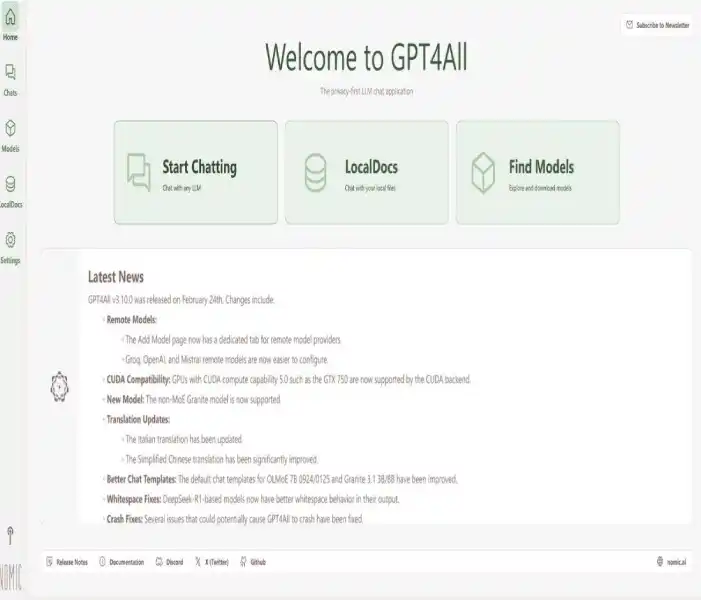
Linux: Run via the installed application or by executing the .AppImage. Upon opening, you’ll see the GPT4All interface which includes a model selection panel and a chat window.
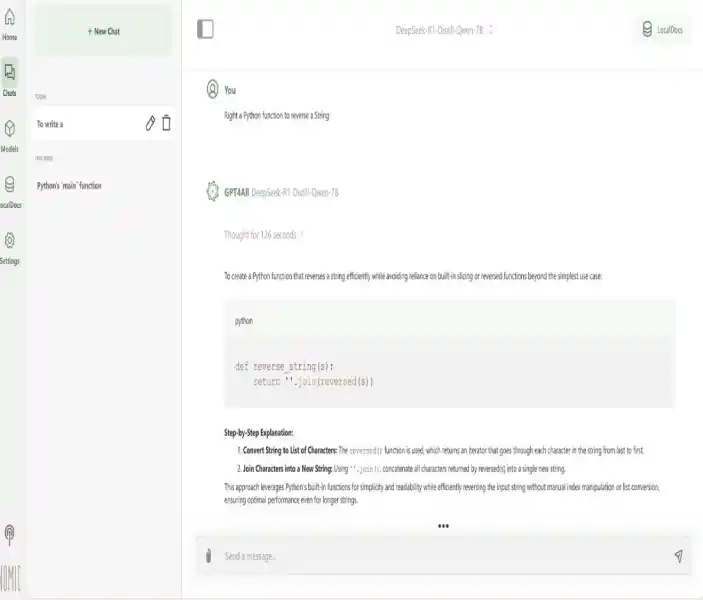
Step 4: Download the LLM Model
GPT4All does not ship with models pre-installed; you need to download them separately:
In the GPT4All interface, go to the Models tab or search bar.
Search for available models, such as DeepSeek-R1 or other compatible models (e.g., LLaMA, Mistral).
Select the desired model based on your hardware like Smaller models (e.g., 1.5B parameters) work on systems with 8GB RAM and Larger models (e.g., 67B parameters) require 16GB+ RAM and a compatible GPU.
Click the Download button and wait for the model to download (this may take time depending on your internet speed and model size).
Note: Ensure you have enough storage (10GB+ for most models). Models are typically in GGUF format and downloaded from trusted sources like Hugging Face.
GPT4All supports running a local API server for integration with other applications:
In the GPT4All interface, go to the Settings or Server tab.
Enable the Local Server option and configure the port (default is usually 4891).
Start the server and use the provided API endpoint (e.g., http://localhost:4891) to interact with the model programmatically. Note: This feature is useful for developers integrating GPT4All into custom workflows or applications.
GPT4All Troubleshooting Tips
1. Model Download Fails:
Check your internet connection and retry.
Ensure sufficient storage space (10GB+ recommended).
Try downloading from an alternative mirror or source listed on the GPT4All website.
2. Performance Issues:
Use a smaller model if your system has limited RAM or no GPU.
Close other applications to free up resources.
Enable GPU acceleration in the settings if you have a compatible GPU.
3. Model Not Listed:
Manually download a GGUF model file from Hugging Face or the DeepSeek repository.
Import it into GPT4All via the Models tab by selecting Add Model and pointing to the GGUF file.
4. Linux-Specific Errors:
Ensure dependencies are installed: sudo apt install libvulkan1 mesa-vulkan-drivers.
Update your system: sudo apt update && sudo apt upgrade.
How to Install DeepSeek-R1 Locally Using Ollama
Step 1: Install Ollama
Ollama simplifies running LLMs locally. Follow these steps to install it:
Open the app to start the Ollama background service.
For Linux/Ubuntu 24.04/WSL (Windows)
Run the below installation script in your terminal:
curl -fsSL https://ollama.com/install.sh | sh
Then, Start the Ollama service
ollama serve
Verify Ollama Installation
Check if Ollama is installed:
ollama --version
If successful, you’ll see the version number (e.g., ollama version 0.1.25).
Step 2: Download and Install DeepSeek-R1
DeepSeek-R1 might not be directly available in Ollama’s default library. Use one of these methods:
Method 1: Pull from Ollama (If Available)
First, Check if the model exists:
ollama list
If available in Ollama’s library:
ollama pull deepseek-r1
Please be patient during this process: Downloading a large language model which can be several gigabytes in size, requires a stable internet connection. The download time will vary depending on your internet speed, faster connections will result in quicker downloads while slower connections may take several minutes or more.
If deepseek-r1 isn’t listed, proceed to Method 2.
Method 2: Manual Setup Using a Modelfile
1. Download the Model
Obtain the DeepSeek-R1 model file in GGUF format (e.g., deepseek-r1.Q4_K_M.gguf) from sources like Hugging Face or the official DeepSeek repository.
Save it to a dedicated folder (e.g., ~/models).
2. Create a Modelfile
In the same folder, create a file named Modelfile with:
FROM ./deepseek-r1.Q4_K_M.gguf
Replace the filename with your actual GGUF file.
3. Build the Model
ollama create deepseek-r1 -f Modelfile
Step 3: Run DeepSeek-R1
Start the Chat with the model
ollama run deepseek-r1
Example prompt:
>>> Write a Python function to calculate Fibonacci numbers.
Step 4: Verify Installation (Optional)
Confirm the model is active:
ollama list
Now you will see deepseek-r1 listed. Test inference speed and response quality with sample prompts.
Step 5: Run DeepSeek in a Web UI
While Ollama offers command-line interaction with models like DeepSeek, a web-based interface can provide a more easy and user-friendly experience same as you are launching DeepSeek on a Web Browser. Ollama Web UI offers such an interface, simplifying the process of interacting with and managing your Ollama models.
Note: This graphical interface can be especially helpful for users less comfortable with command-line tools or for tasks where visual interaction is beneficial.
1. Create a Virtual Environment
First, create a virtual environment that isolates your Python dependencies from the system-wide Python installation.
