 |
VOOZH | about |
|
VOOZH | about |
Ngrok is a tool that allows you to create a secure tunnel from a public endpoint to a locally running web service on your machine. In simpler terms, ngrok lets you expose a web server running on your local machine to the internet. So others can access what you are running locally.
For example, if you are developing a web application on your laptop, you can use ngrok to generate a public URL that will tunnel traffic to your local development environment. This allows you to easily share your local work with others for testing, and demonstrations, or access it yourself from anywhere. All without needing to deploy it on a live server.
👁 How-To-Install-Ngrok-&-Setup-the-Auth-Token-on-Linux
In short, Ngrok creates a secure public tunnel to whatever you are running locally on your machine. It makes your local development environment accessible from the internet.
Ngrok is a tool that creates a secure tunnel from a public endpoint to a locally running web service. It allows you to expose a web server on your local machine to the internet.
In short, ngrok enables you to:
Key capabilities:
In summary, ngrok is a tunnelling tool to easily make any web service on your local development machine publicly accessible over the internet in a secure way.
Step 1: SignUp on Ngrok
Go to https://ngrok.com/downloads/windows website and sign up or log in with Google.
Step 2: Download Ngrok
After signing up, you will see this window, then you need to click on "Download for Linux."
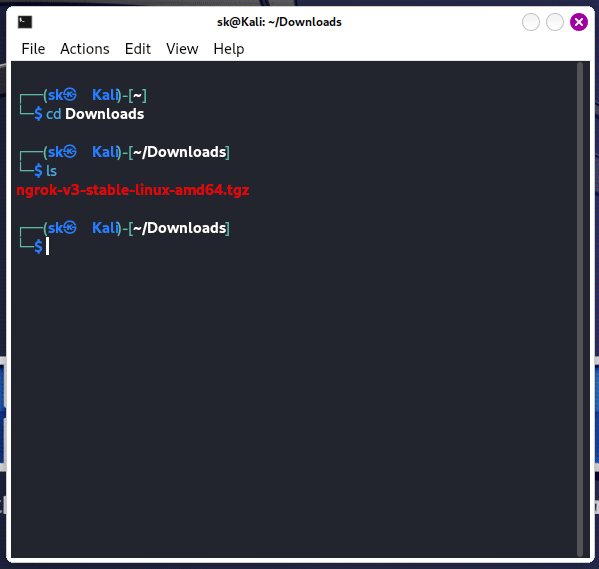
Step 3: Now, you need to open the terminal and open the Downloads directory by following the procedure below, where our file is downloaded.
👁 step-3
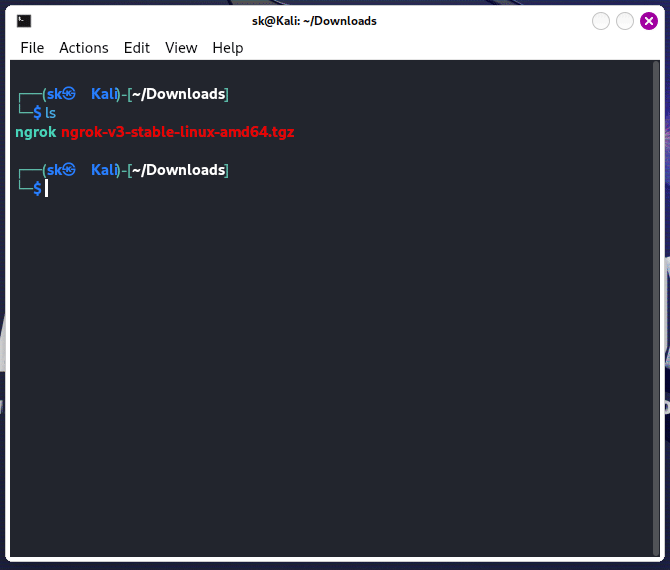
Step 4: Now, we need to unzip this file on our system by using the following command.
tar -xvzf ( file name )
Step 1: After signing up and logging in, the dashboard will open, scroll down, and then copy the auth token displayed there.
Step 2: Open up the terminal and paste the auth-token command. Sometimes this command won't work, so I have made some changes in the command.
./ngrok authtoken ( Your Auth_Token )
Step 3: Now, the final step is to start the Ngrok server. Use the following command to start the Ngrok server.
Well, we can use any port number to start the server like 8888, 8080, 4242, 4444, etc.
./ngrok tcp 8989
Ngrok streamlines and secures the local development process. It enables developers to collaborate and validate their work without complex permanent infrastructure. Ngrok’s flexibility, ease of use and security make it an essential tool for rapid and iterative coding, testing and sharing during the development process.