 |
VOOZH | about |
|
VOOZH | about |
Node.js is an open-source, cross-platform JavaScript runtime built on Chrome’s V8 engine. It enables developers to run JavaScript outside the browser and build scalable server-side and real-time applications.
NPM (Node Package Manager) is a package manager for Node.js that helps developers install, share, and manage libraries and tools required for their Node.js applications. It’s an integral part of the Node.js ecosystem and is automatically installed along with Node.js.
Follow these steps to install Node.js on your macOS system quickly and correctly.
To install Nodejs on MacOS from its official website follow the steps given below.
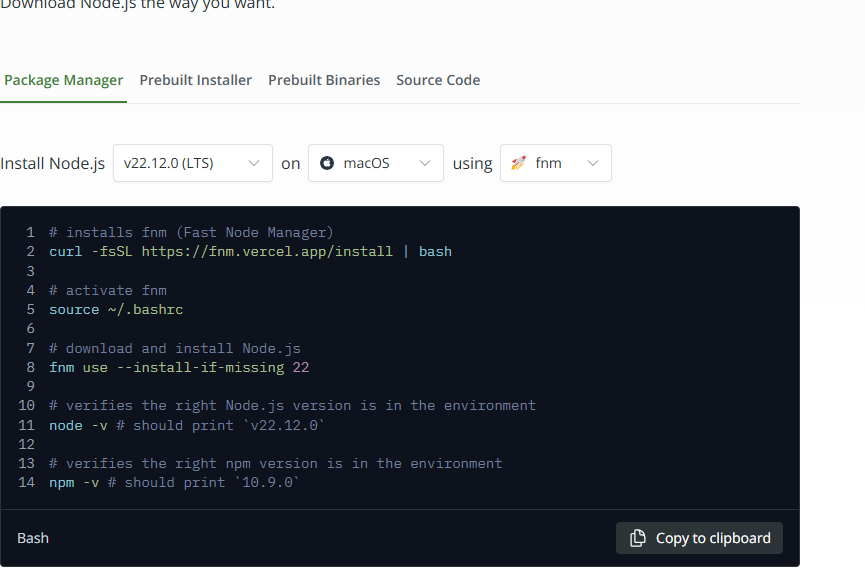
Visit the official Node.js website and download the installer. You will see two versions: LTS and Current. Choose the LTS (Long-Term Support) version, as it is stable and recommended for most users.
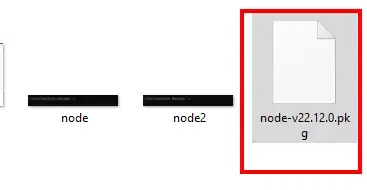
Run .pkg Installer for Node.js and click "continue" once the wizard is open.
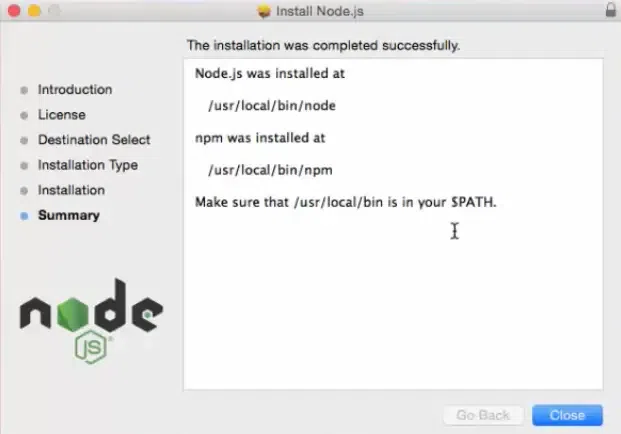
Follow the on-screen instructions and complete the installation process. After installation completion, this window will show up, click on the "close" button
Verify the Node.js Installation by running the following command in the Terminal:
$ node -vIf Node.js was properly installed, you'll see something close to (but probably not exactly) this:
Now you can check the version of the node package manager by executing the following command:
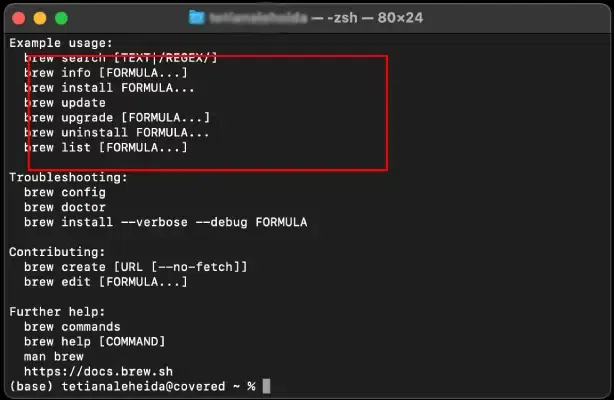
$ npm -v Homebrew is the most common package manager used on macOS for managing open-source software. It's easy to use and ensures that you get the latest stable version of Node.js. Let's check them step-by-step to download NodeJS.
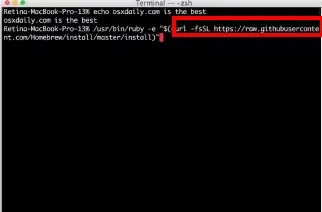
Open Terminal and run the following command to install homebrew version 23.3.0 (if you haven’t already):
/bin/bash -c "$(curl -fsSL https://raw.githubusercontent.com/Homebrew/install/HEAD/install.sh)"Once Homebrew is installed, make sure it’s up-to-date by using the following command:
brew updateNow run the following command to install Node.js:
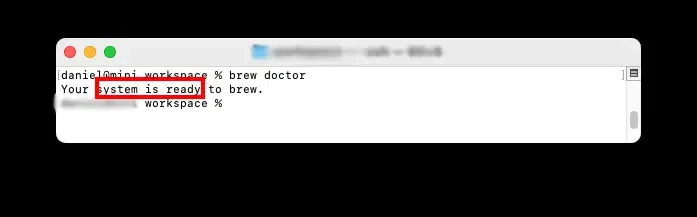
brew install nodeNow run the following command to verify the installation:
node -v
npm -vNVM (Node Version Manager) is a tool that allows you to install and manage multiple versions of Node.js. It's ideal if you need to switch between different versions of Node.js for different projects.
Open Terminal and run the following command to install NVM:
curl -o- https://raw.githubusercontent.com/nvm-sh/nvm/v0.39.0/install.sh | bashThis command installs NVM and sets up the necessary configuration files.
After the installation, restart your Terminal or run:
source ~/.bashrcAlternatively, for zsh users:
source ~/.zshrcNow that NVM is installed, you can install the latest LTS version of Node.js:
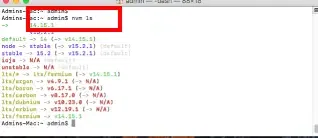
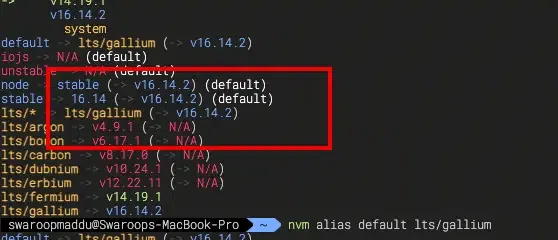
nvm install 20If you want to set the default version of Node.js to a specific version, run:
nvm use 18nvm alias default 18Check the installed version of Node.js:
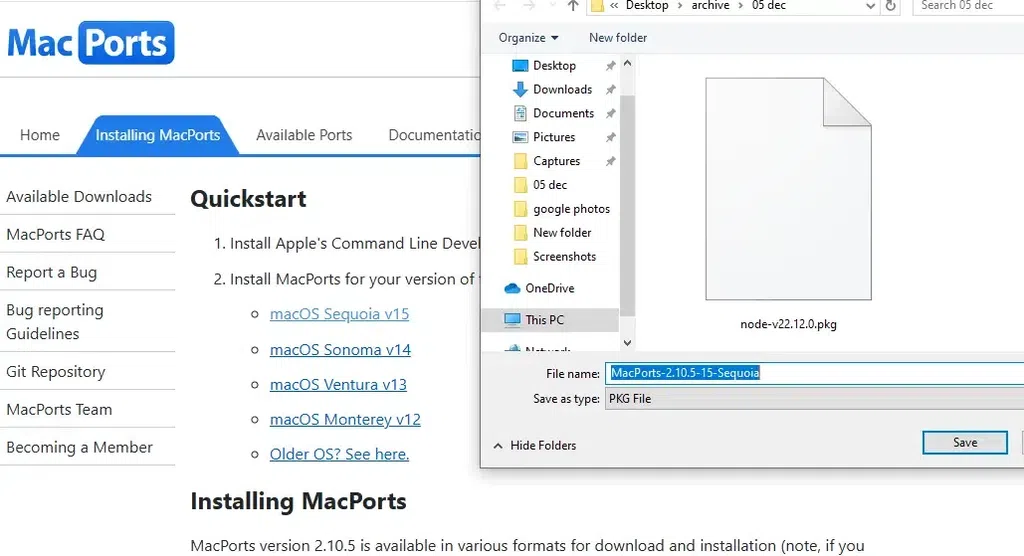
node -vnpm -vMacPorts is another package manager for macOS that allows you to install and manage software. If you are using MacPorts, follow these steps to install Node.js:
If MacPorts isn’t installed on your system, you can download it from the official MacPorts website.
Once MacPorts is installed, open Terminal and run:
sudo port install nodejs18After installation, check the Node.js version:
node -vnpm -vUpdate Node.js regularly to access new features and security fixes. If installed from the official site, download and reinstall the latest version.
Case I: If you used Homebrew, you can update Node.js using the following command:
brew upgrade nodeCase II: If you used NVM, you can update Node.js by first installing the latest version
nvm install nodeNow, set it as the default version using:
nvm use node