 |
VOOZH | about |
|
VOOZH | about |
Microsoft Visual Studio was first released on 4 Dec. 1997 and the code name of this edition is called Boston. It is widely used by developers, It offers a bunch of tools to make coding easier. It is one of the best code editor software developers find. It is open-source free-to-use software. VS code installation is a must for every developer as a code editor. It offers a friendly user interface.
If you are a new one, then vs code installation might require a proper guide for you. In this article, we learn how to install Visual Studio properly. Before you start using it, let's see why chose Visual Studio in the first place.
The slogan for the Visual Studio Community edition is "Free, fully-featured IDE for students, open-source and individual developers". Let's look at some reasons why VS Studio is so popular.
Try Out:10 Best Visual Studio Code Extensions to Make Developer's Life Easier
Now let's quickly see how to install VS code on your MacOS PC.
Follow the below steps for installing Visual Studio on macOS:
Step 1: Visit https://visualstudio.microsoft.com/ website using any web browser.
👁 Install-Microsoft-Visual-Studio-on-MacOS_1-(1)
Step 2: Click on Download Visual Studio for Mac Button.
👁 Install-Microsoft-Visual-Studio-on-MacOS_2
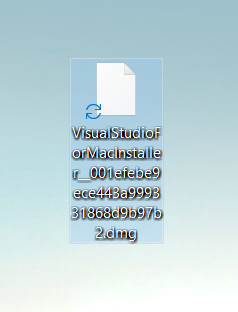
Step 3: Now check for the executable file in downloads in your system and run it.
👁 Install-Microsoft-Visual-Studio-on-MacOS_3
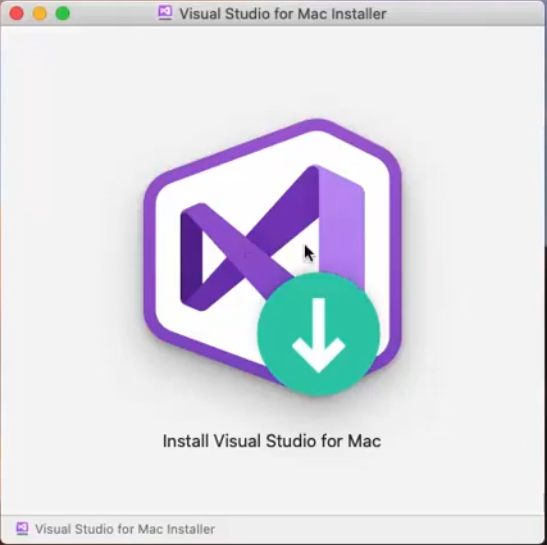
Step 4: Now click on Install Visual Studio for Mac.
👁 Install-Microsoft-Visual-Studio-on-MacOS_4
Step 5: It is prompt confirmation to open the software click on Open.
👁 Install-Microsoft-Visual-Studio-on-MacOS_5
Step 6: It's wishThanks wishes for downloading the software from Microsoft now Click on Continue.
👁 Install-Microsoft-Visual-Studio-on-MacOS_6
Step 7: Now choose according to your system configuration and click on Install and Updates Button.
👁 Install-Microsoft-Visual-Studio-on-MacOS_7
Step 8: Now downloading will start. It takes time.
👁 Install-Microsoft-Visual-Studio-on-MacOS_8
Step 9: After completing downloading go to the applications and open Visual Studio.
👁 Install-Microsoft-Visual-Studio-on-MacOS_9-(1)
Step 10: It is a login window of Microsoft you can either log in or Choose the I"ll do this later option.
👁 Install-Microsoft-Visual-Studio-on-MacOS_10
Step 11: Now you can choose the keyboard shortcuts to control the visual studio and click on Continue.
👁 Install-Microsoft-Visual-Studio-on-MacOS_11
Step 12: Now Choose New to start the project or to see the interface of the Microsoft Visual Studio.
👁 Install-Microsoft-Visual-Studio-on-MacOS_12
The interface is initialized and is ready to use.
👁 Install-Microsoft-Visual-Studio-on-MacOS_13
Congratulations!! At this point, you have successfully completed VS code installation on your MacOS.
.png)
.png)