 |
VOOZH | about |
|
VOOZH | about |
In this article, we will upload images to the MySQL database using PHP PDO and display them on the webpage.
Approach: Make sure you have a XAMPP server or WAMP server installed on your machine. In this tutorial, we will be using the WAMP server.
Article content:
To upload images to the MySQL database using PDO-PHP and display them on the webpage, follow the steps given below:
1. Create Database: Create a database using PHPMyAdmin, the database is named “geeksforgeeks” here. You can give any name to your database. You can also use your existing database or create a new one.
2. Create Table: We now create a table named ‘images‘. The table contains three fields:
Your table structure should look like this:
Or copy and paste the following code into the SQL panel of your PHPMyAdmin.
CREATE TABLE `images`(
 `id` int(11) NOT NULL AUTO_INCREMENT,
 `name` varchar(100) NOT NULL,
 `image` varchar(255) NOT NULL,
 PRIMARY KEY (`id`)
) ENGINE=MyISAM DEFAULT CHARSET=latin1;
To do this from the SQL panel refer to the following screenshot:
3. Creating folders and files:
We will now create a folder named “uploads“. The files uploaded by the client on the server will be stored in this folder. Create index.php, database_connection.php and view.php files. Keep your main project folder (for example.. GeeksforGeeks) in the “C://xampp/htdocs/”, if you are using XAMPP or “C://wamp64/www/” folder if you are using the WAMP server respectively. The folder structure should look like this:
Database configuration using PHP PDO:
index.php: Below is the PHP source code for uploading the images using HTML form. Let us first understand the PHP part.
In the below code, the first block verifies that the ‘submit’ button from the form has been clicked using the PHP isset() function. And the second if block verifies that the image file exists with a valid extension. $_FILES is a two-dimensional superglobal associative array of items that are being uploaded via the HTTP POST method. The move_uploaded_file() function is used to upload the pdf file to the server. We are passing 2 values, the temporary file name and the folder where the file will be stored. The files will be stored in the “GeeksForGeeks/uploads/ ” folder which we created earlier.
In the HTML <form> tag, we are using “enctype=’multipart/form-data” which is an encoding type that allows files to be sent through a POST method. Without this encoding, the files cannot be sent through the POST method. We must use this enctype if you want to allow users to upload a file through a form. The multiple attributes in the input file element are used to enable selecting multiple files.
view.php: Code to display the uploaded images.
4. Working Procedure:
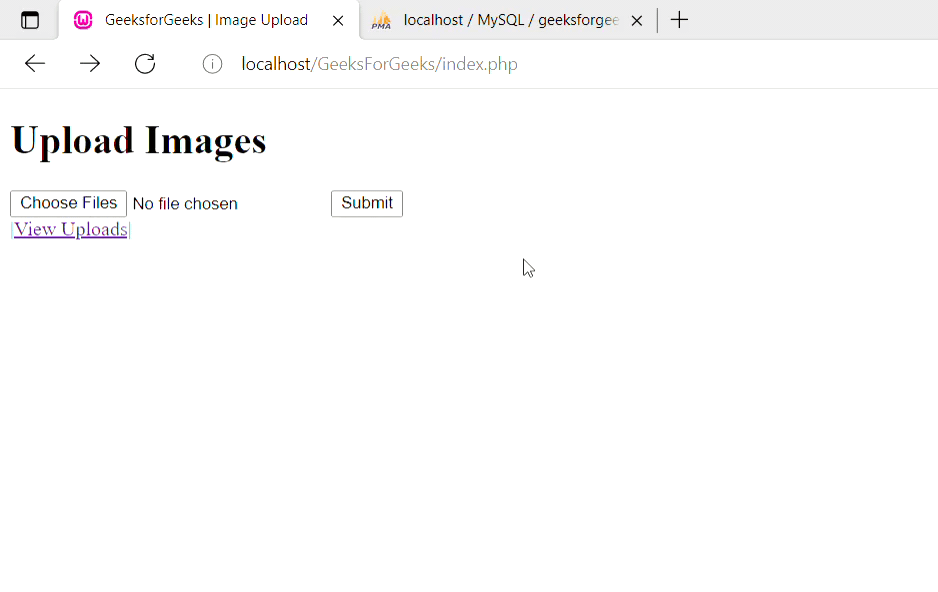
1. Run the local server or any server and redirect to your index.php page.
2. Select your image file to upload and click on submit button to upload the image to the database.
3. Click on the view upload link to check the uploaded file.
5. Conclusion: You can add CSS and change HTML as per the application requirement. In the above, the working of this upload image feature in PHP is implemented.
PHP is a server-side scripting language designed specifically for web development. You can learn PHP from the ground up by following this PHP Tutorial and PHP Examples.