 |
VOOZH | about |
|
VOOZH | about |
Normally authentication is seen using databases like MYSQL, Firebase, MongoDB, etc. One of the biggest drawbacks is the chance of the data getting corrupted. The data can be modified by anyone who is in control of the database itself.
To overcome the above problem here a web app authentication using blockchain will be created.
Components in Web Authentication Application:
Step 1: Truffle Installation globally
Open your command prompt and install truffle using the below command:
npm install -g truffle@5.4.29
Step 2: React app installation
Follow the below steps to create the application:
npx create-react-app auth-app
cd auth-app
Now install all required modules for the project by using the below command:
npm install react-router-dom web3
Step 3: Working with frontend
Step 3.1: Open the “src” folder and select the App.js file.
This file contains routing logic, where routing helps the user to navigate different pages. Go through react-router-dom documentation to understand more about routing in React JS.
Below is the code for App.js file:
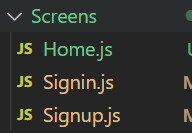
Step 3.2: Create the “Screens” folder and Create files "Signin.js", "Signup.js", "Home.js".
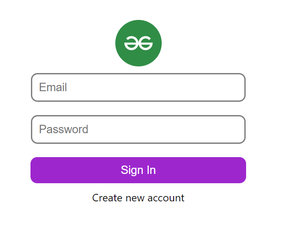
Step 3.3: Working with the Signin.js file
Here users need to enter their email and password. Below code authenticates the user's input email and password and navigates to the home page:
1. If the user is not registered give an alert as the user is not found.
2. If the user entered the wrong credentials give an alert as the wrong password.
After Sign in success, users navigate to the home page
Signin.js:
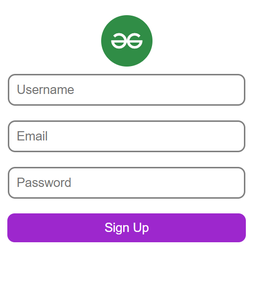
Step 3.4: Working with the Signup.js file
Here users need to Register/Signup with a username, email, and password. Below code creates a new user in the blockchain database
await auth.methods
.createUser(username, email, password)
.send({ from: accounts });
After Registration, the user navigates to the Sign-in page.
Signup.js
Step 3.5: Working with the Home.js file
Here we find the user address and email
Home.js
Step 3.6: Now create Web3helpers.js file in the src folder, to store web3 functions used for loading address from Metamask. Below is the code for Web3helpers.js file:
Step 4 : Setting up Metamask and Ganache
Step 5: Working with the Backend
cd src
truffle build
Now you are able to see folders "migrations", "contracts", and "build" in the src folder.
Step 5.1: Open the migrations folder and create a Javascript file as 2_deploy_migration.js.
Here we are deploying our smart contract that we are going to create
2_deploy_migration.js:
Step 5.2: Open the contracts folder and create a solidity file as "Auth.sol".
Here a smart contract will be created for our authentication. Below is the code for defining a map with a struct:
mapping(string => user) public usersList;

 struct user{
 string username;
 string email;
 string password;
 }
The below function takes parameters of the user's email, password, and username and maps user details to the user email:
function createUser(string memory _username,
 string memory _email,
 string memory _password) public
{
 userCount++;
 usersList[_email] = user(_username,_email,_password);
 emit userCreated(_username,_email,_password);
}
Auth.sol:
Step 6: Apply the below command it will create a contract address:
truffle migrate --reset
Step 7: Adding accounts to Metamask from ganache
Step 8: Running and Building the application: We can run this application by using the following command. This will start React’s development server that can be used for debugging our application.
npm run start
Output:
Now Authentication using Blockchain is completed. Check out git repo for full code.