
In this second part, we are discussing the deployment of RHEVH or the Hypervisor nodes of our environment with some tips and tricks for your virtual lab or virtual environment.
As we discussed before, in our scenario which including two hyprvisors with separate RHEVM machine. The reason to deploy the manager in separate machine is more reliable than deploying it on one of the environment hosts/nodes. If you try to deploy it (as a virtual machine/appliance) on one of environment nodes/hosts and for any reason this node becomes down, the RHEVM machine/appliance will become down due to the node failure, on other words, we wont RHEVM depends on environment nodes so we will deploy it over separate machine which doesn’t belong to DataCenter/Environment nodes.
Deploying RedHat Enterprise Virtualization Hypervisor
1. For our virtual environment, you should now have this network virtual interface “vmnet3” with this specification at VMware workstation 11.
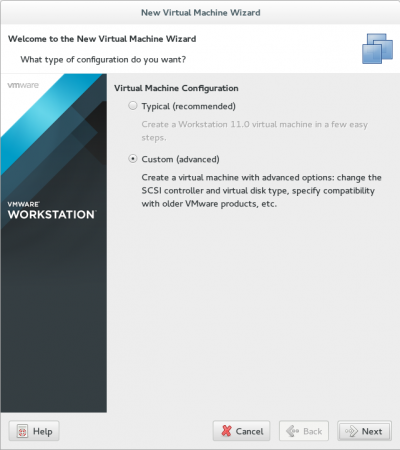
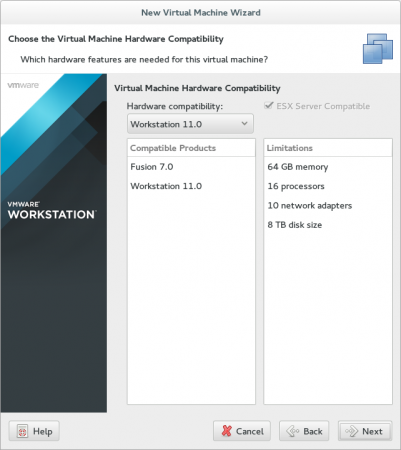
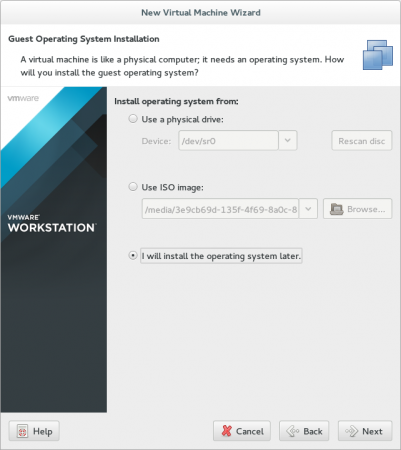
2. Lets deploy our nodes, you will need to create normal virtual machine with some customization as presented in screen-shots.
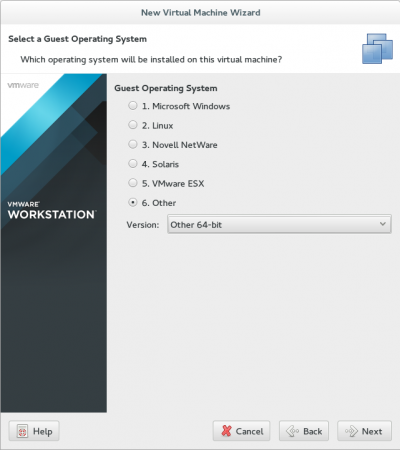
3. Make sure about OS type in next step : Other, Other64-bit.
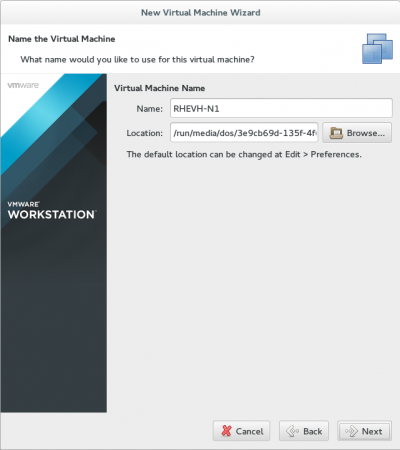
4. Select your suitable name and path for your virtual machine.
5. If you have more resources, increase the number of cores/processors on demand.
6. For memory, don’t choose less than 2G, we won’t to suffer later.
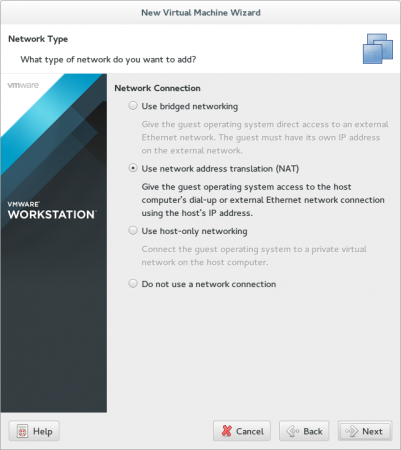
7. For now, select NAT connection, it isn’t make different as we will change it later.
8. It is very important point to select SAS controller.
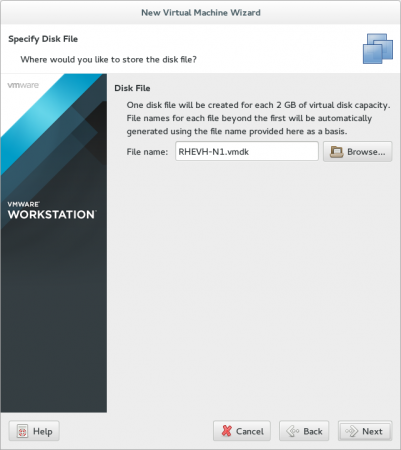
9. Choose SCSI Disk Type.
10. We will work with shared storage later, so 20 G is more than suitable.
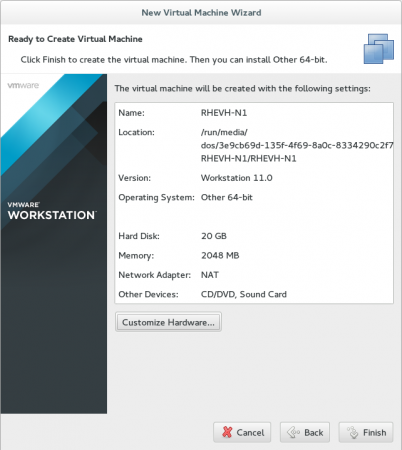
11. Before finishing, lets make some additional modification…click Customize Hardware.
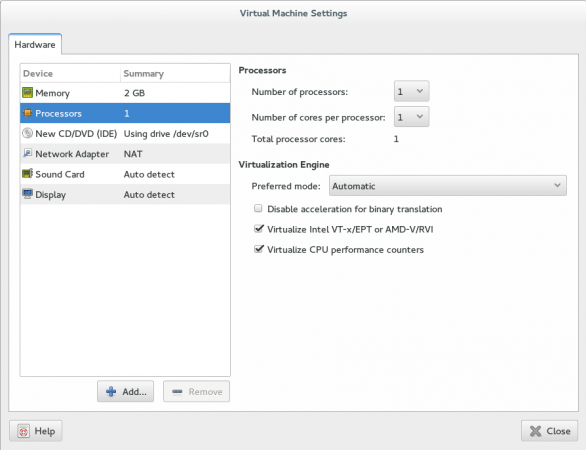
First modification will be for Processor as we will check the two options to enable virtualization features in our Processor.
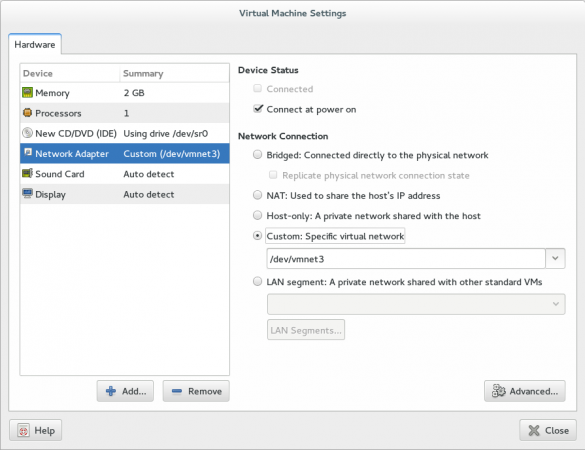
Second modification will be for Network Configuration… change it to be Custom and insert the path of “vmnet3”.
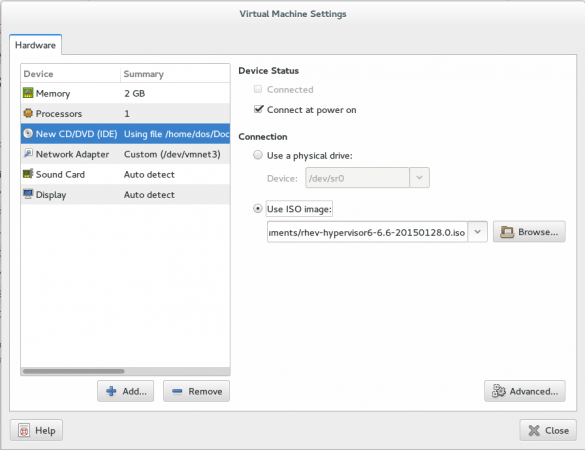
Last modification will be our Hypervisor-ISO path, then close, review and finishing.
12. Before starting your virtual machine, we should make some manual modification in vm configuration file. Go to the path of you virtual machine, you will find file with “vmx” extension.
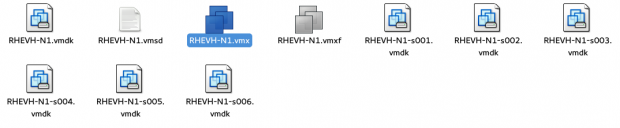
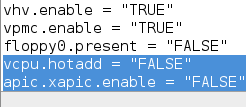
13. Open it with your preferred editor and add those two option at the end of file.
vcpu.hotadd = "FALSE"
apic.xapic.enable = "FALSE"
Then save and go back to our virtual machine as its time to start it.
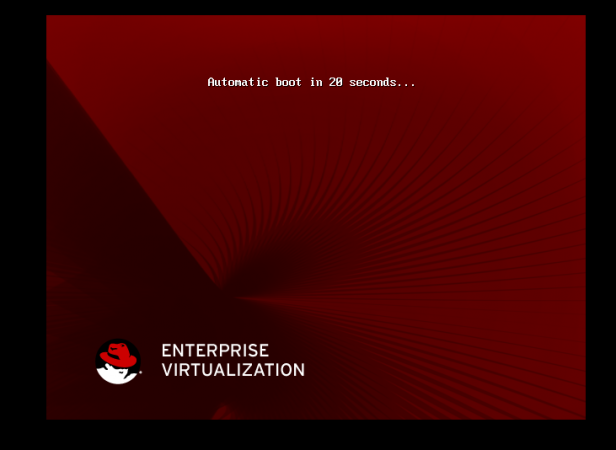
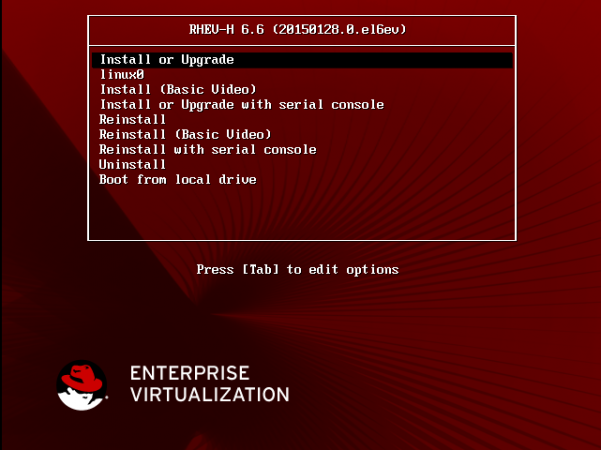
Press any button, DON’T continue with Automatic boot. This list will appear…
Make sure you selected the 1st line the press “tab” to edit some options.
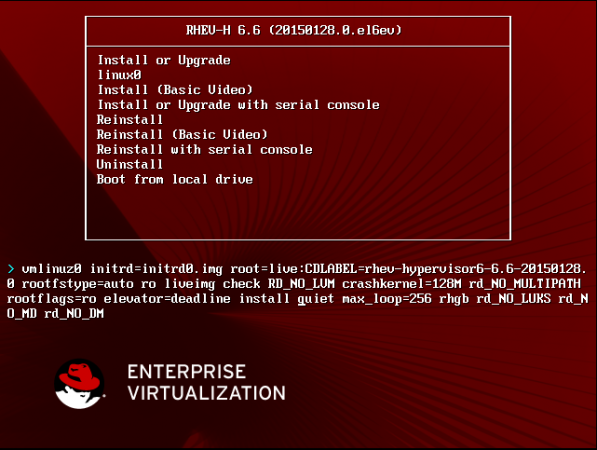
Remove “quiet” from booting options and Press enter to continue.
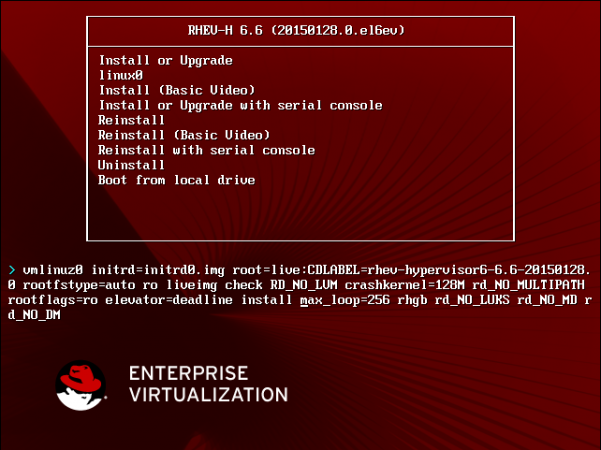
If this article helped you solve a problem, consider buying a coffee. It helps keep TecMint free, supports the authors, and keeps the project going.
Got Something to Say? Join the Discussion... Cancel reply