
Chances are that you might have heard that RHEL 8 comes at a cost and because of that, you might have opted to go for CentOS 8 instead. The good news is that you can download RHEL 8 for free and enjoy free annual subscriptions at absolutely no cost! Cool right?
In this guide, you will learn how to download RHEL 8 (Red Hat Enterprise Linux) for free, install it on your PC and later on enable free annual subscriptions.
Download RHEL 8 ISO for Free
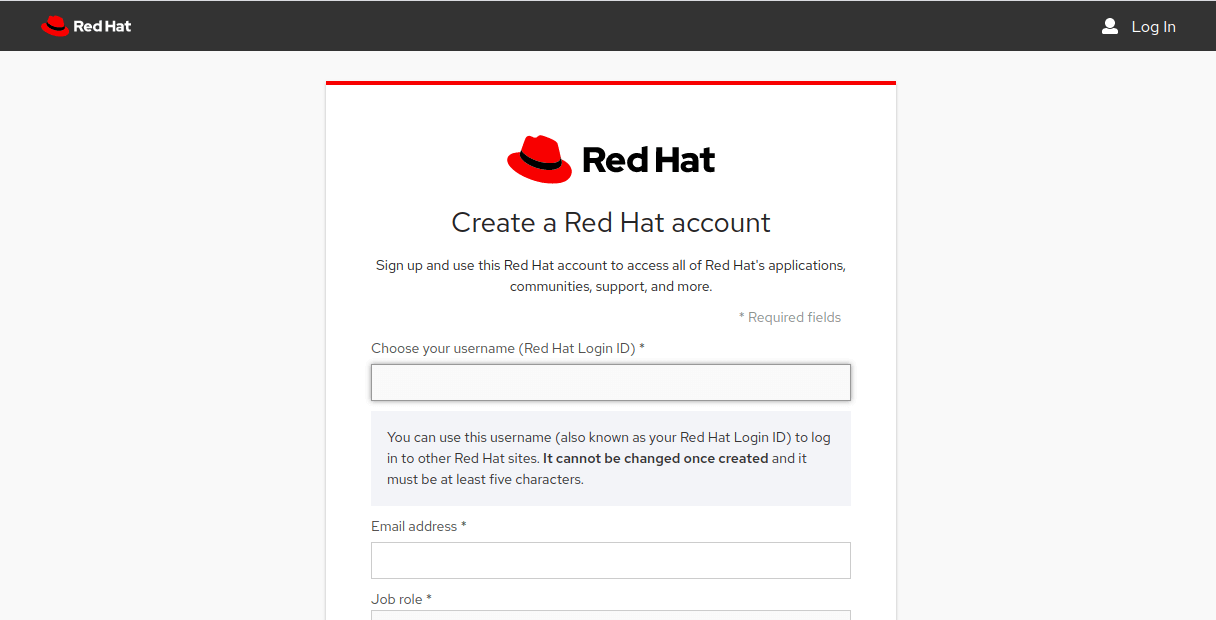
To download the RHEL 8 ISO image at no cost at all, head over the Red Hat developer program and create an account. Fill in all the required details.
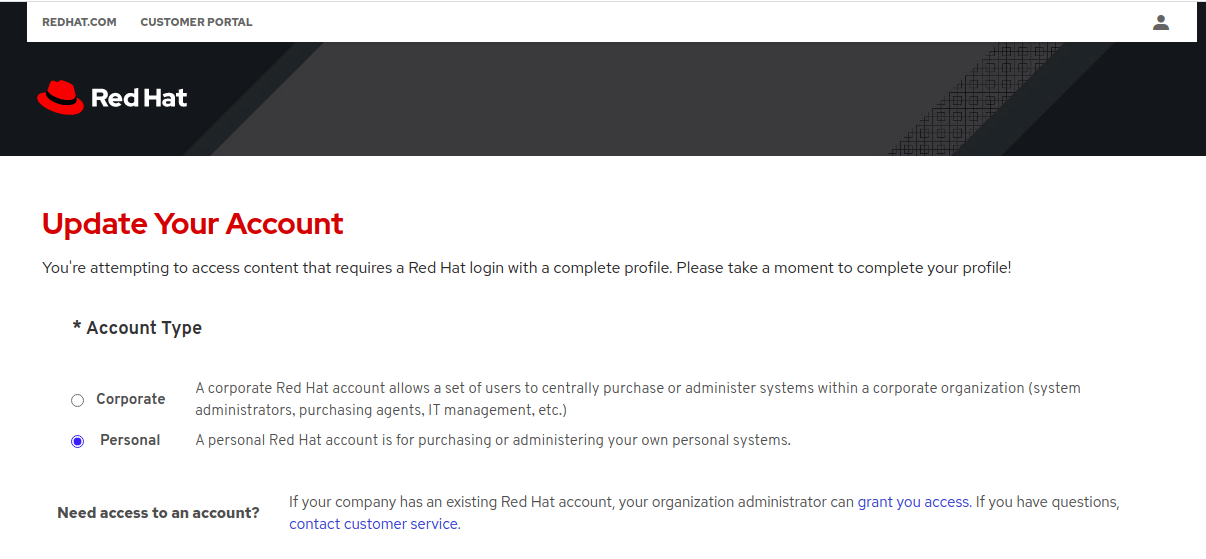
Once done, proceed over to the Red Hat Login page to complete your profile by providing other details such as your local address.
Thereafter, head out to the RHEL 8 download page and download the RHEL 8 ISO file for free. Once you have downloaded the ISO image, you can choose to create a bootable USB drive using Rufus or any other utility of your choice.
If you wish to install RHEL 8 on VirtualBox as I’ll demonstrate, an ISO image alone is enough.
Installing RHEL 8 on VirtualBox
1. Open your VirtualBox and click on the “New” icon. Assign a preferred name to your virtual machine and click “Next”.
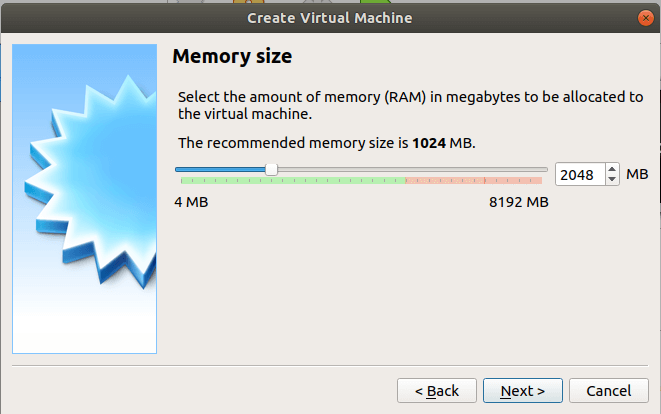
2. In the next step, allocate some memory for your virtual machine. In this case, I have chosen to assign a memory capacity of 2048 MB.
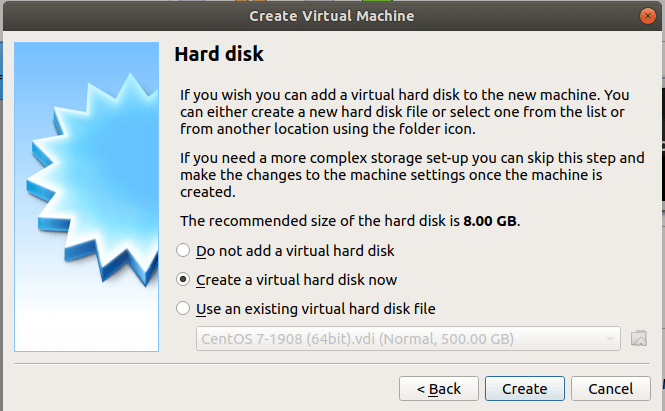
3. In the next window, select “Create a virtual hard disk now” and click “Create”.
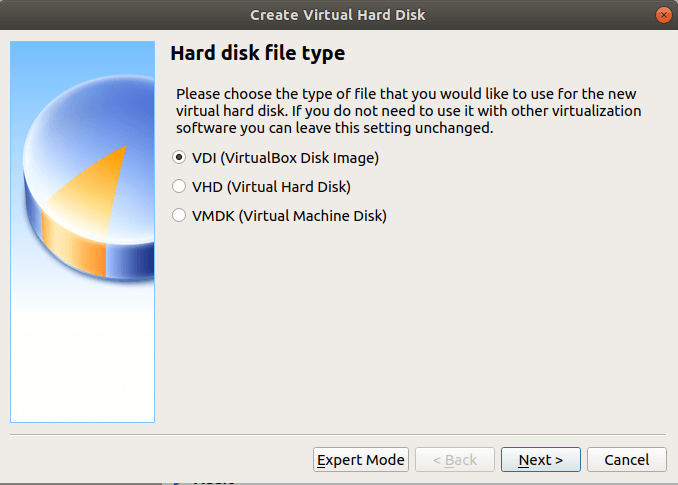
4. Ensure that the Hard disk file type is set to VDI (VirtualBox Disk Image) and click “Next”.
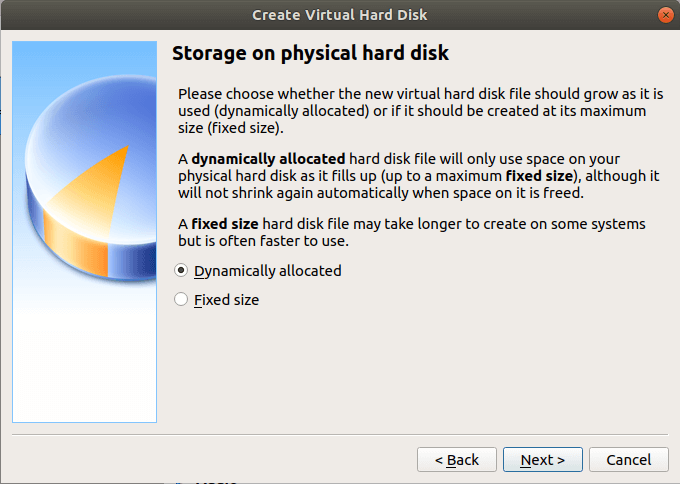
5. Next, select the ‘Dynamically allocated” option and click “Next”.
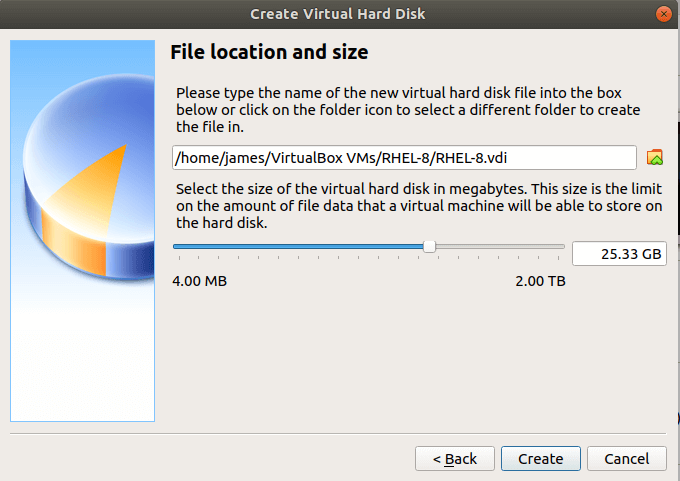
6. Then allocate some hard disk space for your virtual machine. In this example, I have chosen to assign 25.33 GB to my VM. Once done, click on the “Create” button.
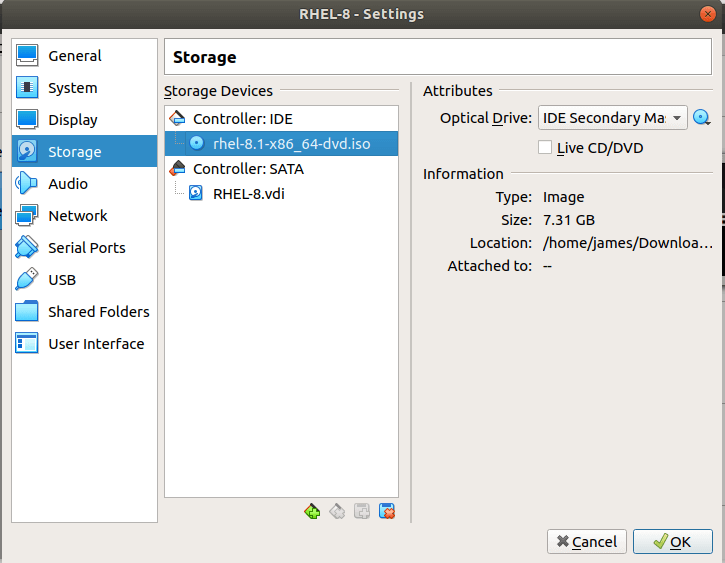
7. The only thing remaining is to point the VM to the RHEL 8 ISO image. SO click on “Storage” –> “Controller: IDE” and click on the ‘empty’ disk and select your ISO image file.
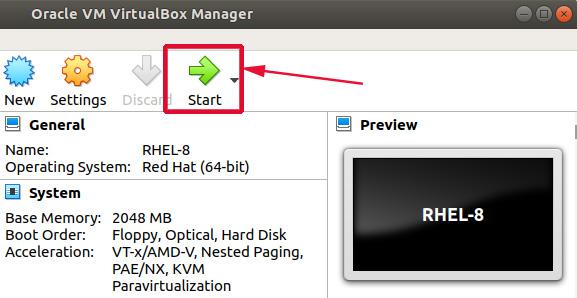
8. When all’s done. Click on the “Ok” button and click on the “Start” button.
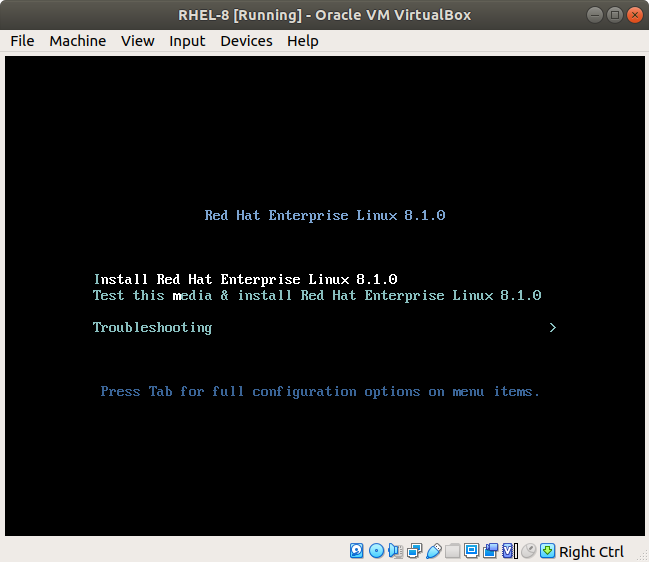
9. On the first screen after powering on the VM, the following options will be printed on the screen. Select the first option “Install Red Hat Enterprise Linux 8.1.0”.
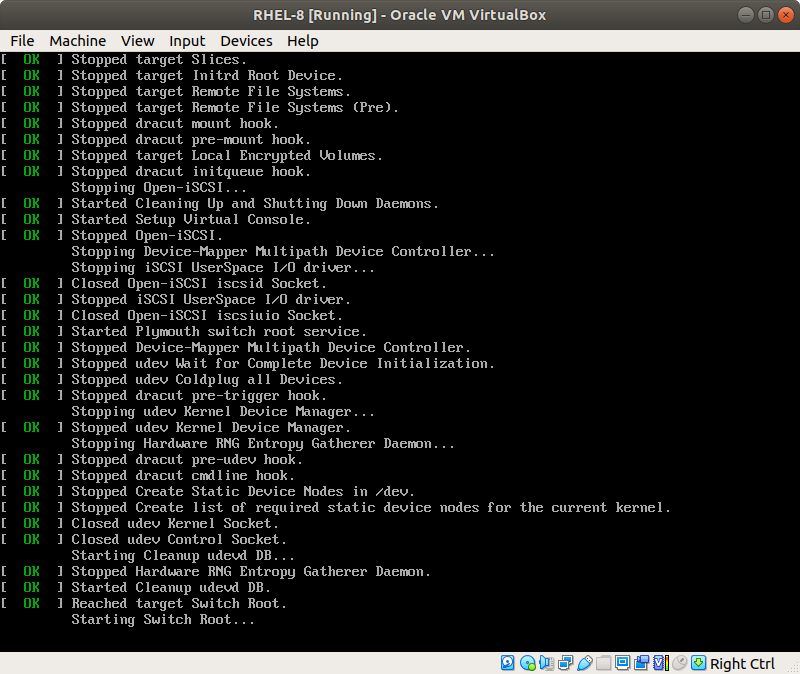
10. Thereafter you will observe some boot messages on the screen as RHEL 8 boots up.
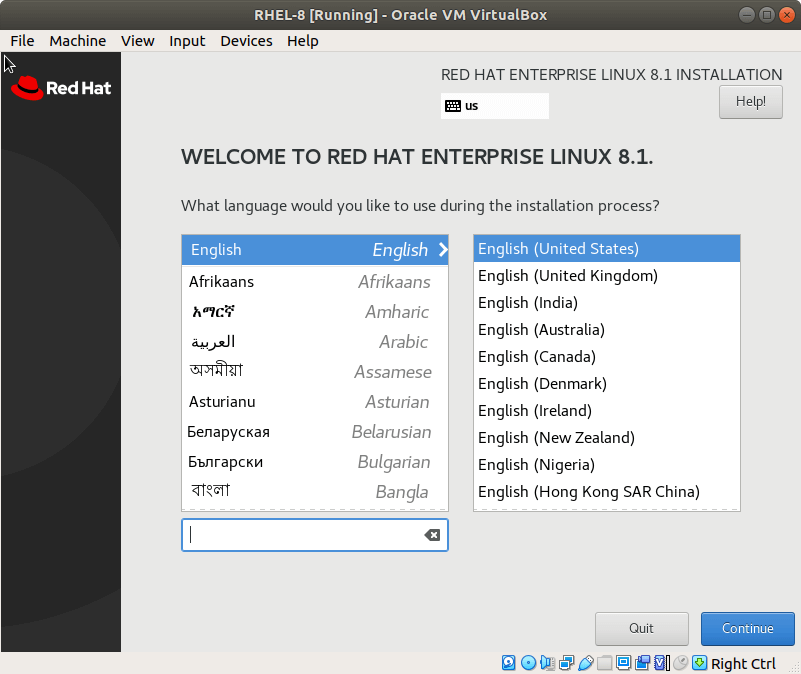
11. Once the RHEL 8 is done with the booting process, the window below will prompt you to select the installation language. Select your preferred language and hit the “Continue” button.
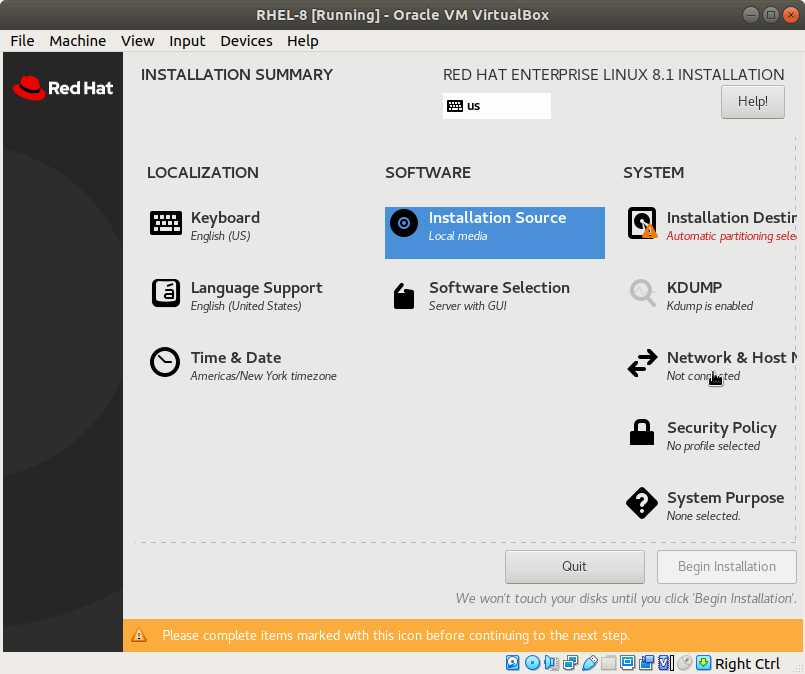
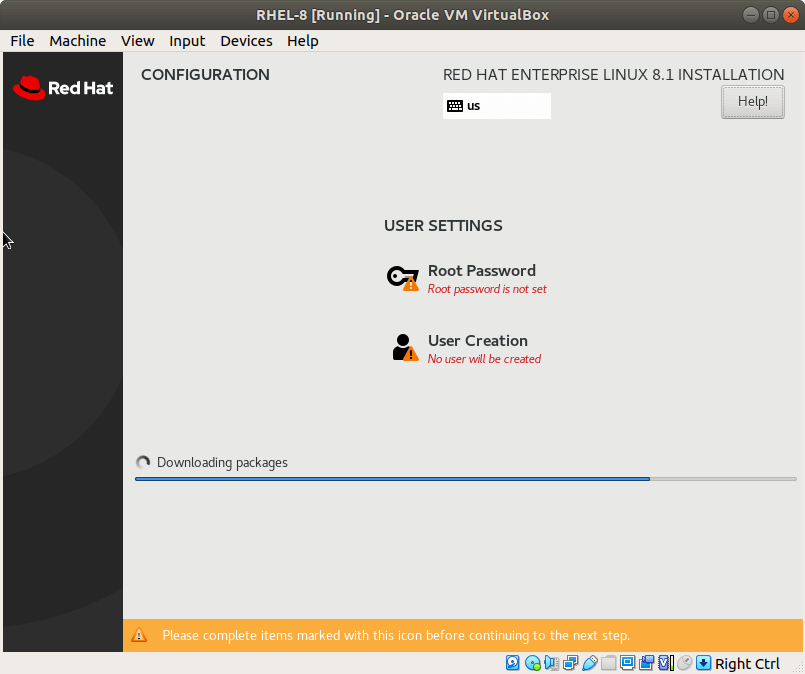
12. A summary of all the critical components that need to be configured will be displayed as shown. Ensure you click on every one of them and tweak the settings according to your preferences.
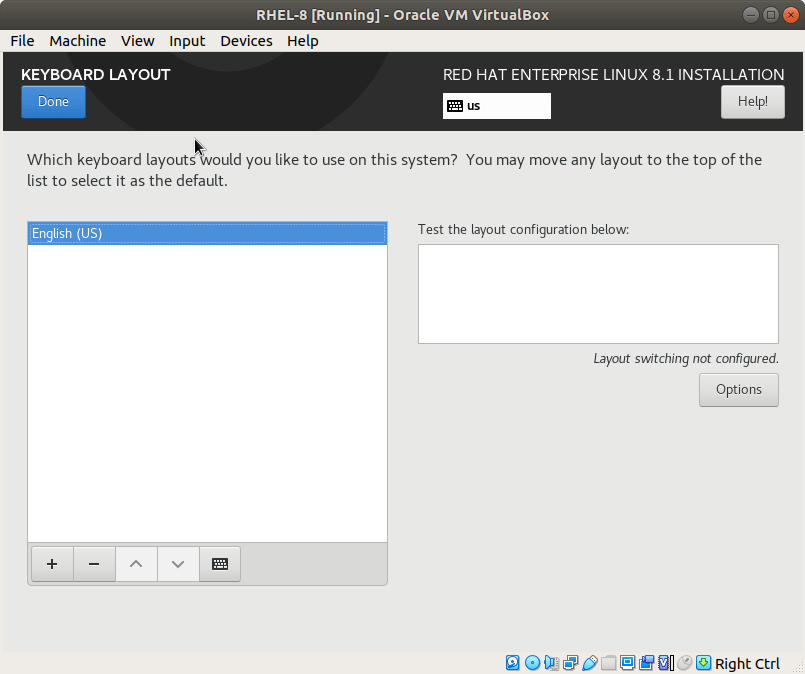
13. Starting with the “Keyboard Layout”. By default, this is set to English (US) but you can add your preferred language by clicking on the ( + ) symbol below to add another language.
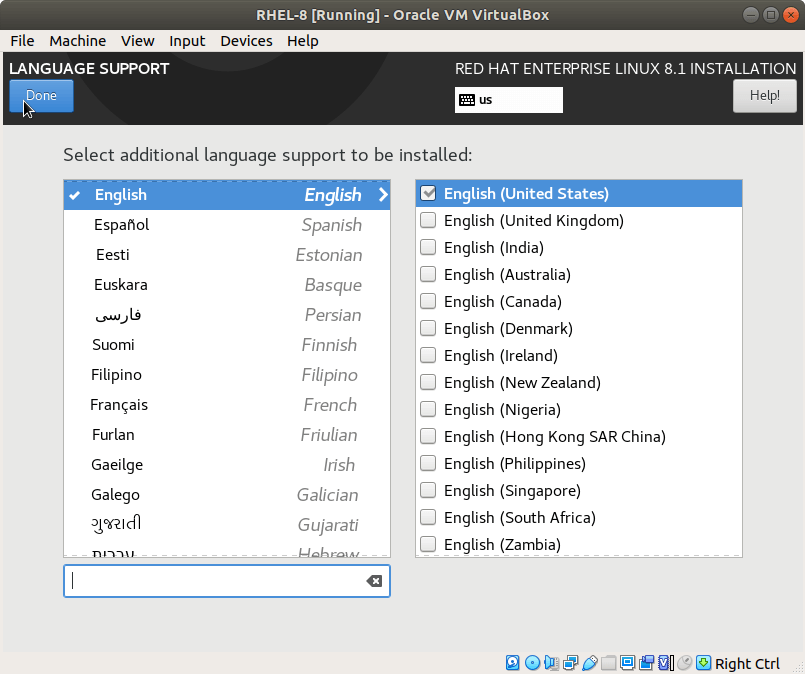
14. Next, click on the “Language Support” option and select your preferred language and click “Done”.
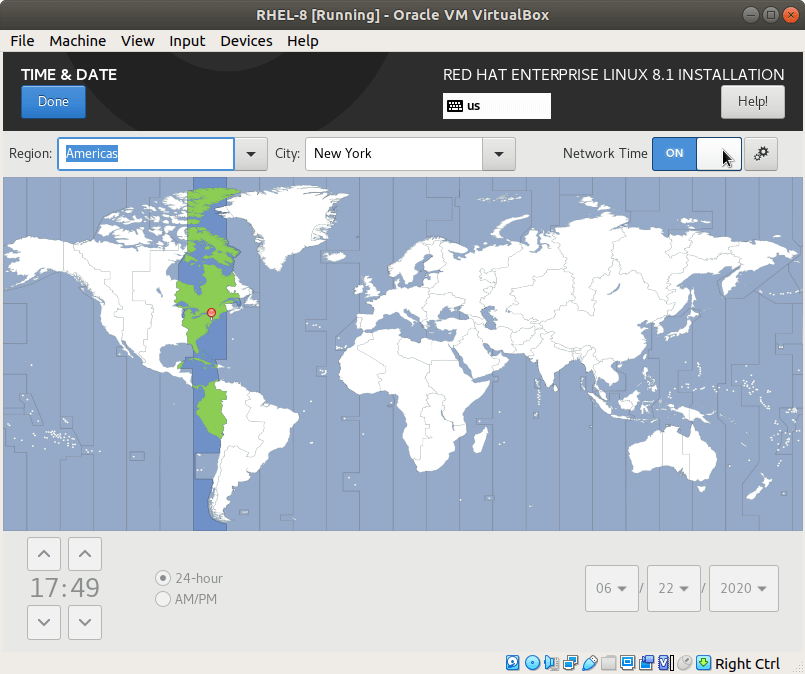
15. Be sure to adjust your ‘Time and date’ settings appropriately.
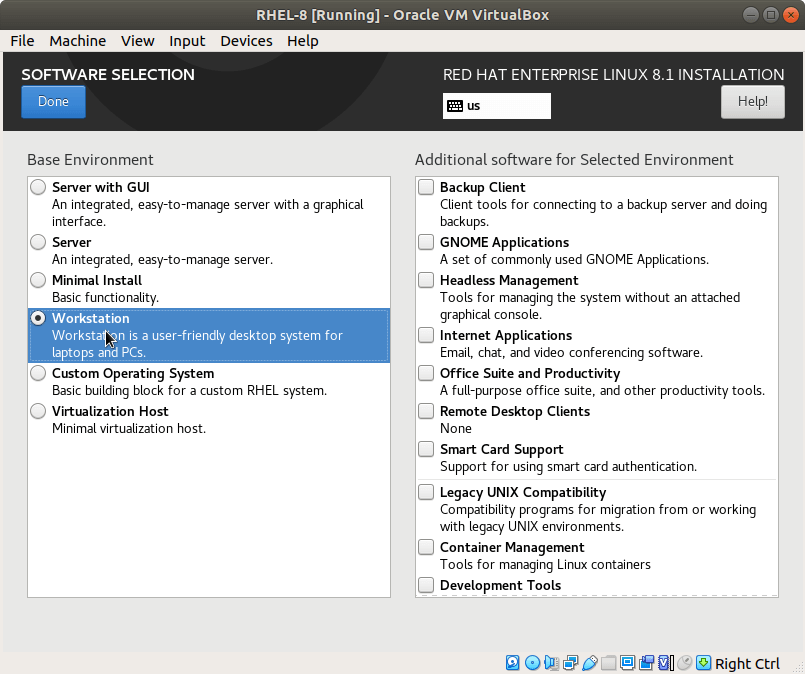
16. In the ‘Software selection’ option choose your preferred Base environment and click ‘Done’. In this case, I have chosen to go with the Workstation option which is quite okay for a desktop PC.
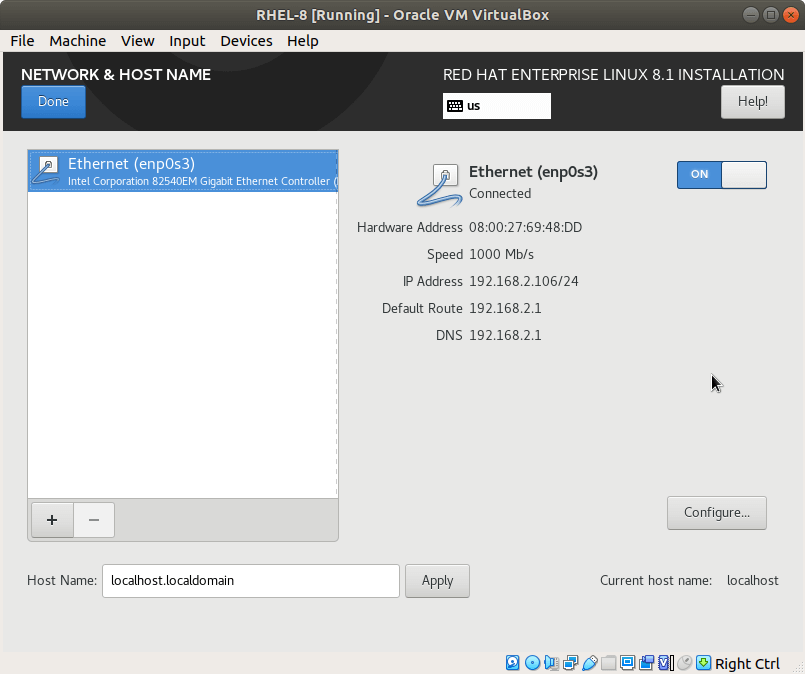
17. In the ‘Network and hostname’ section, turn on the toggle next to the network interface.
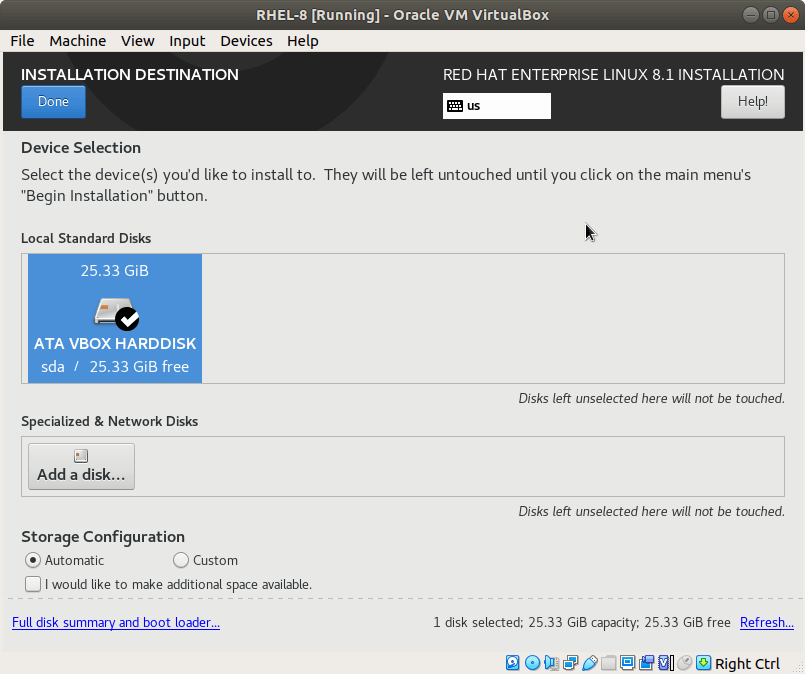
18. In the “Installation Destination’ select the hard drive that you’d want to install RHEL on and feel free to select either ‘Automatic’ or ‘Manual’ partitioning.
In this case, I will select the ‘Automatic’ partitioning option for the system to automatically partition the hard disk and save the changes. For a production server, however, you may be required to manually partition the hard drive to suit your preferences.
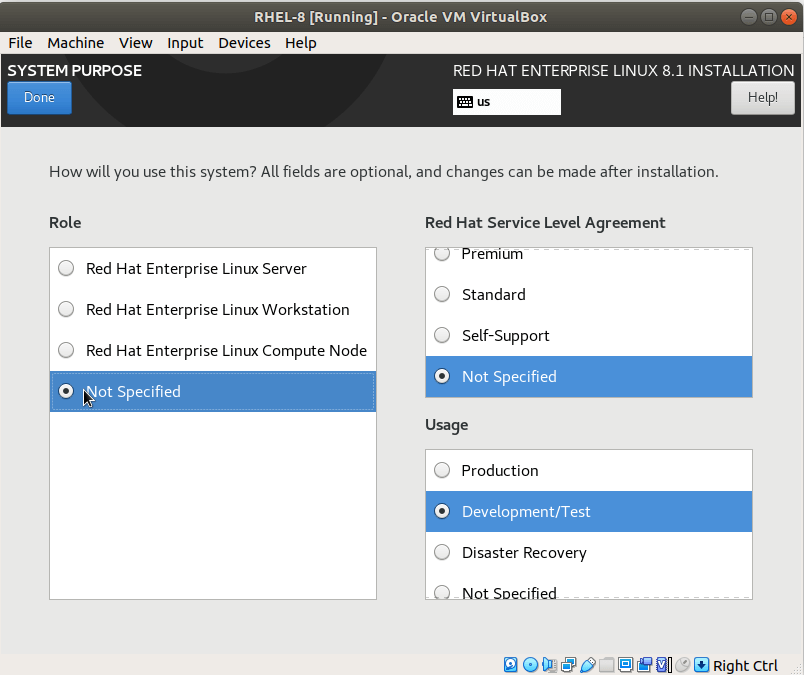
19. And lastly, in the ‘System Purpose’ setting, ensure that you select the ‘Development/Test’ option as the usage for your system and leave all the other entries unchanged. Then click ‘Done’.
20. With all the salient parameters, click on the “Begin Installation” button for the installation to commence. But while at it, you will be required to provide a root password and create a new user.
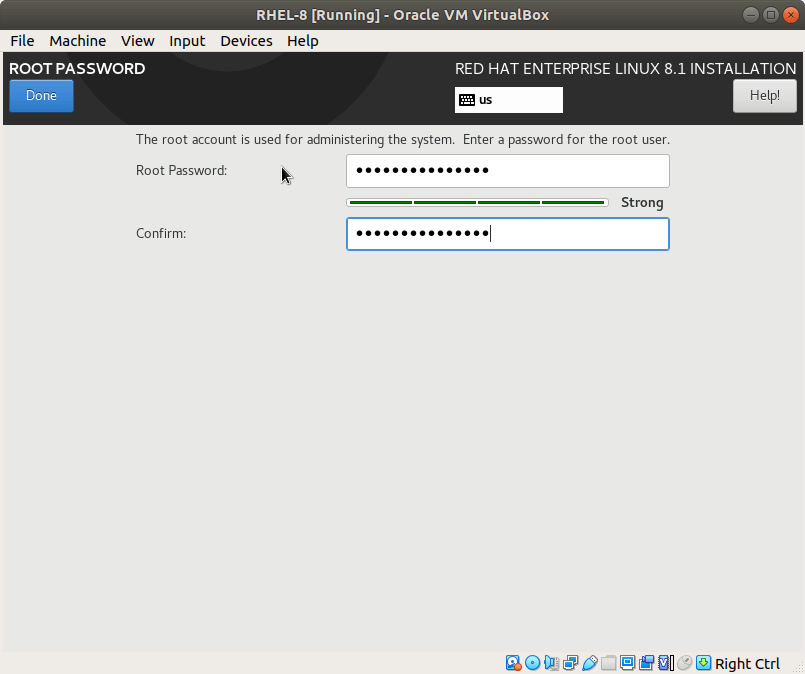
21. Click on the ‘Root Password’ tab and provide a strong password for the root user. Click ‘Done’ to save the changes.
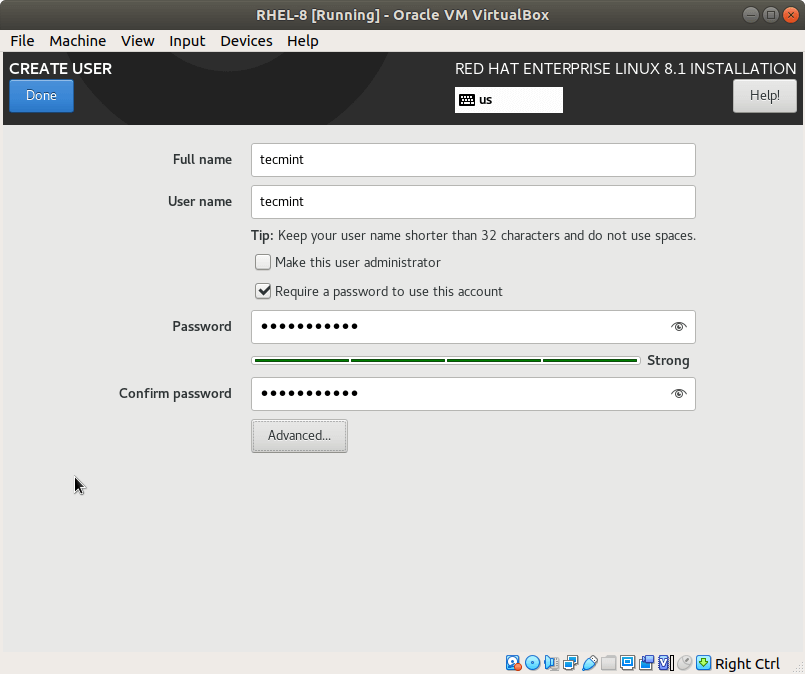
22. Next, create a new user by specifying a username followed by the user’s password.
23. Once everything is set, the installer will begin to install RHEL 8. The installation process ensures that all the system packages and the grub bootloader are installed. Once the installation is complete, click on the ‘Reboot’ button to restart the system.
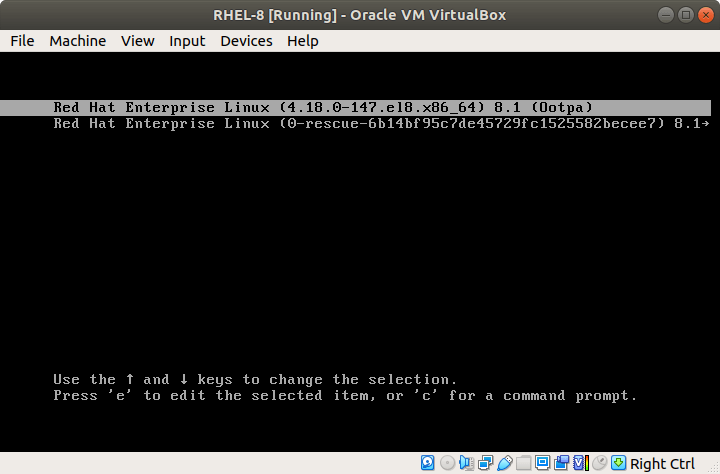
24. At this point, it is safe to remove your installation media, or in this case, unmount the ISO image file. During the reboot process, select the first grub entry and hit ENTER.
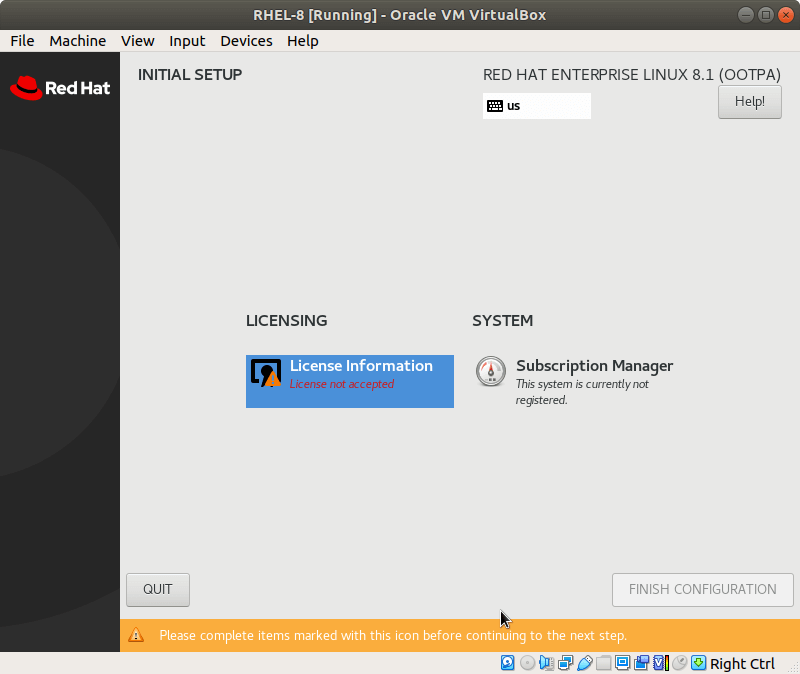
25. Upon rebooting, two things will be required of you, Firstly, you will be required to accept the License Agreement and later register your RHEL 8 system with Red Hat.
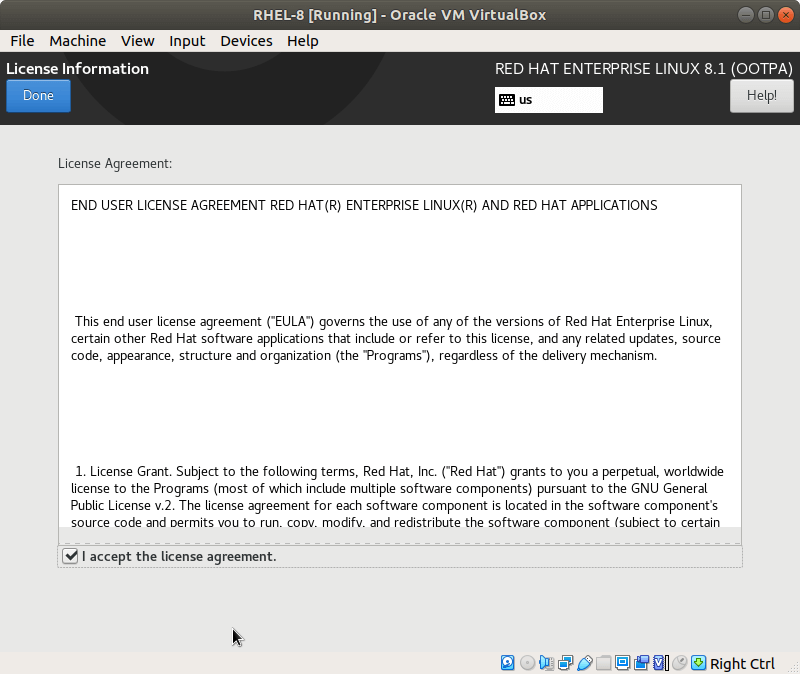
26. At this point, accepting the license agreement is what is crucial. The latter can be done later once we are done with the installation of the system. Therefore, click on “License Information” and check off the “I accept the License Agreement” checkbox and click “Done”.
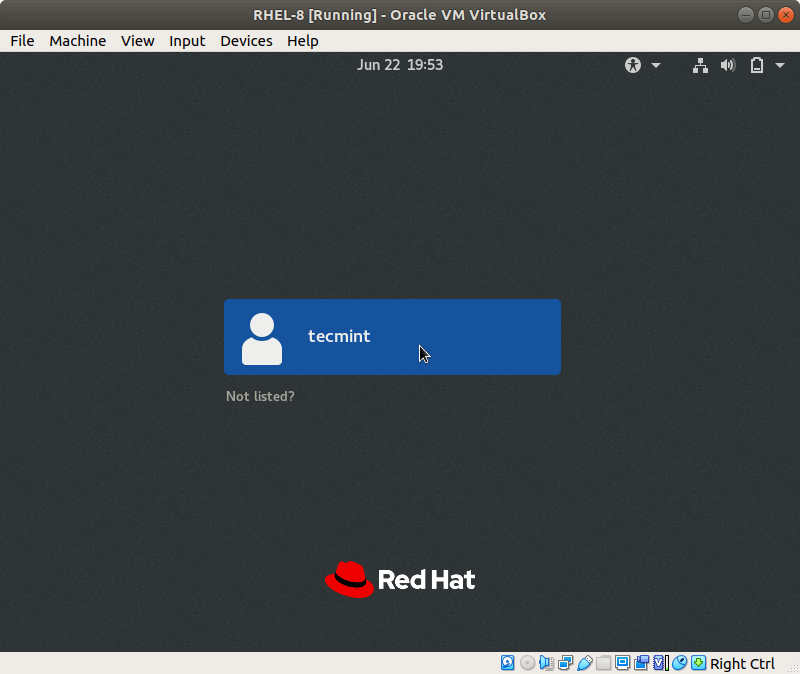
27. Finally, click on the “Finish configuration” tab. The GNOME login screen will be displayed.
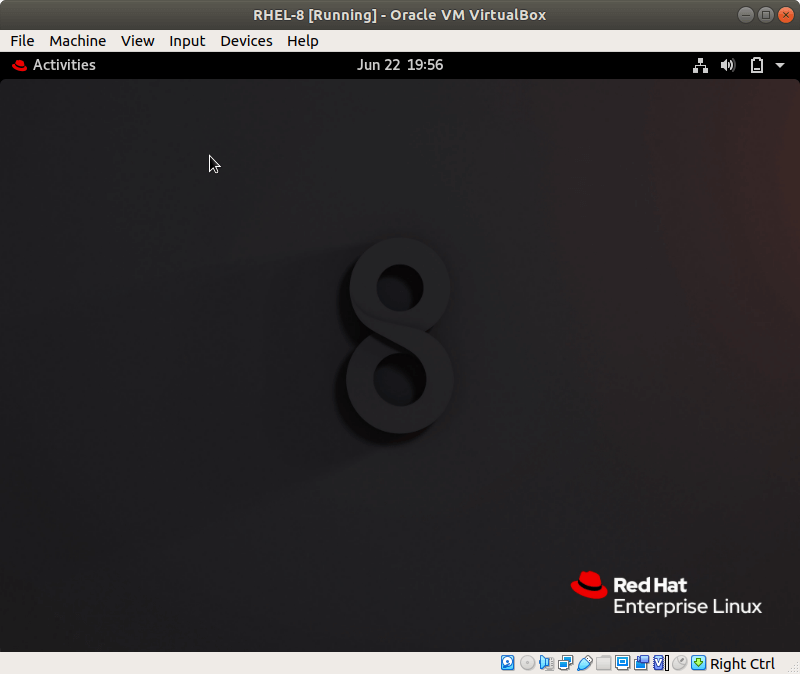
28. Log in with your username and password. This will usher you to the GNOME desktop environment as shown.
Registering RHEL 8 for RedHat Subscription Management
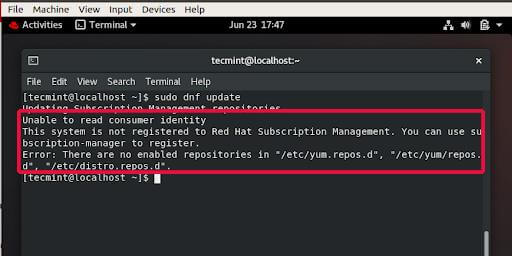
29. When you try updating your system packages on the terminal, you will encounter the error below. This implies that your system has not yet been registered.
$ sudo dnf update
30. A Red Hat subscription allows you to get the latest package & security updates and bug fixes as well.
To register your RHEL 8 system, run the command:
$ subscription-manager register --username your-redhat-developer-username --password your-redhat-password
31. Thereafter, execute the command below to enroll your RHEL system to a subscription.
$ subscription-manager attach --auto
32. If everything went according to plan, you should receive the notification as shown.
Installed Product Current Status:
Product Name: Red Hat Enterprise Linux for x86_64
Status: Subscribed
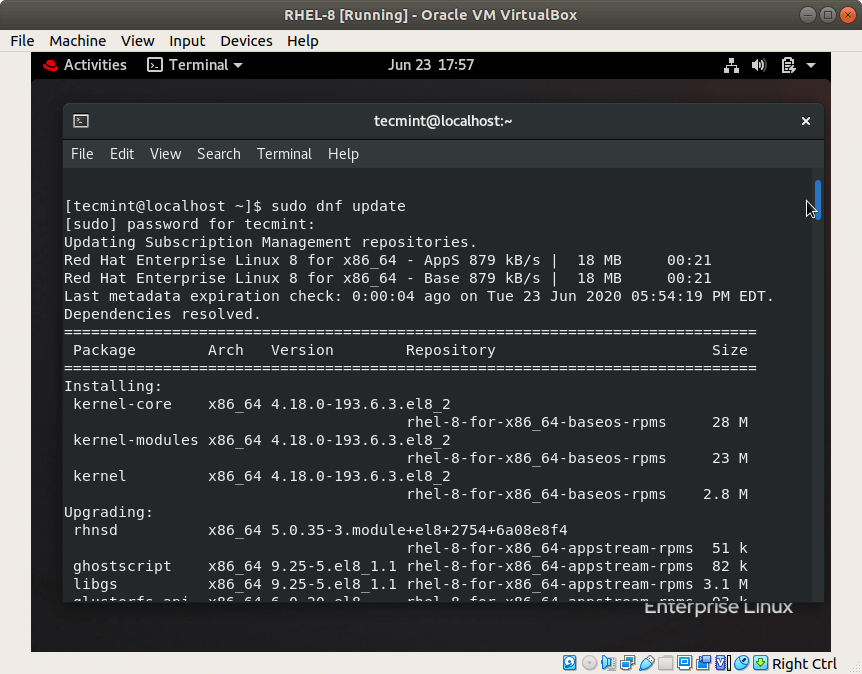
33. Once you’ve been subscribed, you can now proceed to update your system and install system packages.
$ sudo dnf update
Renewing the RHEL 8 Subscription
The trial period for RHEL 8 developer subscription lapses after 1 year. The good news is that you can readily renew your RHEL subscription for free after every year to continue enjoying your OS.
This concludes this topic on how to download RHEL 8 for free and install it. It’s our hope that you can now grab yourself a copy of RHEL 8, install it, and register it with RedHat in order to get the latest security and package updates and bug fixes.
If this article helped you solve a problem, consider buying a coffee. It helps keep TecMint free, supports the authors, and keeps the project going.
Got Something to Say? Join the Discussion... Cancel reply