
Encrypting your Ubuntu 24.04 installation provides an added layer of security by scrambling data on your disk, making it unreadable without the decryption key.
This guide will walk you through encrypting the boot, swap, and root partitions during the installation of Ubuntu 24.04.
Pre-installation Considerations
Before starting the installation process, ensure you have:
- 2 GHz dual-core processor or better.
- 4 GB system memory.
- 25 GB of free hard drive space.
- Either a USB port or a DVD drive for the installer media.
- Back up any critical data on the target system as the entire disk will be erased during encrypted installation.
Step 1: Create a Bootable Ubuntu 24.04 USB Drive
Go to the official Ubuntu download page and select the 24.04 LTS version, which will begin downloading automatically.
Alternatively, you can download the Ubuntu 24.04 Desktop or Server ISO image directly from the command line using the following wget command.
wget https://releases.ubuntu.com/24.04/ubuntu-24.04-desktop-amd64.iso
OR
wget https://releases.ubuntu.com/24.04/ubuntu-24.04-live-server-amd64.iso
Next, insert your USB stick into your computer and create a bootable image using the USB creation tool or use a tool like the dd command as shown.
sudo dd if=ubuntu-24.04-desktop-amd64.iso of=/dev/sdX bs=4M status=progress && sync
Replace /dev/sdX with the name of your USB device and make sure you choose the correct device to prevent losing any data.
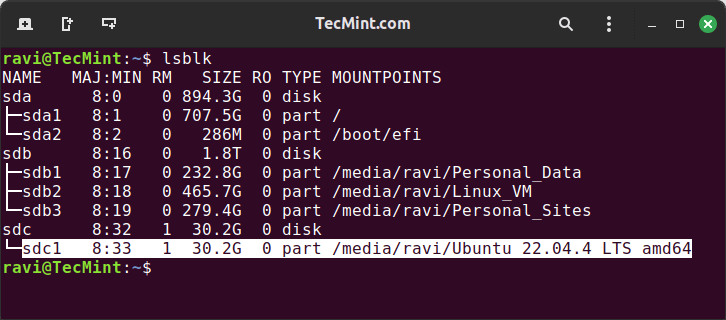
If you’re unsure of the name of your USB device, you can use the lsblk command, which will list all block devices connected to your system, including your USB device.
lsblk
Look for your USB device in the list, which will typically be listed as something like /dev/sdX (where X is a letter) and will often have a size listed next to it that matches your USB device’s capacity.
Once you’ve identified your USB device, replace /dev/sdX in your command with the correct device name as shown.
sudo dd if=ubuntu-24.04-desktop-amd64.iso of=/dev/sdc1 bs=4M status=progress && sync
Step 2: Install Ubuntu 24.04
Now that you’ve made a USB drive that can start up your computer, you need to start your computer from it. You can do this by choosing the system’s start-up choices (often by pressing F2, F12, or the Del key) and choosing the USB Drive as the start-up device.
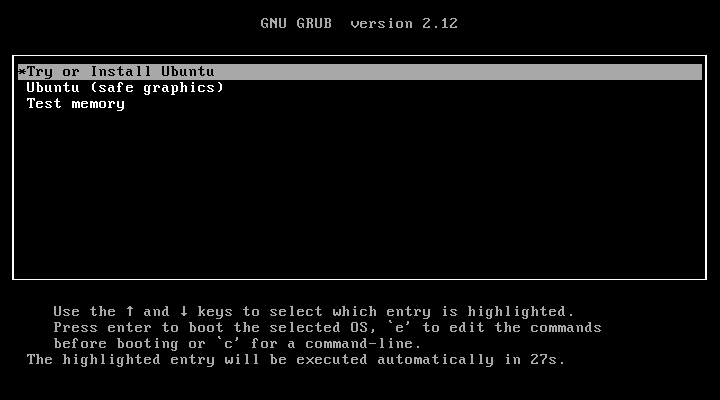
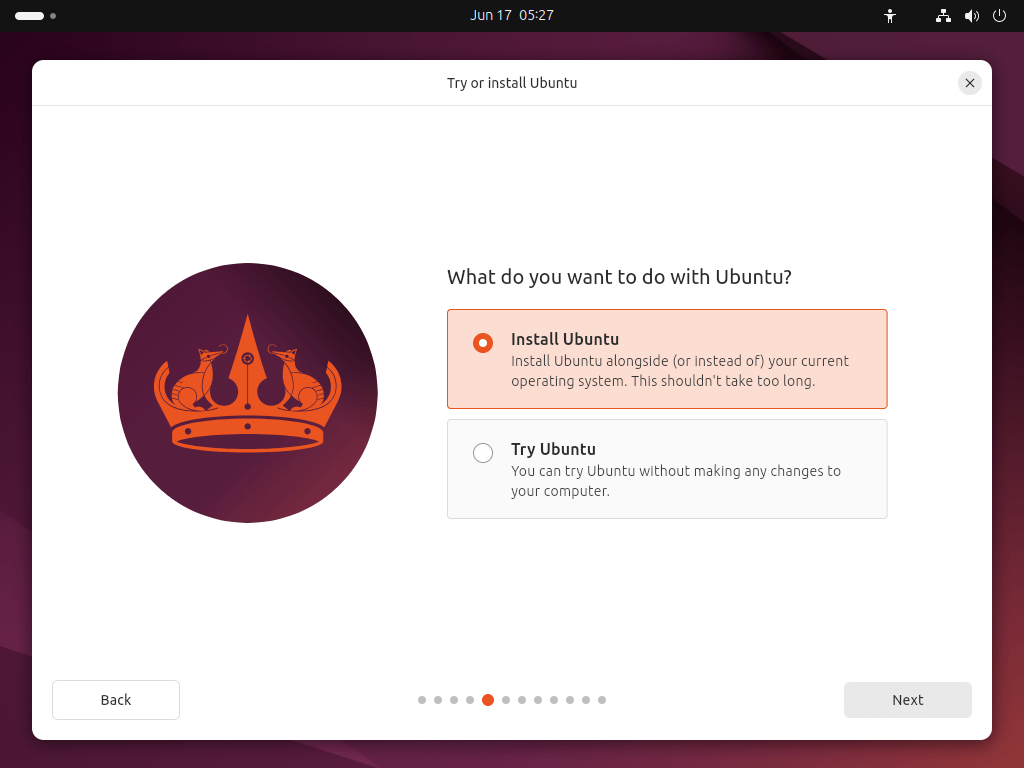
After starting your computer from the USB drive, you can begin installing Ubuntu by selecting the “Try or Install Ubuntu” option.
Once the installer has initialised you will be invited to choose your language.
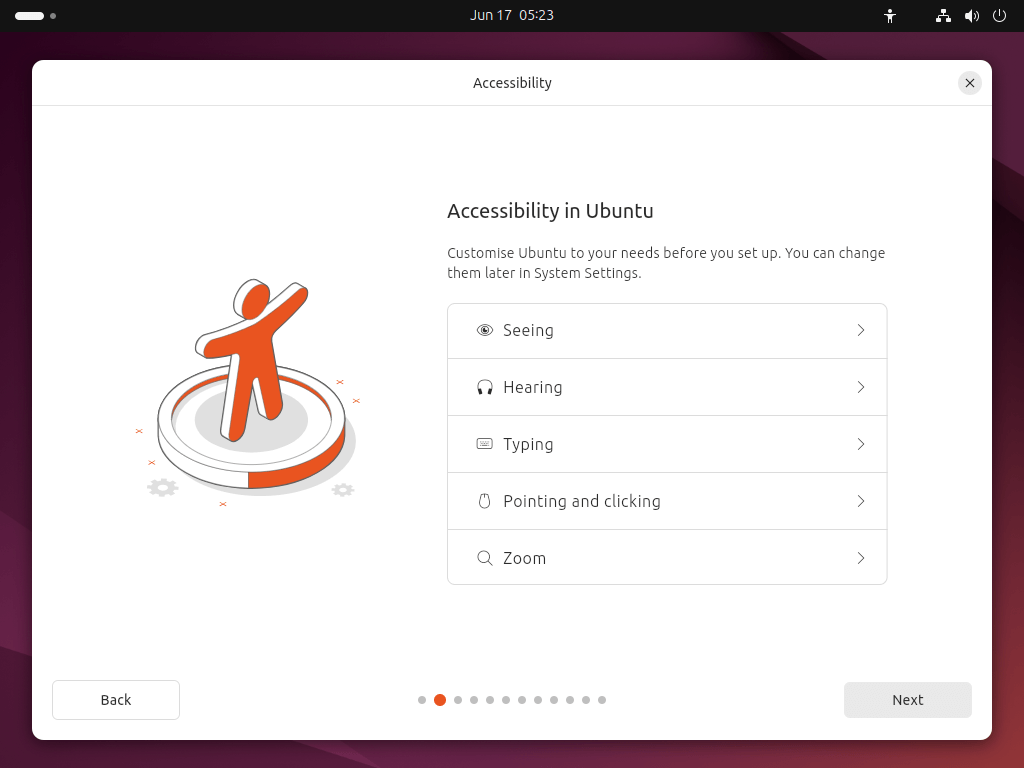
Next, you will be presented with the option to select any accessibility settings you require.
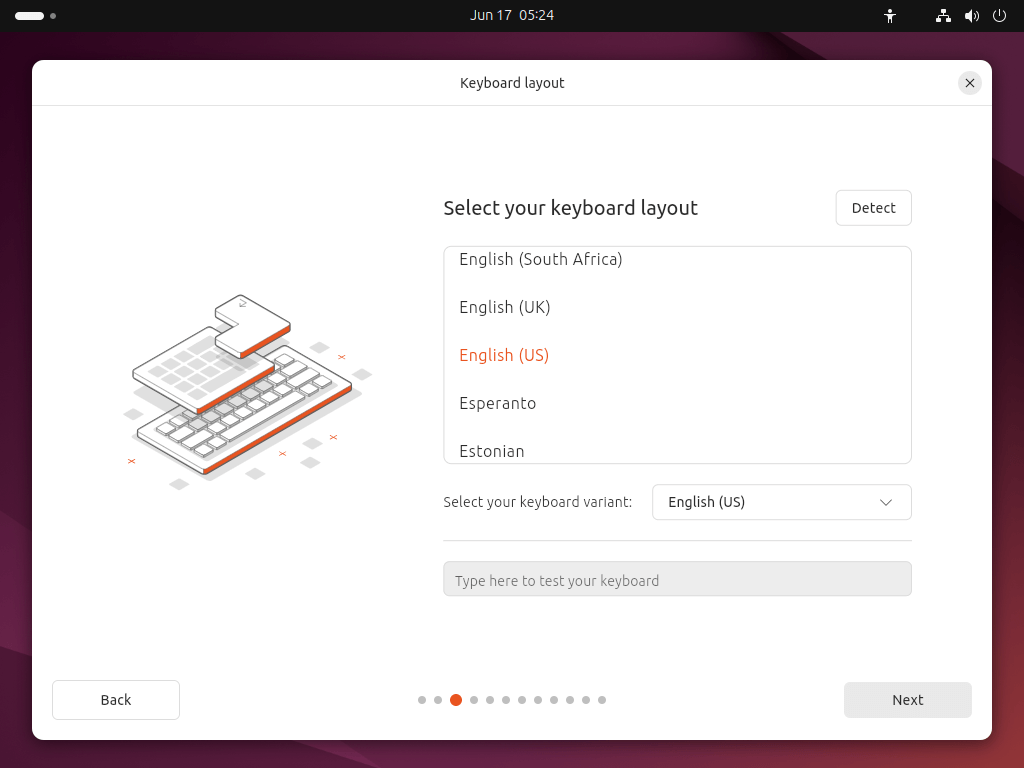
Choose your preferred keyboard layout language.
Next, connect to your network, which will enable Ubuntu to fetch most recent updates and third-party drivers during installation.
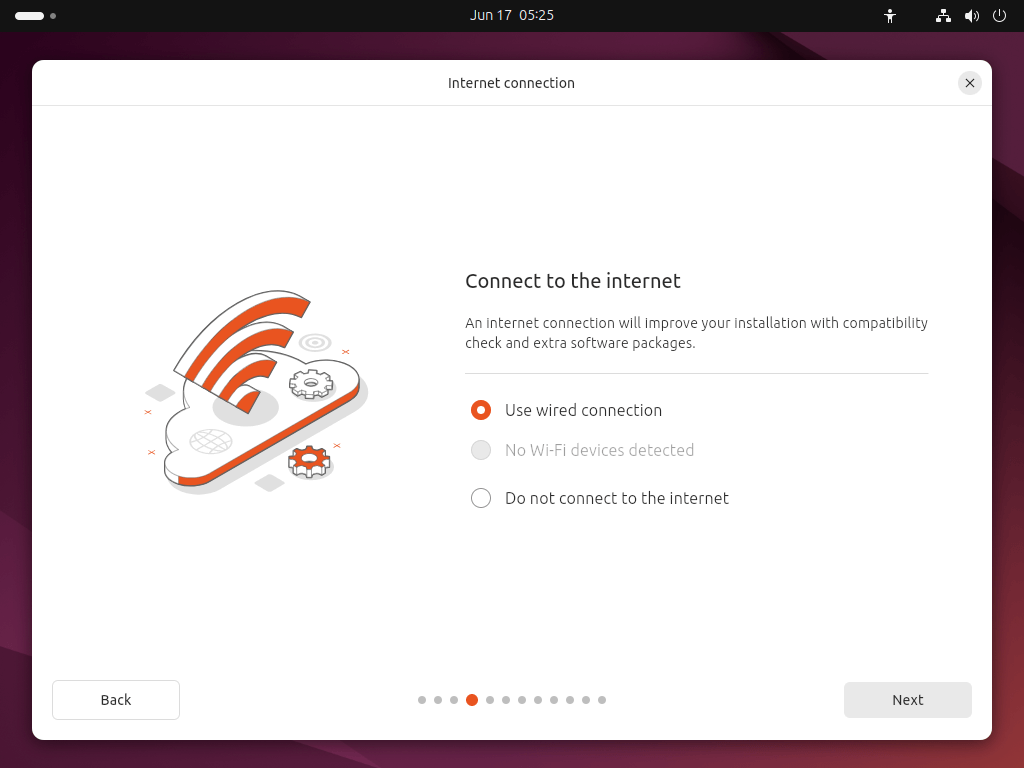
You are then offered the choice to try or install Ubuntu.
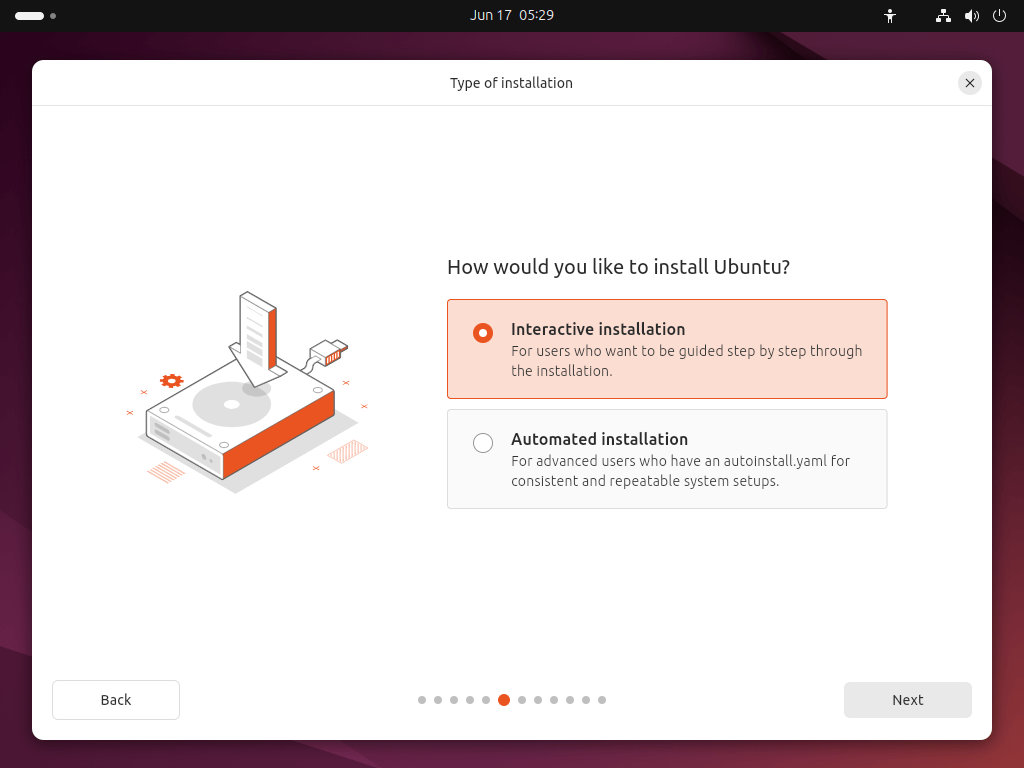
You will be prompted to choose between Interactive installation and Automated Installation. The interactive option is the standard route, but more advanced users can use the automated installation option to import a configuration file from a web server to standardize multiple installs and add further customizations.
In this tutorial, we will remain on the primary route.
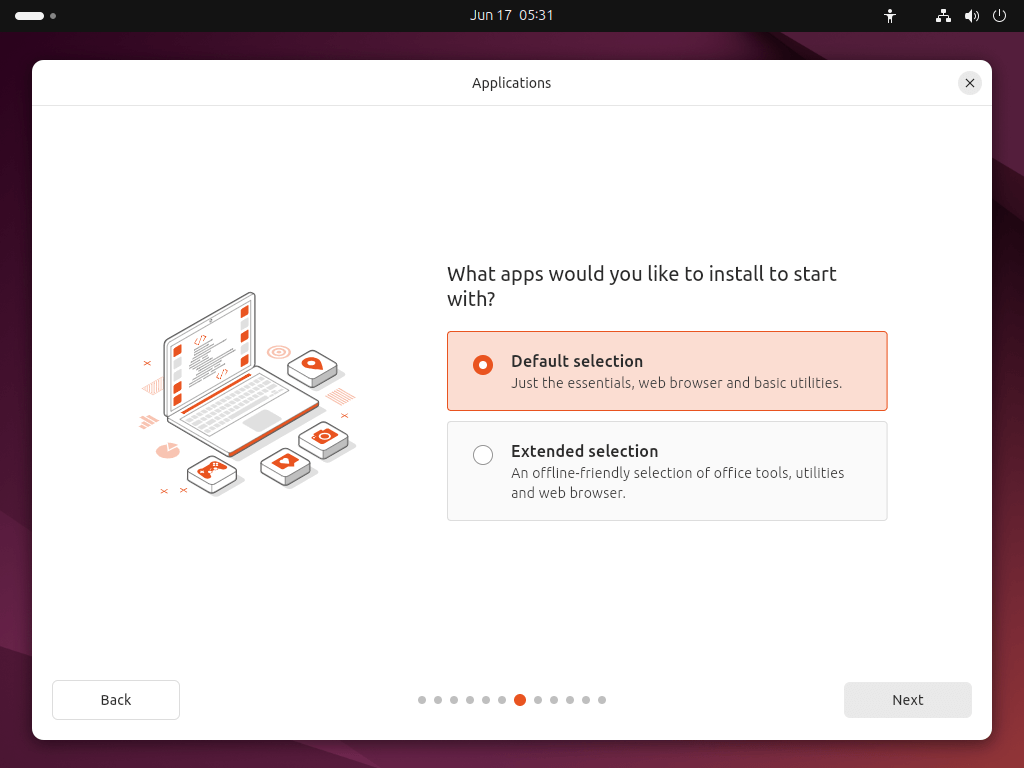
You will be prompted to choose between the Default selection and Extended selection options. The default installation comes with the basic essentials to get started which you can then expand on after installation using the App Center. The extended selection contains additional office tools and utilities, useful for offline situations.
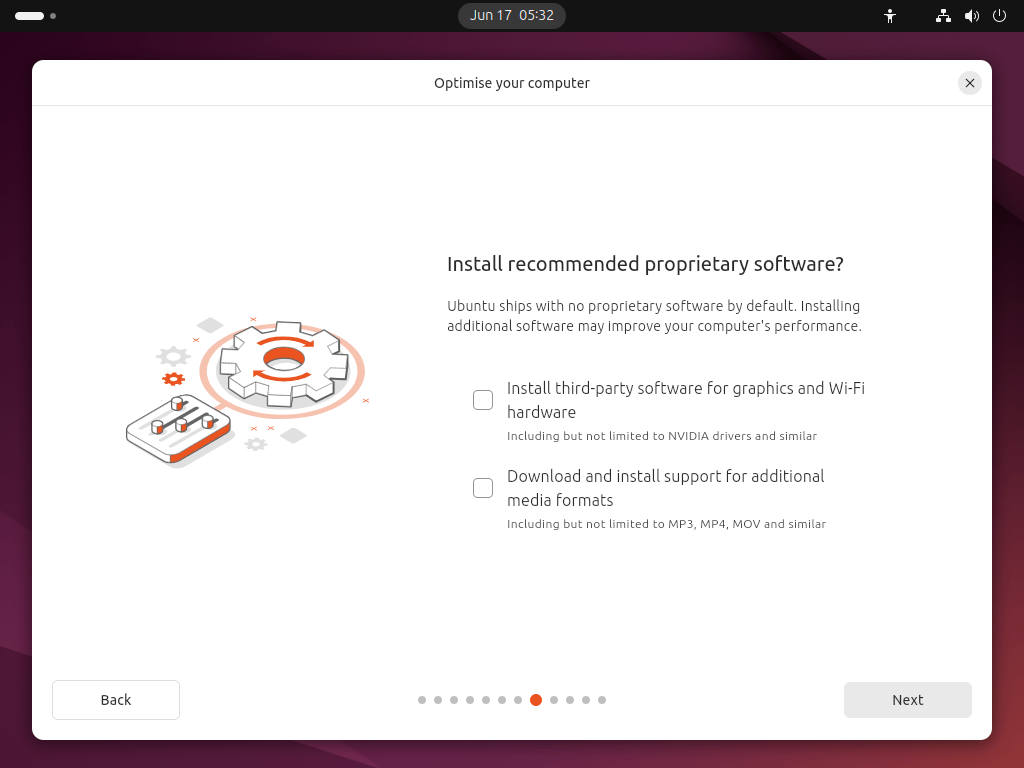
In the following screen, you will be prompted to install third-party software that may improve device support and performance (for example, Nvidia graphics drivers) and support for additional media formats. It is recommended to check both of these boxes.
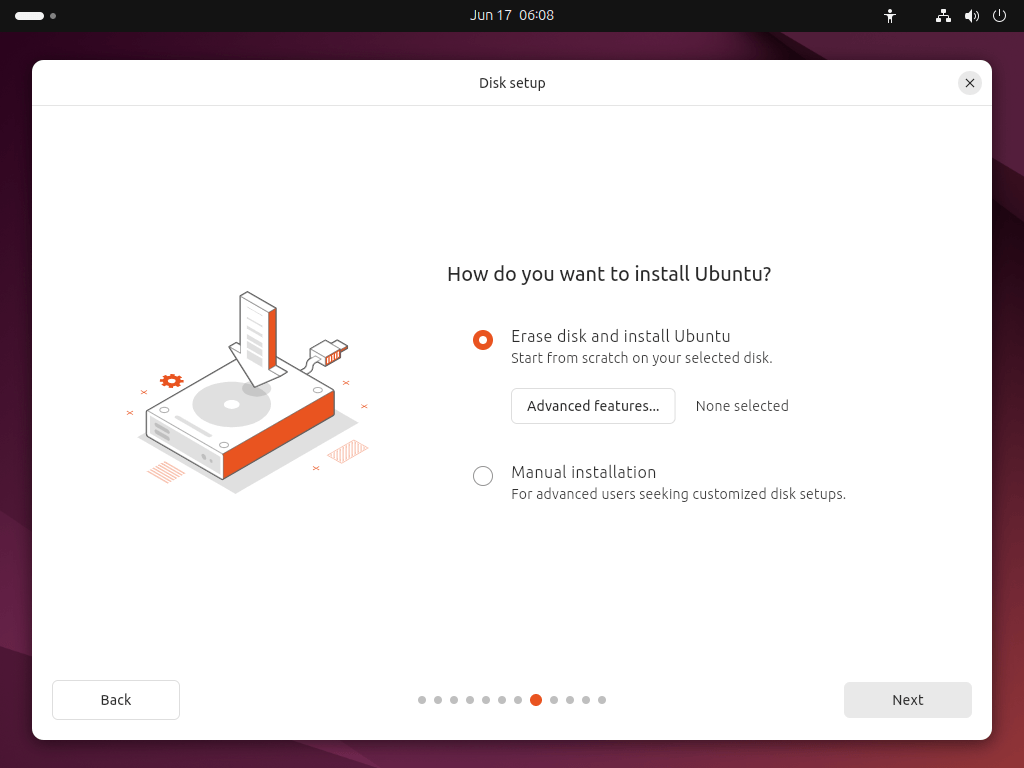
Next, the screen allows you to configure your installation. If you would like Ubuntu to be the only operating system on your hard drive, select Erase disk and install Ubuntu.
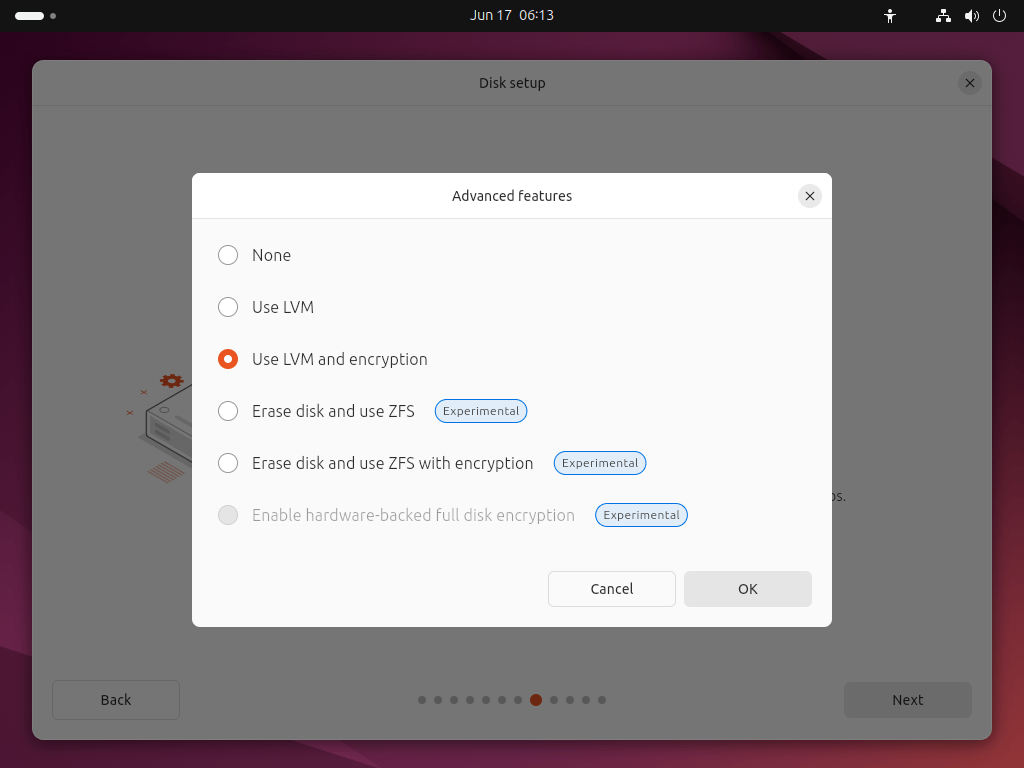
This option also allows you to encrypt your entire drive using LVM, ZFS, or using the Trusted Platform Module on the device. To do this open the Advanced features option before proceeding to the above screen and select ‘Use LVM and encryption’.
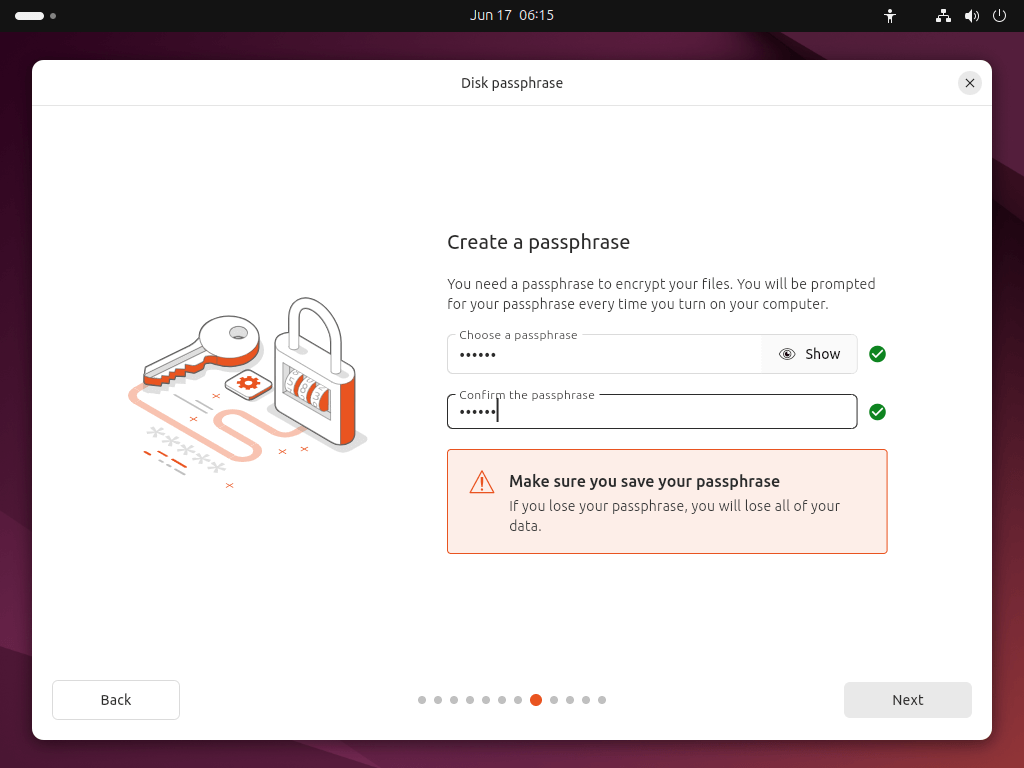
Next, you will see a window where you need to create a Security key, which will be required before you can log in with your username and password on your Ubuntu system.
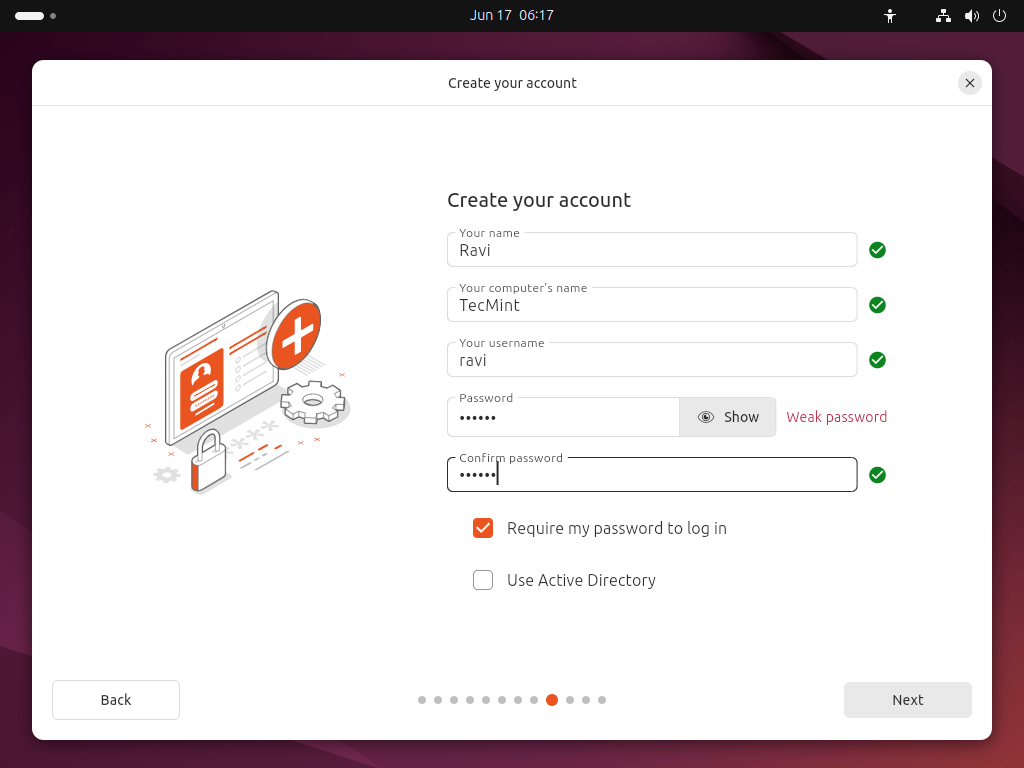
On this screen, you’ll be asked to type in your name and the name you want your computer to have on the network. After that, you’ll choose a username and create a strong password.
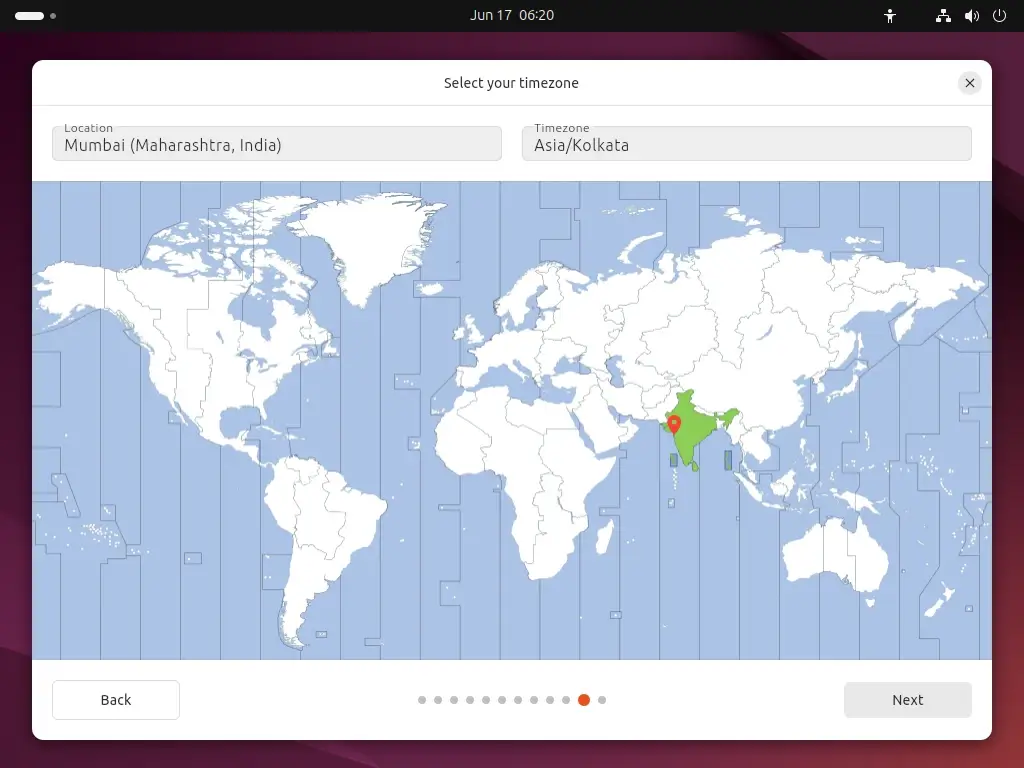
Choose where you are on the map and pick your timezone.
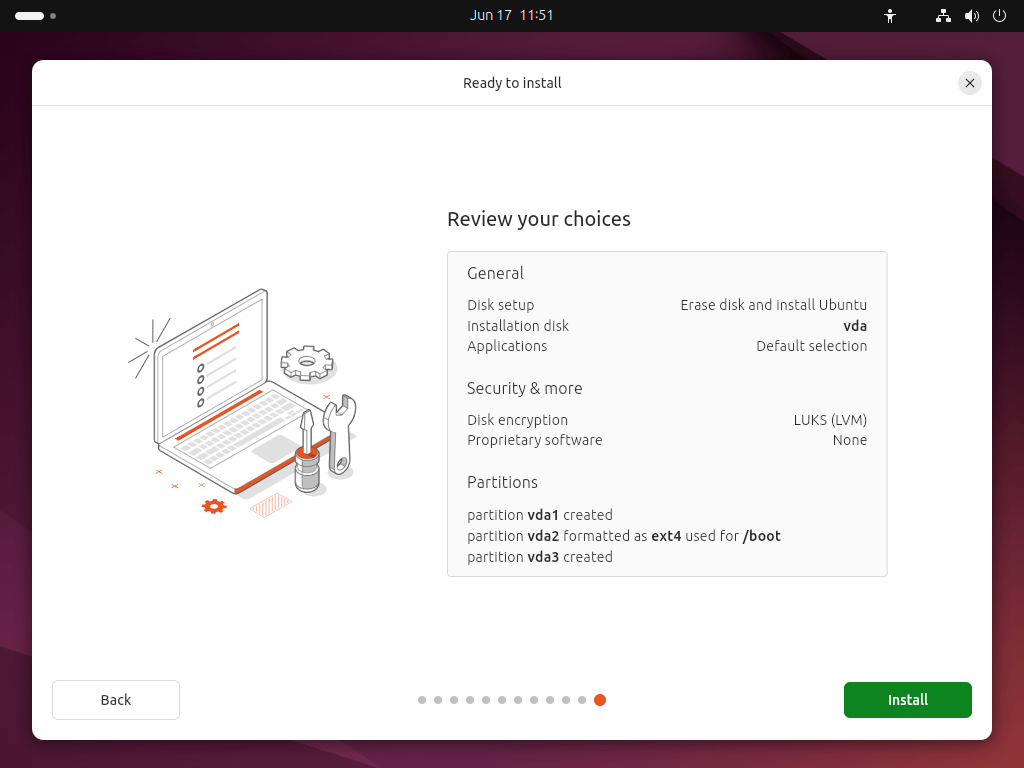
Clicking Next will show you a summary of your installation setup, which double-check everything before you click Install.
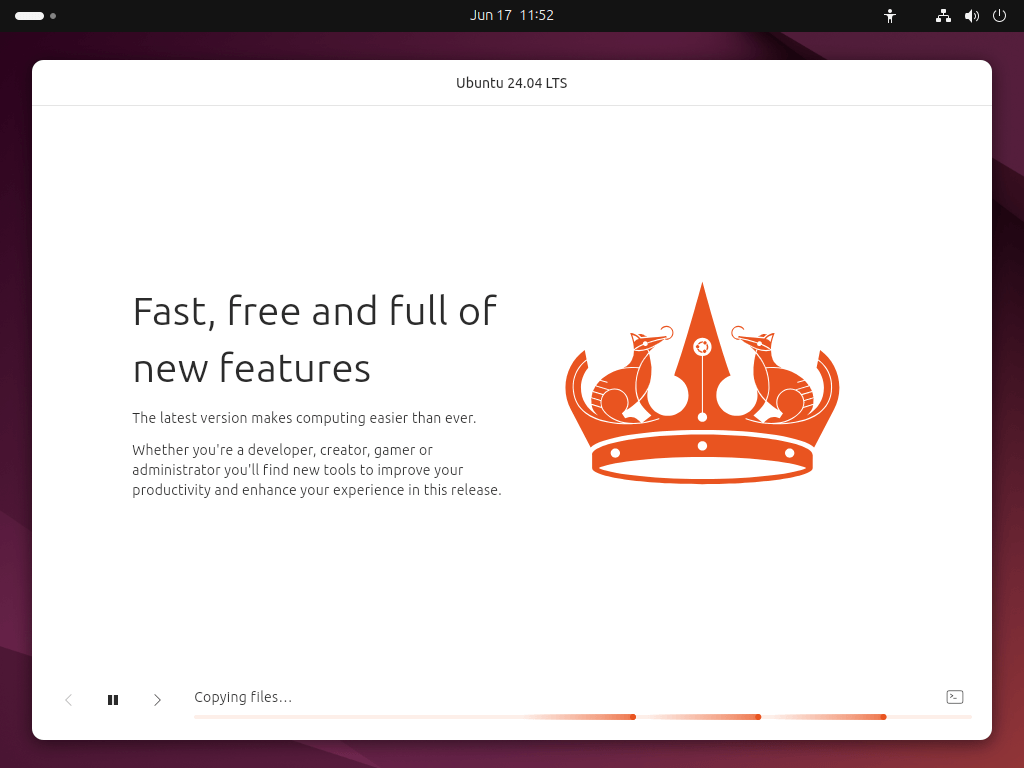
Once you proceed, Ubuntu will start the installation process.
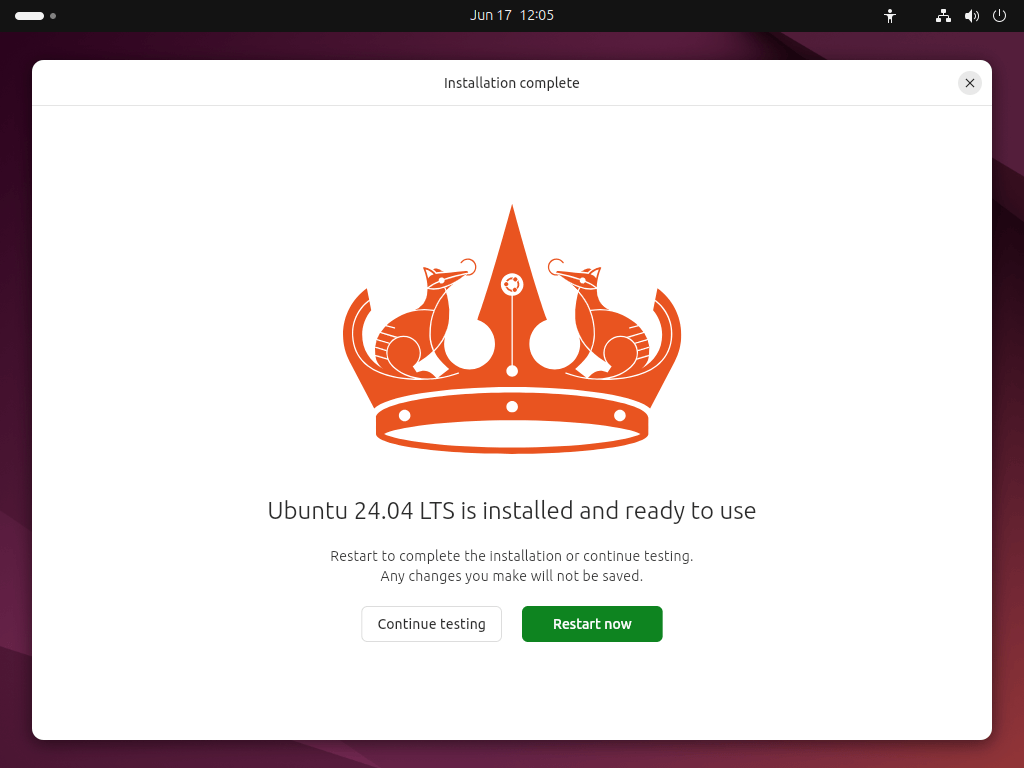
After the installation finishes, you’ll be asked to restart your computer.
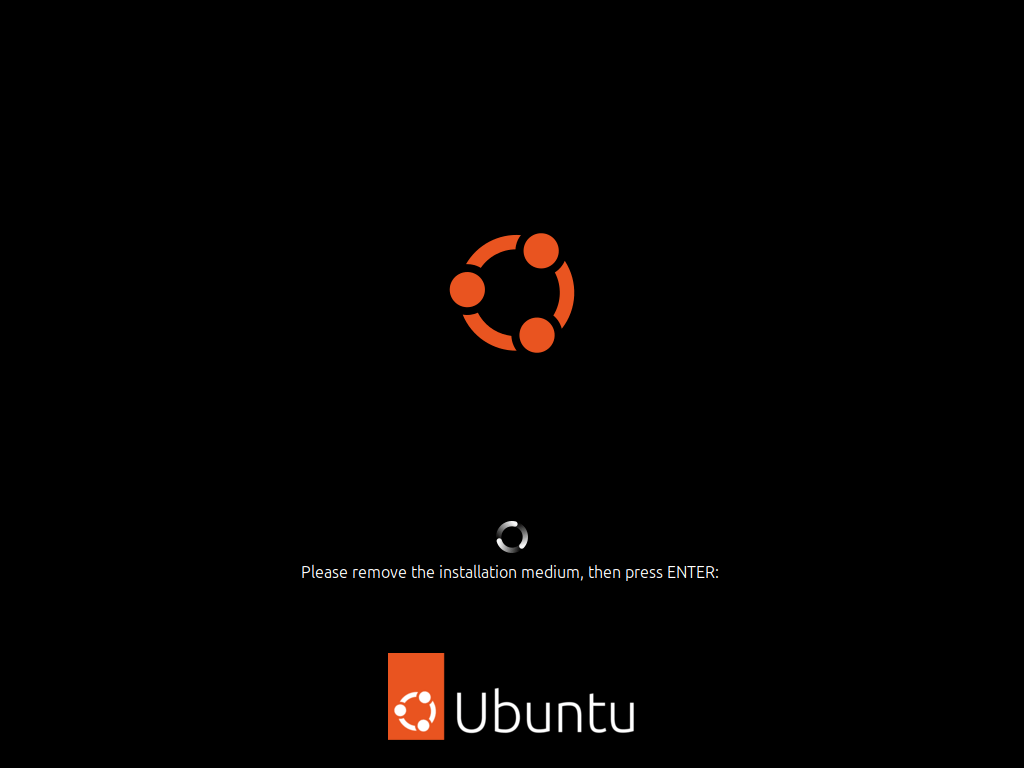
After you restart your computer, you’ll see a message asking you to take out your USB flash drive. Once you’ve done that, just press the ENTER key.
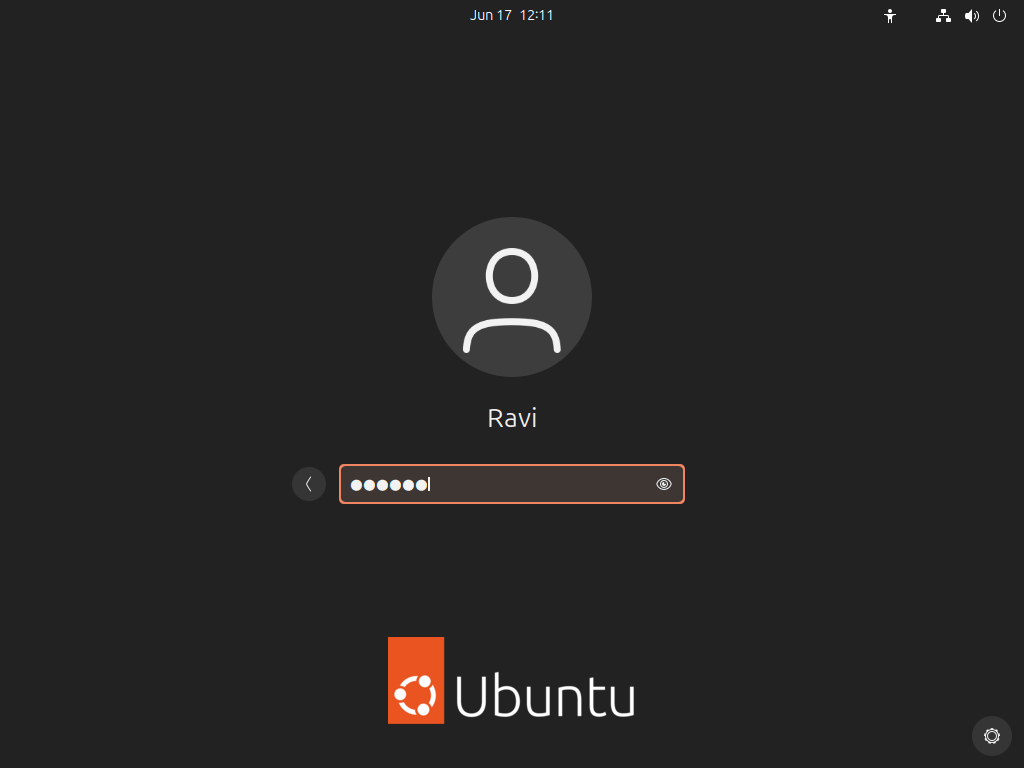
Enter your encryption password if you created one.
After that, you’ll see the login screen where you can type in your username and password.
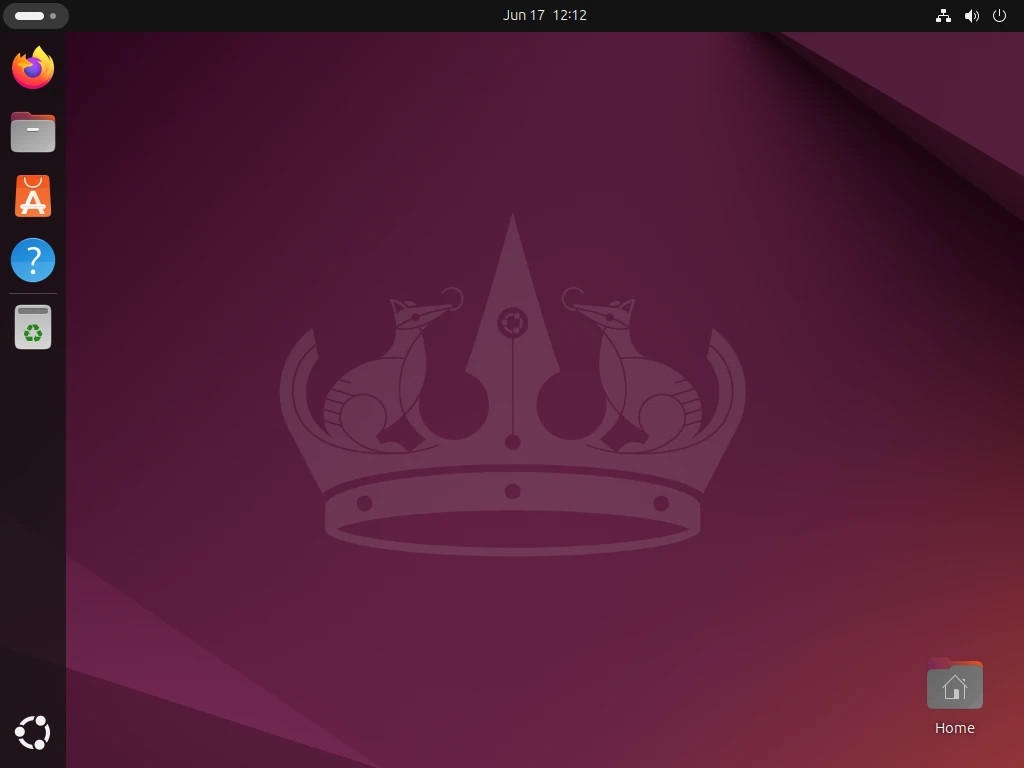
And there you have it! Welcome to your new Ubuntu Desktop!
After you install your operating system, it’s important to keep it updated, which will help you to fix bugs and improve security.
sudo apt update
sudo apt upgrade
You’ve installed Ubuntu 24.04 with complete disk encryption, so your data stays safe even if someone unauthorized gets their hands on your storage device.
If this article helped you solve a problem, consider buying a coffee. It helps keep TecMint free, supports the authors, and keeps the project going.
Got Something to Say? Join the Discussion... Cancel reply